Try my new budgeting app Cheddar 🧀
Better than YNAB, Mint (RIP), or EveryDollar.
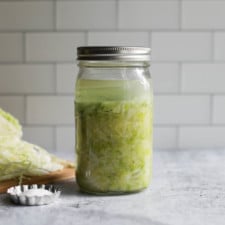
how to make sauerkraut in a jar [the complete guide]
4.2
(22)
Prep Time: 20 minutes
Cook Time: 20 minutes
Servings: 28
![How to Make Sauerkraut in a Jar [THE COMPLETE GUIDE]](https://www.makesauerkraut.com/wp-content/uploads/2019/07/how-to-make-sauerkraut-in-a-jar-bpi.jpg)
Ingredients
Export 10 ingredients for grocery delivery
Instructions
Step 1
SETUP: GATHER SUPPLIES & SET UP SCALEUsing a scale to make your sauerkraut will ensure that you add the correct amount of salt for a safe fermentation environment.Pull together all the ingredients and equipment listed above. You don’t want to include the weight of your bowl in your measurements, so either zero out the scale (usually done with a button on a digital scale or a knob under the tray on a mechanical scale) or write down the weight of your bowl (tare).
Step 2
PREP: CHOP YOUR VEGETABLES AND CABBAGENow that you have everything you need on hand and your scale is ready for weighing, it’s time to prepare those vegetables for fermentation. You will end up with 1¾ pounds (28 oz or 800 g) of vegetables and cabbage in your bowl. Prep carrots and garlic. Peel and grate two to three carrots. Add these to the bowl. Finely mince two to three garlic cloves and add these to the bowl, too. zSlice your cabbage. Quarter the cabbage, leaving the core in, though you won’t end up actually slicing the core. Place a cabbage quarter on one of its sides and slice the cabbage crosswise. Aim for narrow ribbons, which will produce liquid faster—and ferment more quickly—than wider-cut ribbons. Slice until just the core remains. Add sliced cabbage to your bowl until the weight of your vegetables and cabbage is 1¾ pounds (28 oz or 800 g). I find it easiest to work in grams
Step 3
SALT: CREATE YOUR BRINEThis is the stage where you create the brine in which your sauerkraut will ferment. Believe it or not, that big bowl of sliced cabbage really will fit into your jar. Sprinkle vegetables and cabbage with 1 tablespoon (15 ml) of salt—16 grams, if weighing—and mix well. Don’t rush this step. You want to ensure that the salt is evenly distributed. For me, once I’m sure it is well mixed, I stop and clean up my workspace. By leaving the salted cabbage to sit in the bowl while I do so, I’m letting the salt start to pull the moisture out of the cabbage, making the next task simple and rather pleasurable.Massage and squeeze the vegetables with strong hands until moist, creating the brine. The mixture will shrink in size and want to clump together. You should be able to tilt the bowl to the side and see a good-sized puddle of brine, about 2–3 inches (5–8 cm) in diameter. This process can take anywhere from 2 to 10 minutes.
Step 4
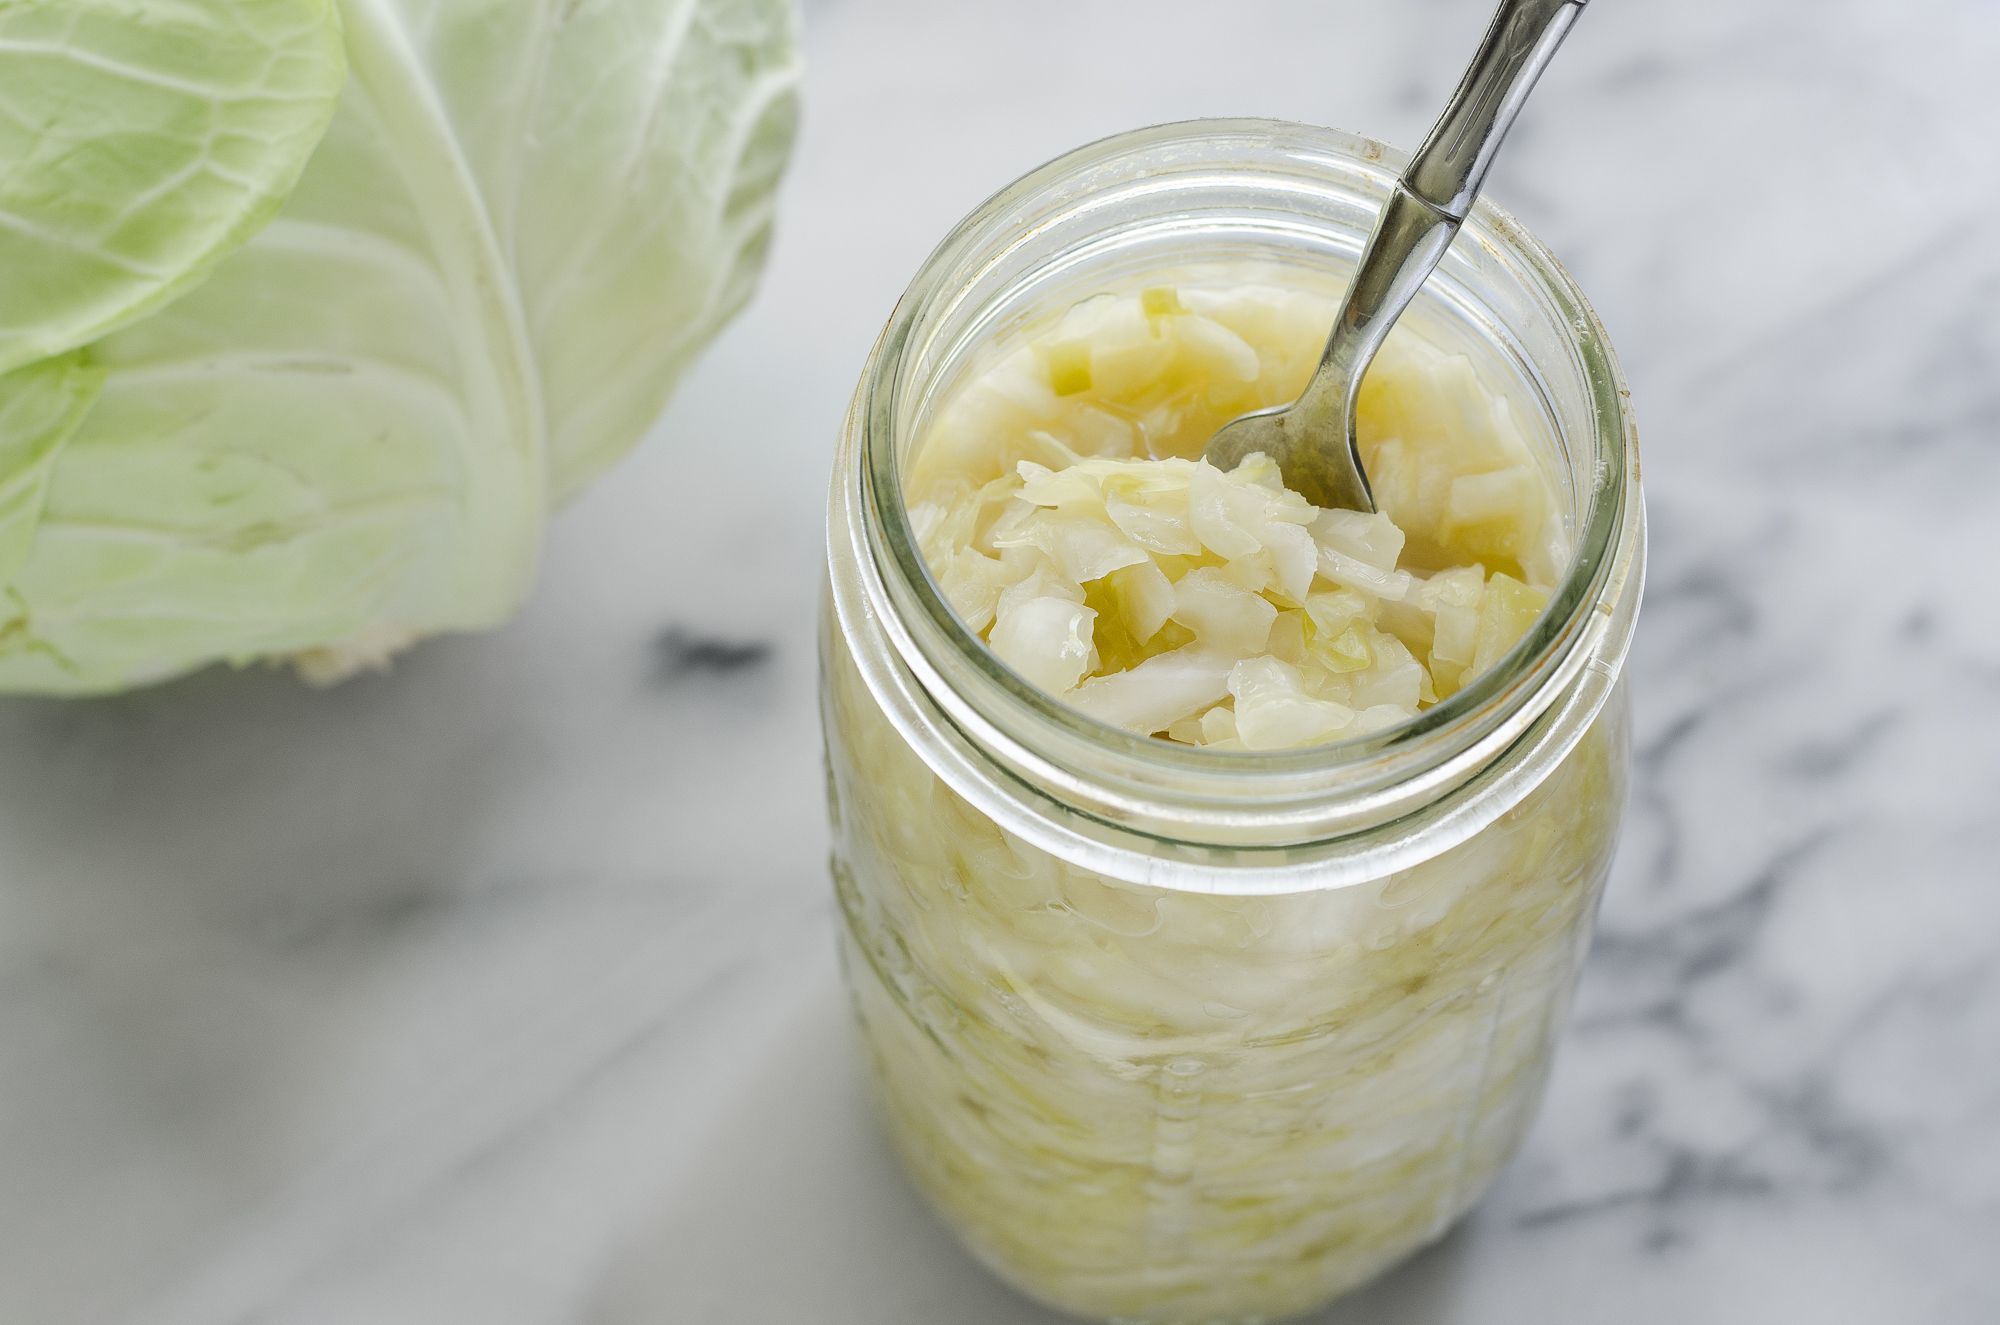
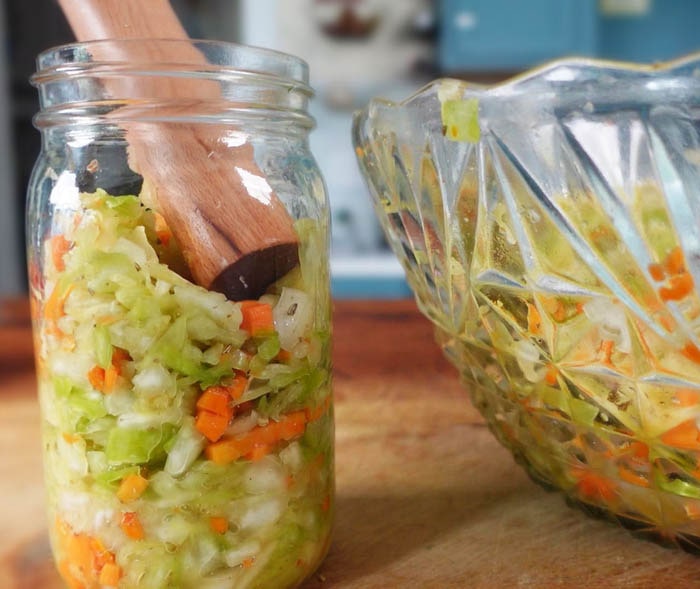
PACK: PACK MIXTURE INTO JARYour big bowl of cabbage and carrots has now shrunk to a manageable, moist mass. Now that you have a puddle of brine, it’s time to pack the cabbage mixture into your jar.Grab handfuls of the salty, juicy cabbage mixture and pack it into your 1-quart (1 L) wide-mouth canning jar, periodically pressing the mixture down firmly with your fist or a large spoon so that the brine rises above the top of the mixture and no air pockets remain.Be sure to leave at least 1–2 inches between the top of the packed cabbage and the top of the jar.Pour any brine left in your mixing bowl into the jar and scrape out any loose bits stuck to the sides of the bowl.Lastly, wipe down the outside of the jar and push down any tidbits on the inside of the jar that may remain above your packed ferment.
Step 5
SUBMERGE & SEAL: HOLD BELOW BRINENow that your jar has been packed with that beautiful cabbage mixture, you need to make sure it remains submerged in the brine throughout fermentation, safe from harm.Floaties trap. Take that cabbage leaf you saved earlier and tear it down to just fit in the jar. Place over the surface of the packed cabbage.Fermentation weight. To hold the vegetables below the brine, place the 4-ounce jelly jar (or your weight of choice) on top of the cabbage leaf, right side up with its lid removed. It might stick out of the top of the jar a bit, but don’t worry—when you screw on the lid, it will get pressed down into place.Lid. Lightly screw the white plastic storage lid onto the jar. Leaving the lid a bit loose allows for the escape of the CO2 gases that will build up during the first few days of fermentation.
Step 6
FERMENT: FERMENT FOR 1-4 WEEKSNow sit back and relax as the friendly bacteria eat the sugars in the cabbage and carrots, multiply, and release copious amounts of lactic acid, which creates an environment inhospitable to pathogenic bacteria, acts as a natural preservative for your ferment, and gives your sauerkraut that familiar tang.Label your artwork. Label your jar with the flavor of sauerkraut you made and the date you started fermenting it.Place your jar of fermenting sauerkraut in a shallow bowl to catch any brine that may leak out during the first week of fermentation.
Step 7
STORE: STORE IN REFRIGERATOR FOR UP TO 1 YEARAfter your sauerkraut has fermented to your liking, it’s time to move it to cold storage until you are ready to effortlessly add its probiotic-rich flavors to your meals.Rinse off the outside of the jar and remove the little jar, or whatever weight you used. Leave the cabbage leaf in place until you start eating from your jar of sauerkraut. Clean any sticky brine off the rim and jar, and screw the lid back on tightly. If you used a special airlock lid, replace it with a simple lid.Add the fermentation time to your label. It is always nice to know how long a batch fermented, so you can adjust for future batchesPlace at a handy location in your refrigerator. Seeing your jar of sauerkraut when you open the refrigerator is a nice reminder to add it to your meals.
Step 8
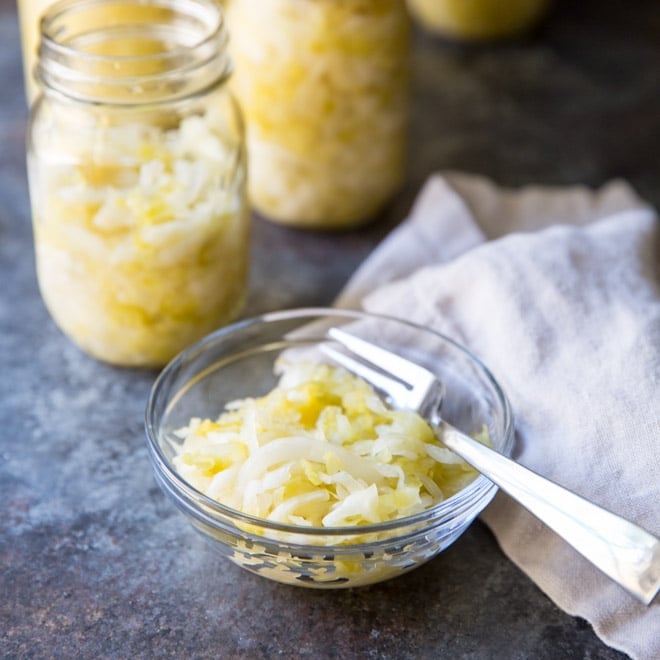
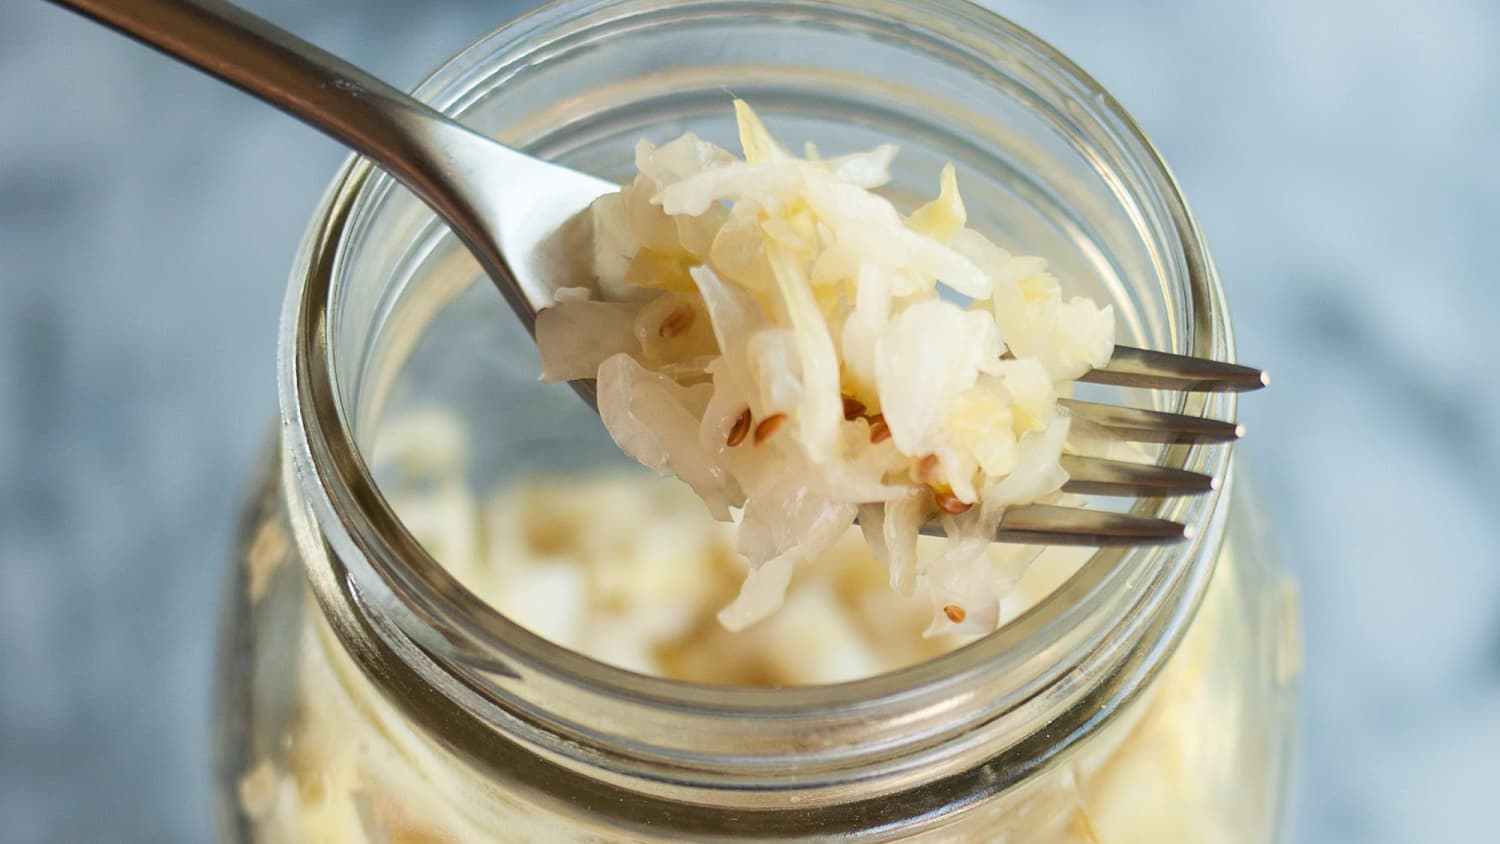
ENJOY! ENJOY! ENJOY! ENJOY! ENJOY!Enjoy a forkful or two of your sauerkraut with your meals. It will continue to ferment—aging like a fine wine—but at a much slower rate than before.
 683 views
