How to Smoke a Brisket on the Big Green Egg
5.0
(10)
Your folders
Your folders
Prep Time: 30 minutes
Cook Time: 720 minutes
Total: 750 minutes
Servings: 12
Author : The BBQ Buddha

Ingredients
Export 3 ingredients for grocery delivery
Instructions
Step 1
Trim the fat cap of the brisket down to ¼”. Trim the large chunk of hard fat that sits between the point and flat muscles on the meat side of the brisket. Trim the sides and ends to be uniform in shape. Add the mustard to the entire surface of the brisket creating a light slather for the spices to adhere to. Mix together the Kosher Salt, Lawry’s Seasoned Salt, and cracked pepper together in a shaker. Now, shake the spice mix evenly across all surfaces of the brisket. Let the meat sit out at room temperature for at least an hour before putting it on the smoker (this allows the meat to start cooking faster at the lower temperature. If you put a large cut of meat like this in the smoker cold, it will add up to an hour or more to your total cook time).
Step 2
Load the lump charcoal, light a small fire, set temperature to 250°F and add 2-3 chunks of smoking wood (preferably Hickory or Post Oak). In kettle smokers you will need to add a water pan to help keep humidity at that 70%-80% range. A Big Green Egg is so well insulated that you do not need to add a water pan to help manage humidity.
Step 3
Once you see the smoke turn from white to blueish gray, it is time to put your meat inside. Place the brisket fat side down in the Big Green Egg. The fat cap renders slowly during the long cook and will act as a barrier between the meat and the heat source helping to keep surface area from drying out. There is much debate on fat side up or down. For me, it depends on which cooker you are using. I have found when the heat source is below the meat, fat side down is the way to go.
Step 4
For the first 3 hours of the brisket cook, leave the brisket alone. Do not open the Big Green Egg for any reason. This first phase is where the pellicle is forming, and the most important smoke absorption occurs. After 3 hours that’s when the fun begins.
Step 5
As you are waiting to check in on the brisket after the 3-hour mark, now is the time to prepare a spray bottle to mist the brisket with for the next part of the cook. Fill your spray bottle with 3 parts water, 1 part apple cider vinegar, a dash of Worcestershire sauce, and a dash of your favorite hot sauce.
Step 6
Once you have made it through the first 3 hours of the cook you should have decent color forming on the outside of the brisket. You want to ensure your pellicle is not too dry or too wet. At this part of the cook, you may need to spray the outside of the brisket with the spritz mixture. To know, look inside the Big Green Egg and touch the surface area of the flat part of the brisket with your fingertip. Do not move or pick up the brisket as you do not want to interrupt the bark formation. You want the surface to be slightly sticky to the touch but not wet. If it is dry and streaky, spray the surface with a spray bottle full of the mixture. This will help the formation of the bark more than anything else. At this stage in the cook, most if not all of the smoke flavor has been absorbed into the meat. But the gases and oils being released from the wood smoldering inside the firebox need to adhere to the surface of the meat in order to form that dark color you want. To ensure that happens, making sure the surface area stays moist is key. You will want to do this every 30 minutes or so until you wrap the brisket after it breaks stall.
Step 7
Brisket is a very large, dense cut of beef. Over time as it cooks slowly inside the Big Green Egg, the fat and collagen break down releasing liquid. After 4 – 5 hours of total cooking time, the internal temperature will stick at one spot usually between 150° and 160°F. This temperature “stall” can last several hours and be frustrating. I suggest using a digital instant read thermometer to check the temperature of both the point and flat muscles. Make sure you are not putting the tip of the thermometer into the deckle (fat layer) as that will not give you accurate results. The best time to check the temperature is when you are looking at the brisket’s bark formation every 30 minutes or so. Open your Big Green Egg, observe the bark formation, take a temperature and note the changes.
Step 8
NOTE: My guidance to you is wait until the brisket breaks stall i.e. the temperature starts rising again before wrapping. In my experience, wrapping is not designed to break the stall but rather help tenderize the meat in the finally stages of the cook. Waiting until stall is broke helps you develop that deep, rich and dark bark you want.
Step 9
Once the internal temperature starts climbing by more than a degree from the stalled temperature, and your bark is a dark mahogany color and not streaking when you mist it, it is time to take off the Big Green Egg and wrap.
Step 10
You have a choice at this point to wrap in aluminum foil or butcher paper. To be direct, I have had success with both methods. However, I usually wrap in butcher paper now as it gives you a slight advantage to bark formation. Basically, paper allows the steam inside to release without getting trapped inside. This helps the bark get darker and provides the texture you want. Wrapping with foil usually speeds up the time to get the brisket probe tender but can impact bark formation. That is why most pit masters today wrap with the butcher paper. When you remove the brisket from the smoker, have two pieces of butcher paper roughly 30” long a piece overlapping and set aside for you to place the brisket on. Place the brisket about 1/3rd of the way up the overlapping butcher paper and spritz one more time with water. Add a few shakes of the spice mixture to the surface of the meat then wrap the brisket up in the paper. Place the wrapped brisket in a large aluminum pan with a cup of beef broth in the bottom. Place the pan with the brisket back in the smoker and let it cook until it is done.
Step 11
From this point it is a waiting game as the brisket will rise in temperature from 170°F to 190° - 210°F. Here are the cues to look for with the actions to take letting you know when the brisket is ready to come off the cooker:
Step 12
Temperature: brisket is two muscles joined together with a thick layer of fat. One muscle is large and fatty while the other is long, flat and lean. Both muscles will not reach temperatures at the same time. So, I like to take my cues from the flat as that is the hardest part to get right. Once your flat starts measuring 190°F to 210°F you are ready to move on to the final test to know if the brisket is done.
Step 13
Feel: now that your flat is measuring between 190° - 210°F, use the thermometer probe to check the flat and point for tenderness. You want the thermometer to go in and out of the brisket with little to no resistance. Think of it like poking a bag of mashed potatoes. That probe needs to slide in and out with ease. If you do not feel that, leave the brisket in your smoker and check every 30 minutes until that is the texture you feel when taking the temperature. Once you get that you are done… but you are not ready to eat yet. Remove the pan with the brisket from the smoker and get ready for it to rest.
Step 14
Now that the brisket is off the Big Green Egg, crack the wrap slightly allowing heat and steam to escape, put the semi-wrapped brisket in an aluminum pan (to catch and drippings), and let it sit at room temperature in until the internal temperature drops to 165°F (usually an hour). This stops the carryover cooking and brings the temperature of the brisket to a place that is optimal for resting. Now take that brisket out of the aluminum pan (leaving it wrapped in the butcher paper), wrap it in plastic wrap, wrap that in an old towel, and place it in an empty cooler for 1 – 4 hours. This resting is a key step to getting your brisket as juicy as possible.
Step 15
NOTE: I say 1 – 4 hours as the longer the brisket rests, the more the juices settle, and the collagen breaks down. The sweet spot for most people is 2 hours but you can wait and extra 2 as needed if it accommodates your serving time.
Step 16
Finally, take the brisket out of the cooler and wrapping then place it on a cutting board. Separate the point from the flat by cutting through the deckle (fatty layer between each muscle). Now slice the flat in to pencil thin slices and the point can be cubed for burnt ends (recipe on page xxx) or slice against the grain for juicy fatty slices of brisket deliciousness.
Top similar recipes
Curated for youYour folders

 203 views
How to smoke a Boston Butt on the B...
thebbqbuddha.com
4.9
(13)
480 minutes
Your folders
 1400 views
How To Smoke Beef Brisket On A Char...
themountainkitchen.com
600 minutes
Your folders
 76 views
How to Smoke Perfect Brisket on a P...
grillnationbbq.com
Your folders
 387 views
How to Smoke Brisket
smokedandcured.com.au
7 hours
Your folders
 254 views
Big Green Egg Brisket
lakegenevacountrymeats.com
Your folders
 262 views
🍕 On the Big Green Egg
holmescooks.com
15 minutes
Your folders

 297 views
How to: smoke a brisket | Kingsford...
kingsford.com
660
Your folders
 438 views
How to Smoke a Turkey on a Traeger
goodlifeeats.com
4.6
(88)
9 hours
Your folders
 421 views
How to smoke a turkey on a traeger
bootsandhooveshomestead.com
4.5
(22)
420 minutes
Your folders
 350 views
How to Smoke Sausage on a Smoker
recipesfordads.com
5.0
(4)
240 minutes
Your folders
 438 views
How to Smoke Corn on the Cob
temeculablogs.com
4.8
(6)
80 minutes
Your folders
 266 views
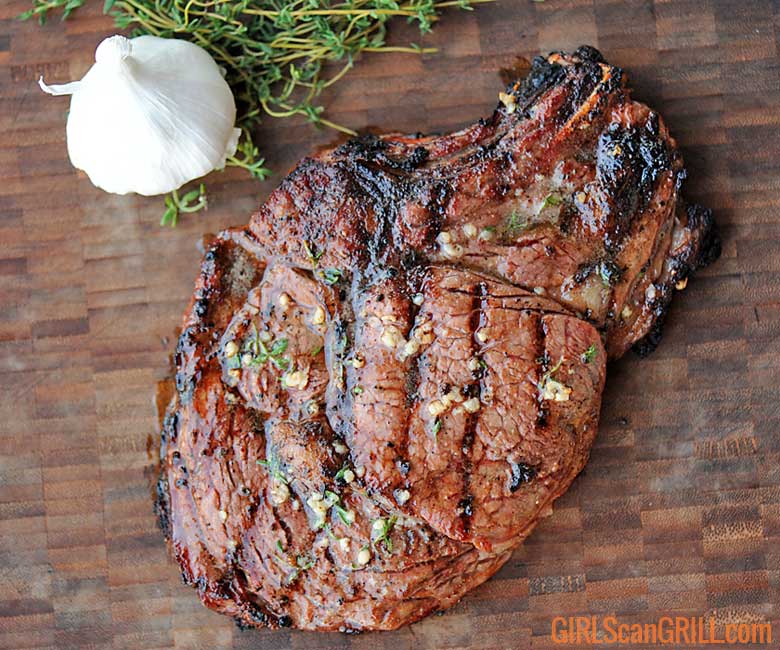
Ribeye Steaks on the Big Green Egg
girlscangrill.com
4.4
(88)
10 minutes
Your folders
 153 views
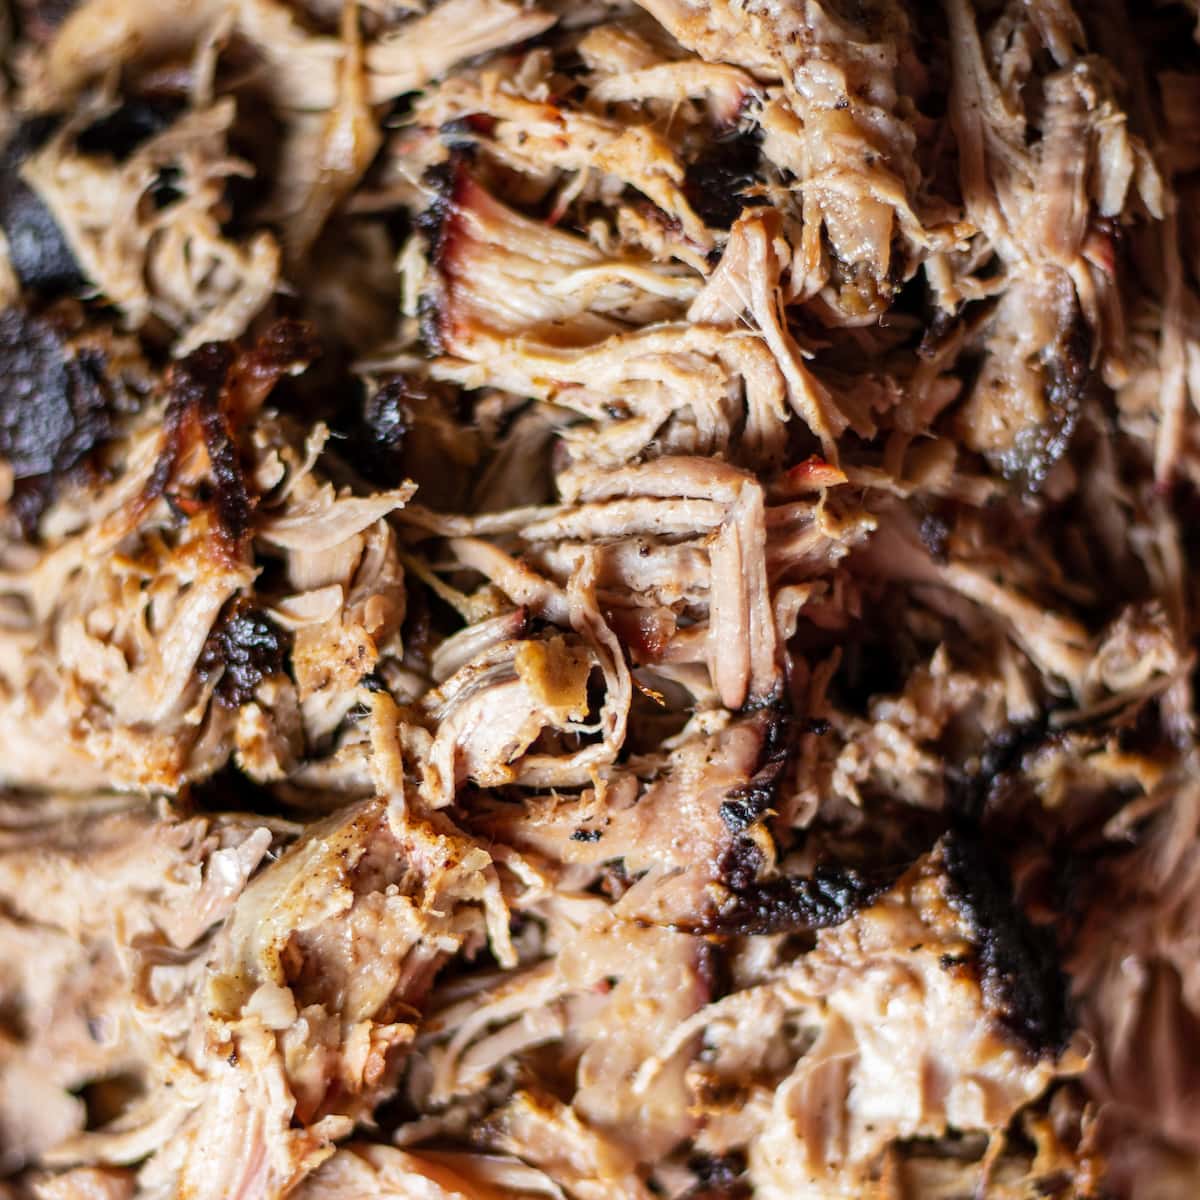
Pulled Pork on the Big Green Egg
holmescooks.com
5.0
(12)
960 minutes
Your folders
 443 views
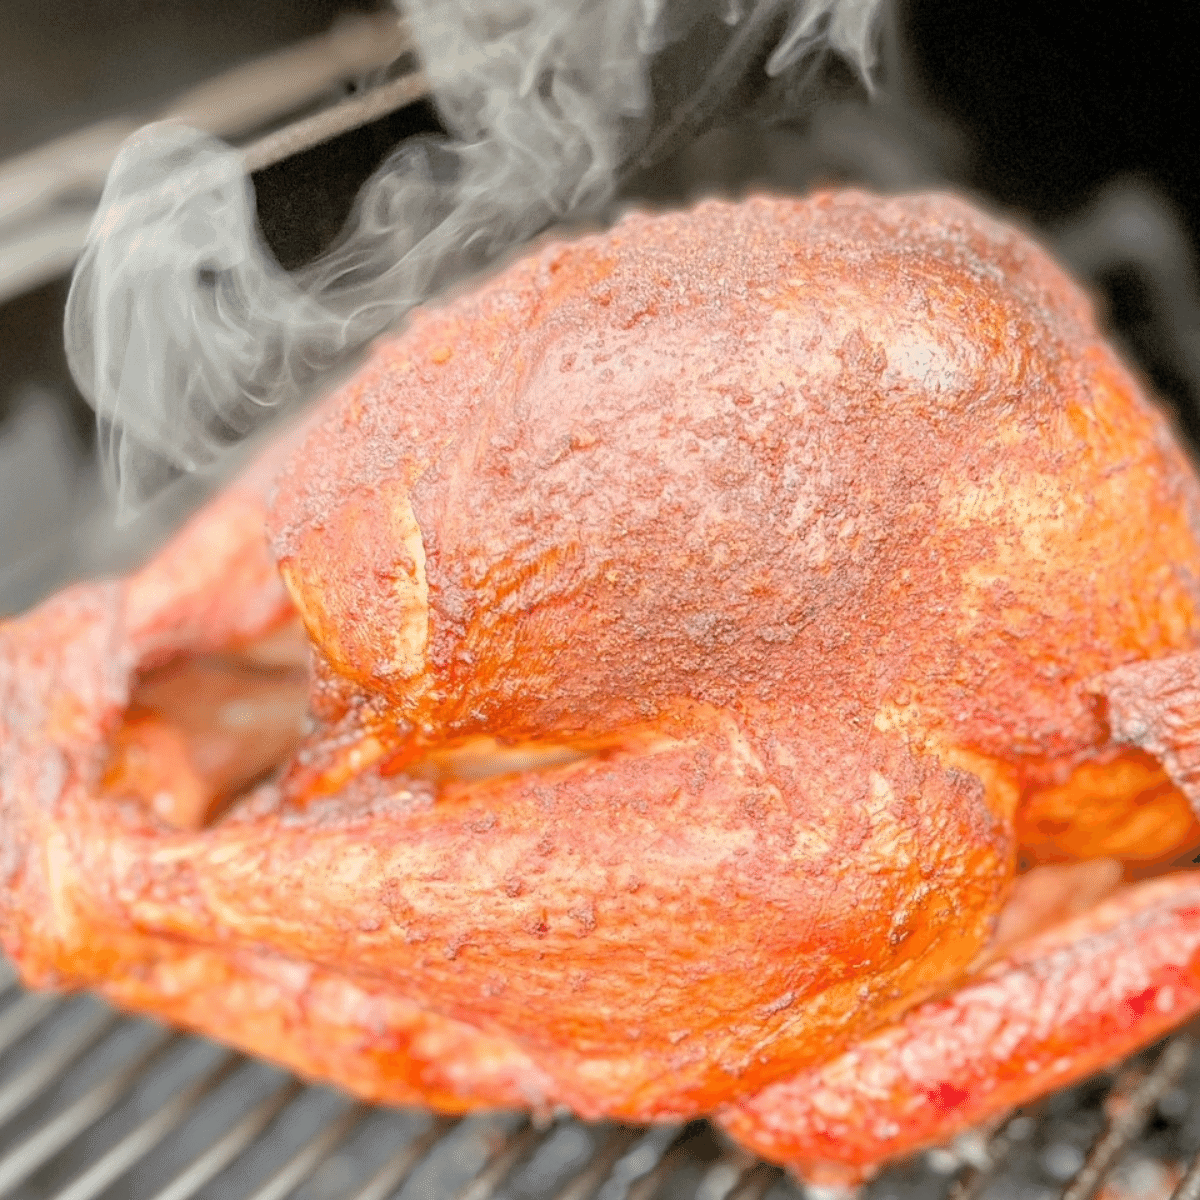
How To Smoke a Turkey on a Pellet G...
windingcreekranch.org
4.9
(67)
300 minutes
Your folders
 416 views
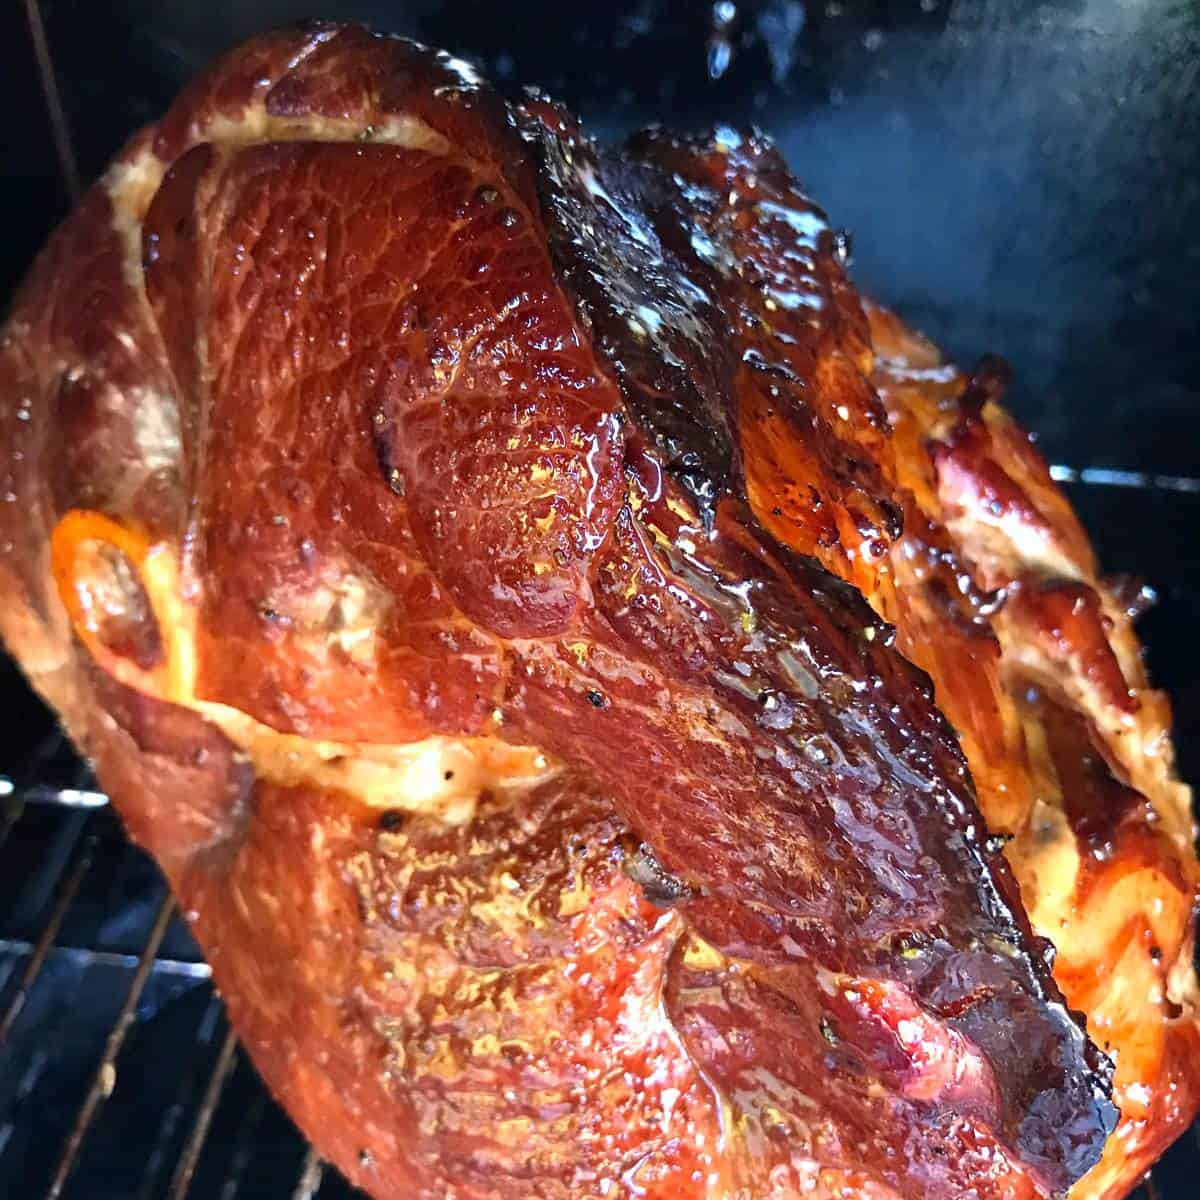
How to Smoke a Ham
daringgourmet.com
4.9
(18)
300 minutes
Your folders
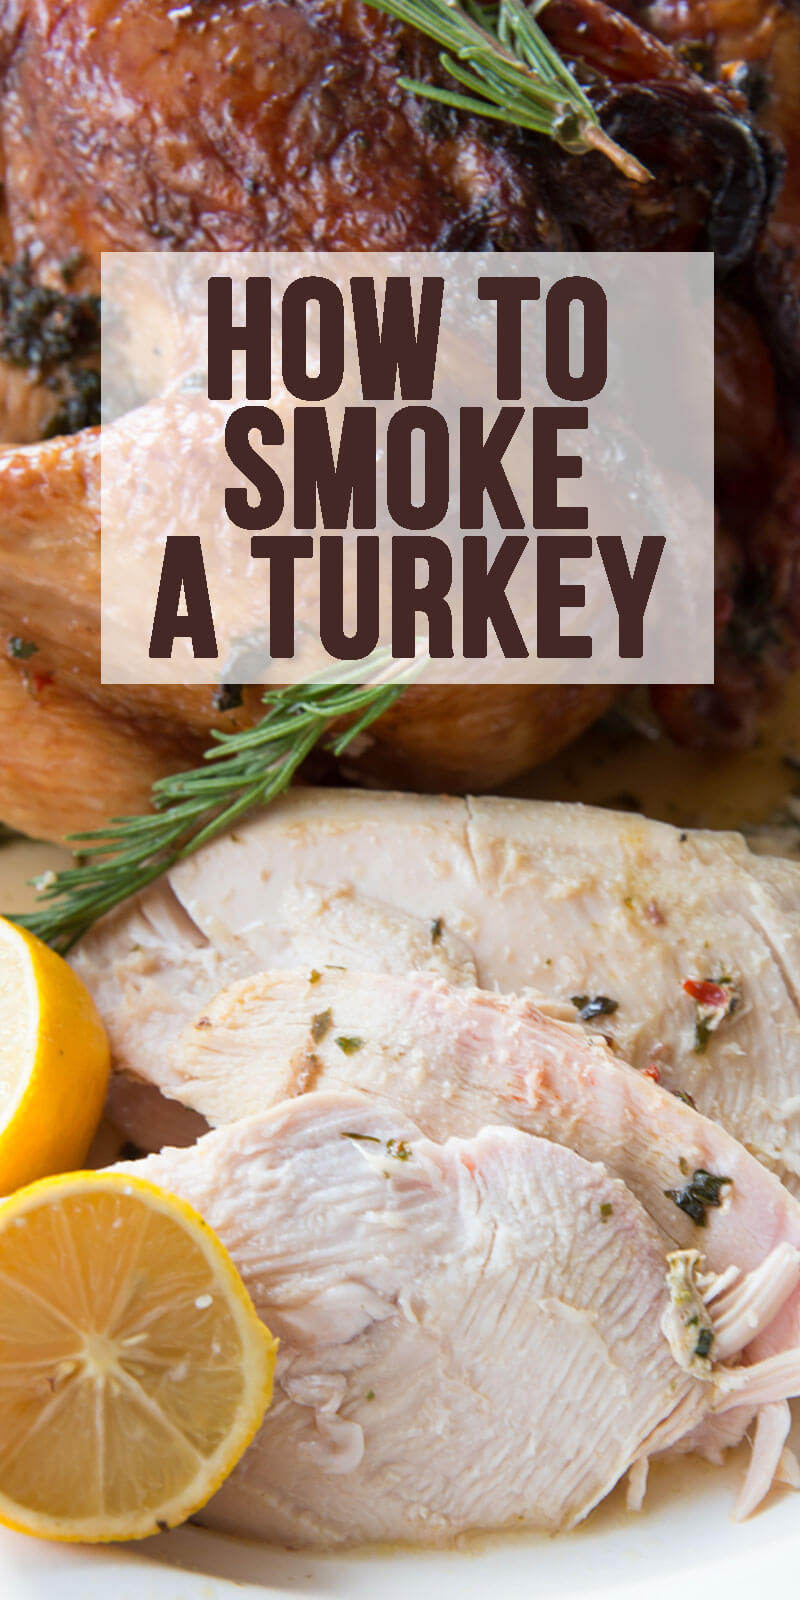
 139 views
How To Smoke A Turkey
eazypeazymealz.com
180 minutes
Your folders
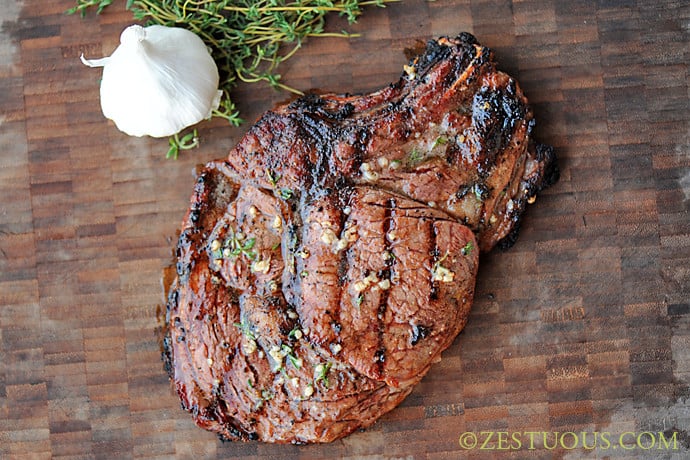
 238 views
Rib-eye Steaks on the Big Green Egg
zestuous.com
4.7
(17)
10 minutes
Your folders
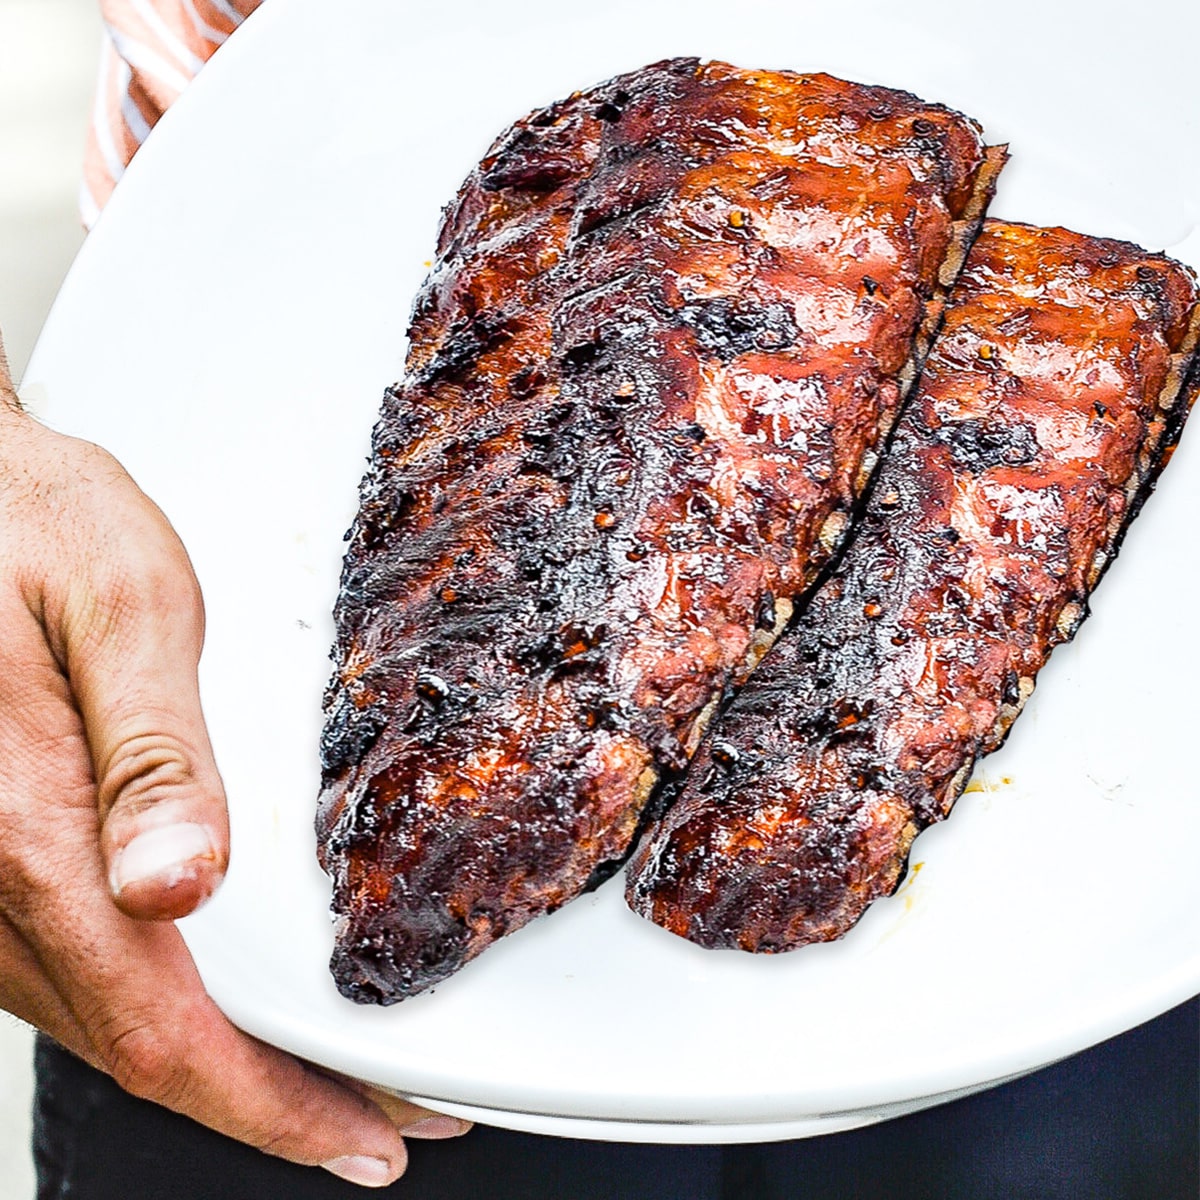
 198 views
Baby Back Ribs on the Big Green Egg
lizzylovesfood.com
4.7
(3)
150 minutes
Your folders

 492 views
Smoked Prime Rib on the Big Green E...
manwhoeats.com
3 hours