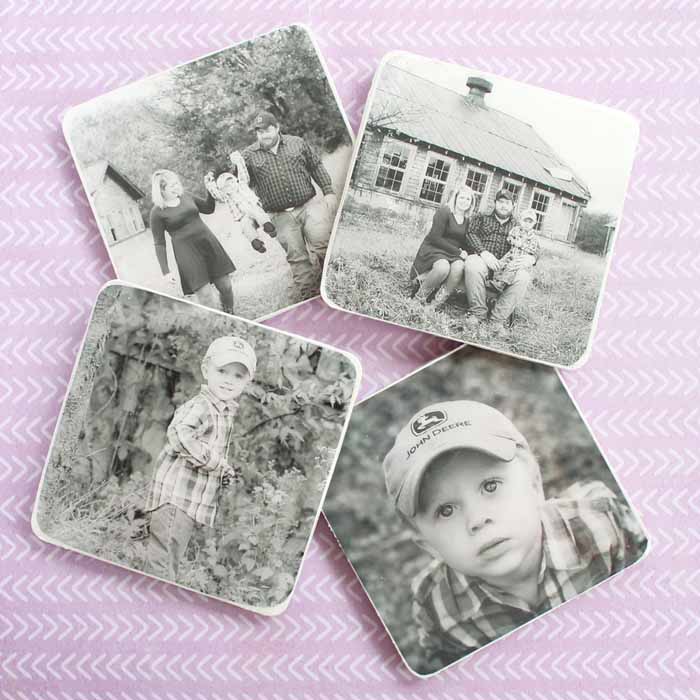
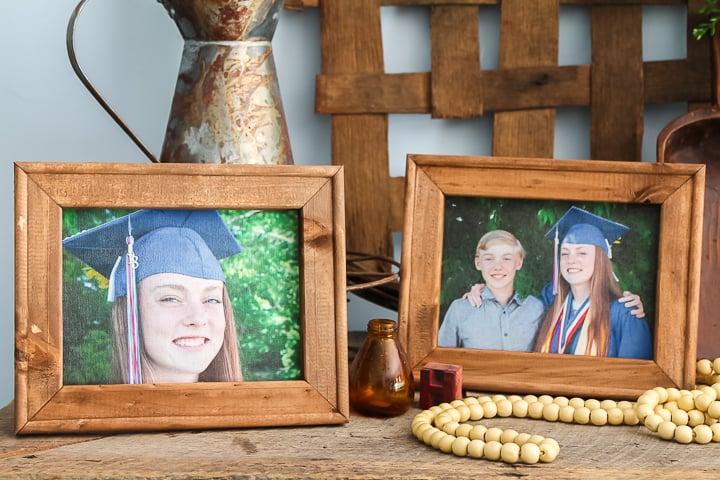
DIY Photo Coasters
Your folders
Your folders
Total: 1500
Ingredients
Export 14 ingredients for grocery delivery
Instructions
Step 1
Start by painting your coasters. I used two coats of white chalk paint on all surfaces (top, bottom, and sides). Be sure to allow to dry in between coats and also before continuing with the tutorial.
Step 2
In the meantime, you can print your images onto your printable tattoo paper. I did mine in black and white. Be sure to mirror your images before printing so they will be the correct orientation when transferred to the coasters.
Step 3
Follow any instructions that comes with your tattoo paper. For this packet, you peel back the liner on the adhesive and put it on top of your printed images. I pressed it down really well using a stir stick like a squeegee.
Step 4
Trace the coasters with a pencil on top of the images. Cut out with scissors.
Step 5
Now just peel away the clear liner to expose the adhesive. Turn the image over with the adhesive down and place it on your painted coaster. Press down really well. Again I used a stir stick like a squeegee to ensure complete adhesion.
Step 6
Then use a damp rag on top of the paper that is covering your image. Do not rub. Just press with the wet rag. Eventually the paper will start to lift from the image. Remove the paper and you are left with a gorgeous image on your coaster.
Step 7
Seal the coasters with two coats of decoupage medium. Apply one horizontally and one vertically allowing to dry in between coats. Allow to dry.
Step 8
Prepare to mix the resin by protecting your work surface: Place paper plates under each coaster. You will also want to raise your coasters up off the work surface. I just used a clay pot turned upside down for this purpose.
Step 9
Apply painter’s tape around the edges of the coasters to protect the edges.
Step 10
Then put on your protective gloves and start mixing your resin, following the directions on the box. Measure equal amounts and use the two container mixing procedure outlined in the instructions.
Step 11
Once covered, I set my coasters on the terra cotta pots over the paper plates. You can then follow the instructions for popping any bubbles that may rise to the surface.
Step 12
Remove painter's tape after an hour or so.
Step 13
Let your DIY photo coasters rest flat and level until they are fully cured – about 24 hours.
Top similar recipes
Curated for youYour folders
 221 views
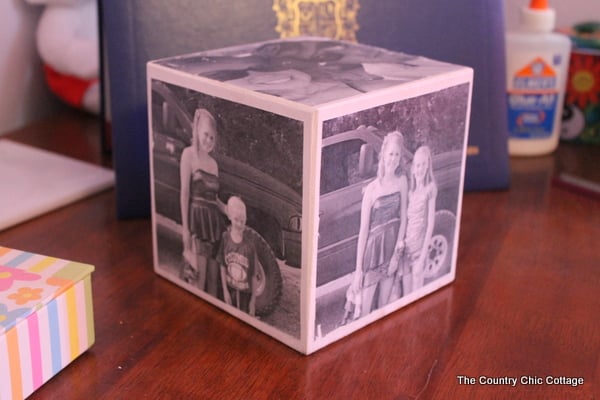
DIY Photo Cube
thecountrychiccottage.net
Your folders
 124 views
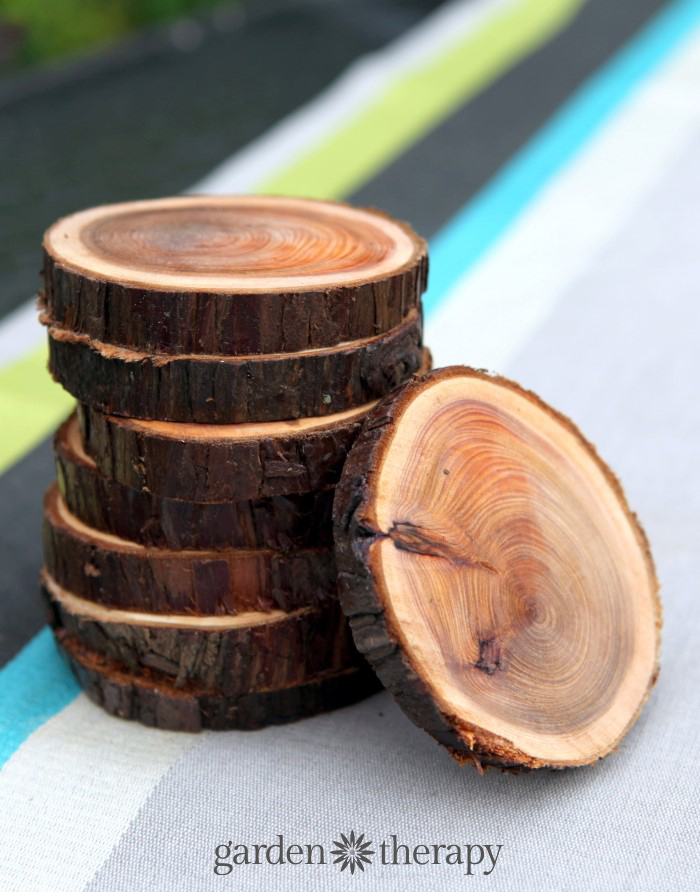
DIY Coasters from Wood Slices
gardentherapy.ca
Your folders
 100 views
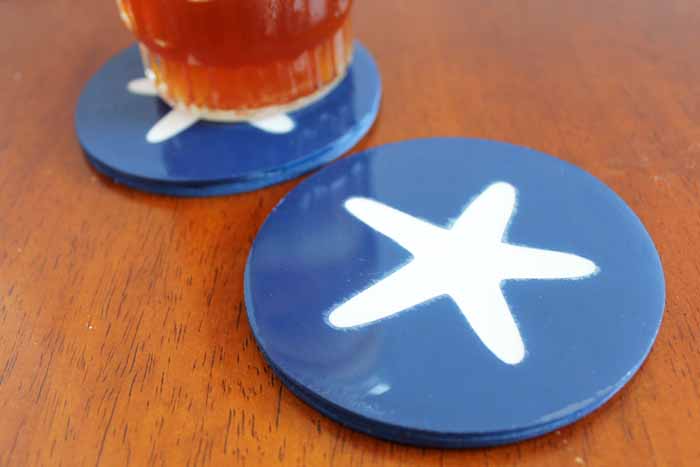
How to Make DIY Wood Coasters with ...
thecountrychiccottage.net
Your folders
 57 views
test photo
recipes.plantjammer.com
Your folders
 94 views
Crochet Sunflower Coasters and Bask...
easybreezycrochet.com
Your folders
 216 views
Pâte de praliné maison facile (nois...
odelices.ouest-france.fr
5.0
(37)
45 minutes
Your folders
 127 views
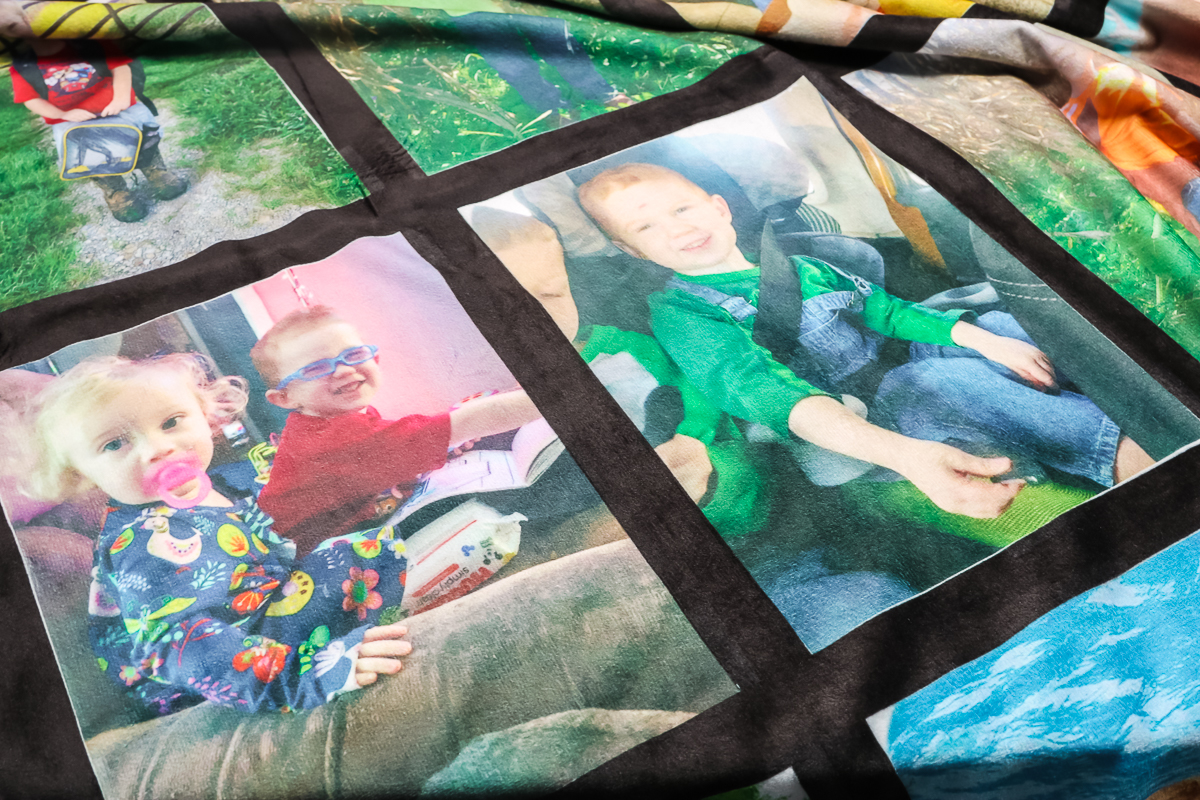
How to Make Sublimation Photo Blank...
thecountrychiccottage.net
Your folders
 69 views
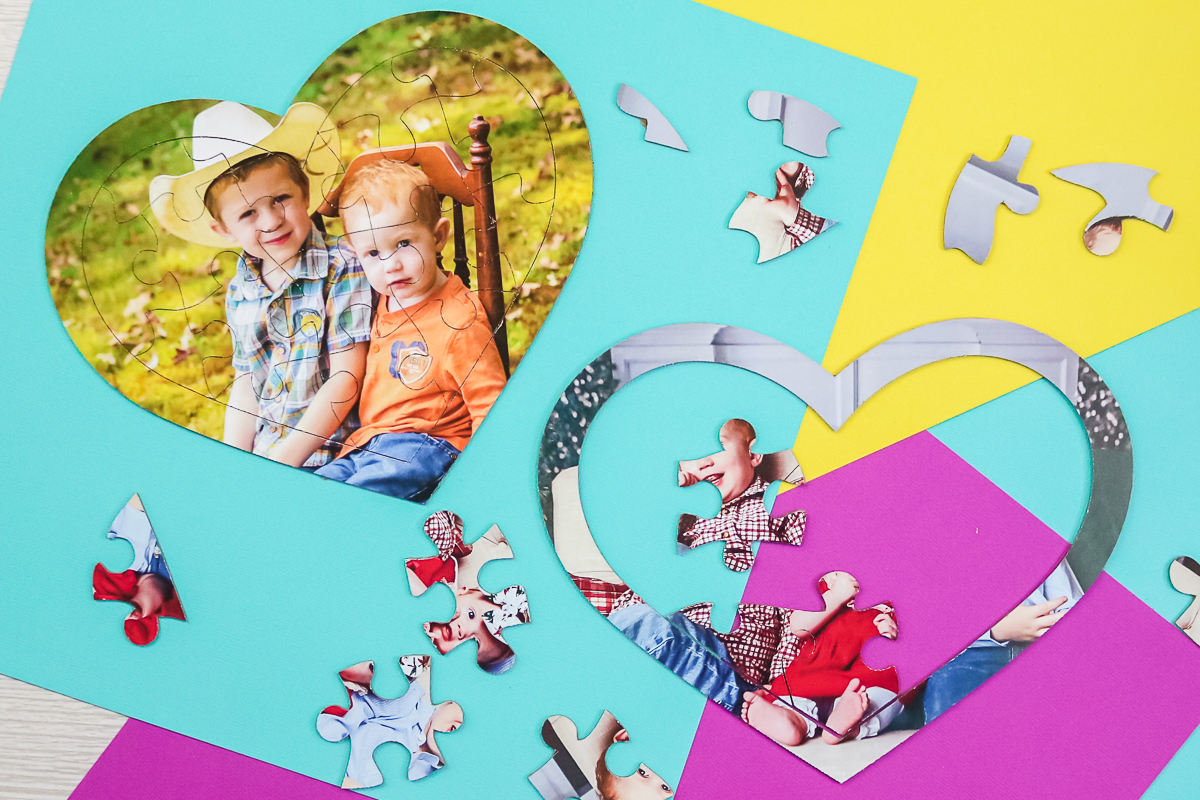
How to Make a Photo Puzzle
thecountrychiccottage.net
Your folders
 48 views
Photo Focus Pressed Powder | Wet n ...
wetnwildbeauty.com
5.0
Your folders
 64 views
Photo Holder for MomPhoto Holder fo...
craftsbyamanda.com
Your folders
 654 views
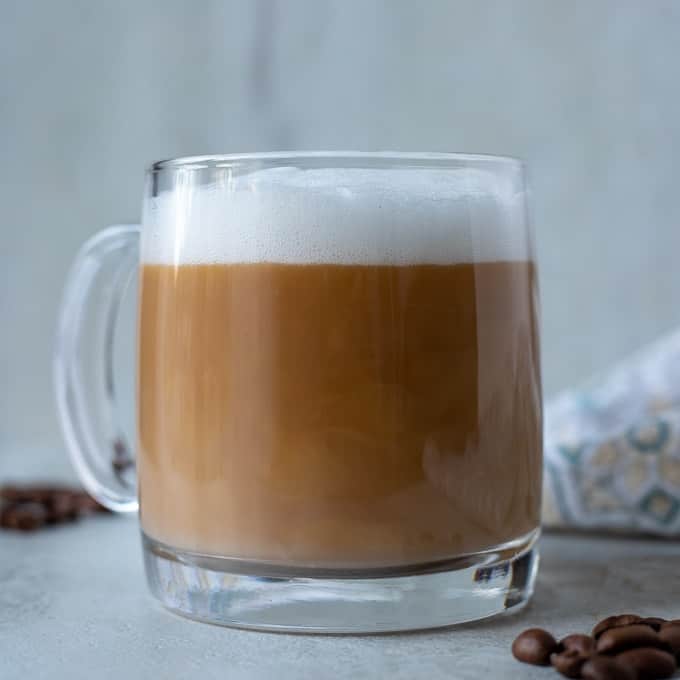
DIY Latte
amindfullmom.com
5.0
(36)
1 minutes
Your folders
 153 views
DIY pizza
taste.com.au
4.6
(3)
10 minutes
Your folders
 279 views
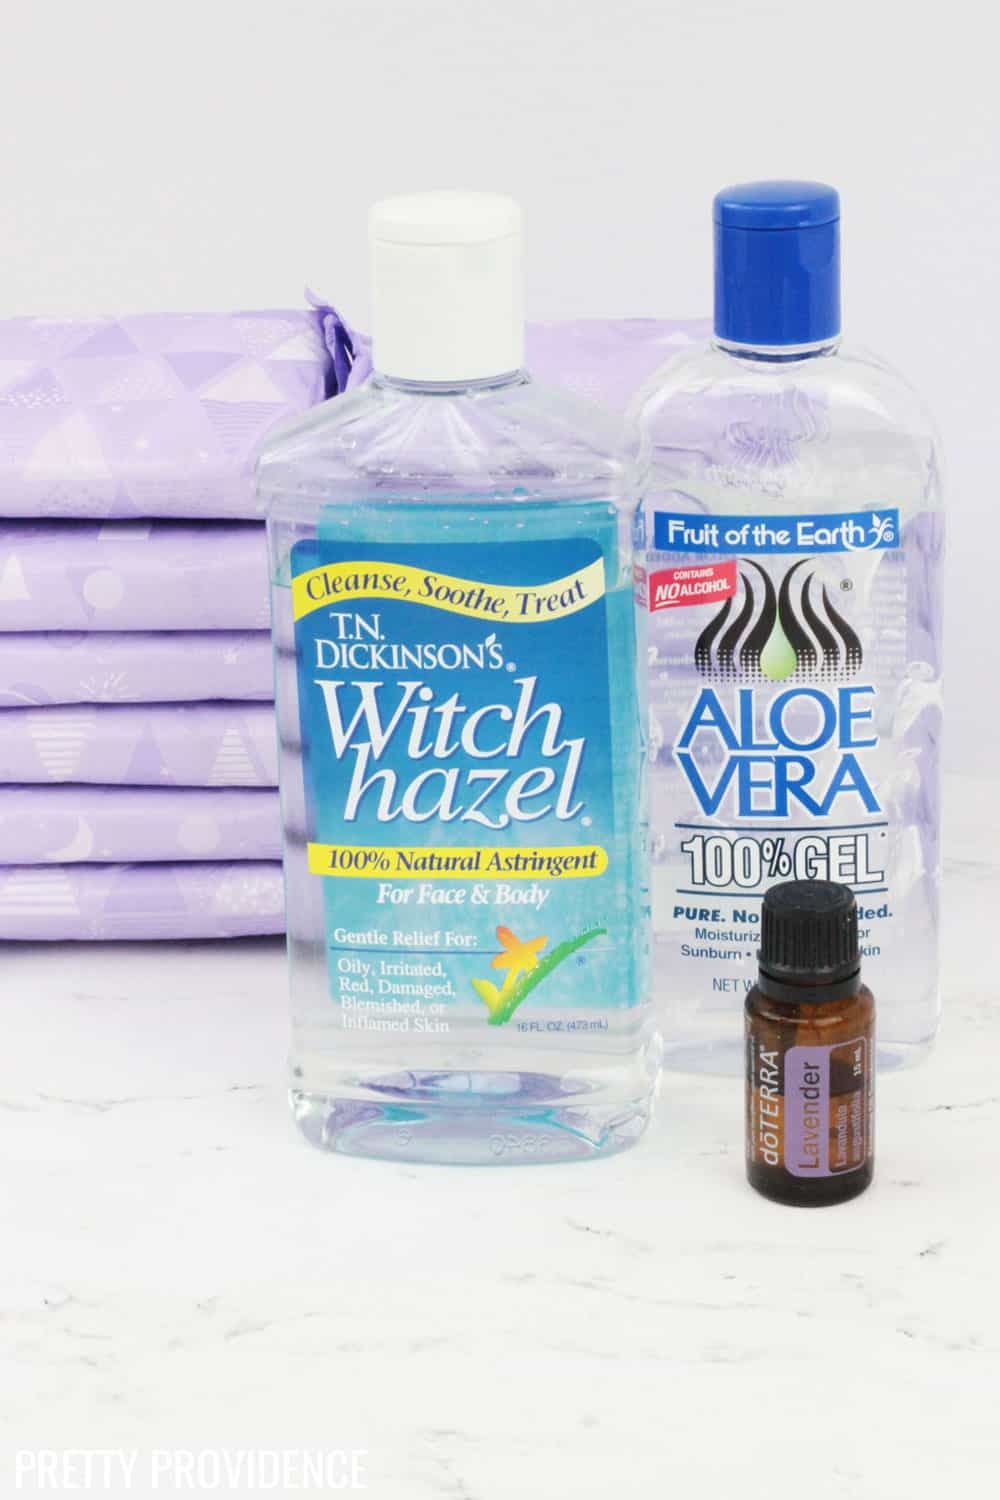
DIY Padiscles
prettyprovidence.com
Your folders
 381 views
Paneer DIY
alphafoodie.com
4.9
(16)
20 minutes
Your folders
 314 views
DIY Notebooks
papernstitchblog.com
Your folders
 306 views
Homemade DIY Shampoo Bar | DIY Natu...
diynatural.com
Your folders
 122 views
Make a DIY Photo CanvasFarmhouse St...
thecountrychiccottage.net
Your folders
 218 views
DIY Yarn Wreath
abeautifulmess.com
Your folders
 451 views
DIY Body Lotion
theearthlyedit.com