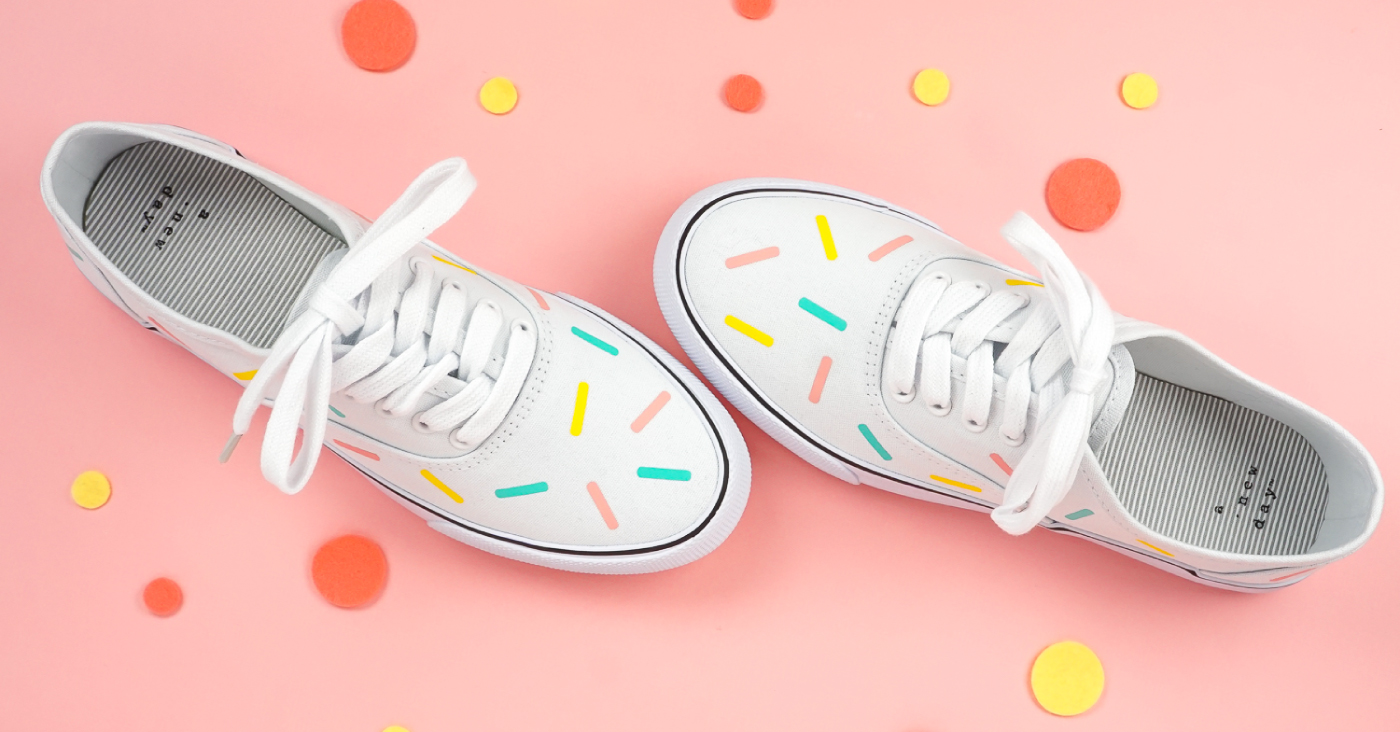
SPRINKLE IRON ON SHOESSPRINKLE IRON ON SHOES
Your folders
Your folders
Ingredients
Export 3 ingredients for grocery delivery
Instructions
Step 1
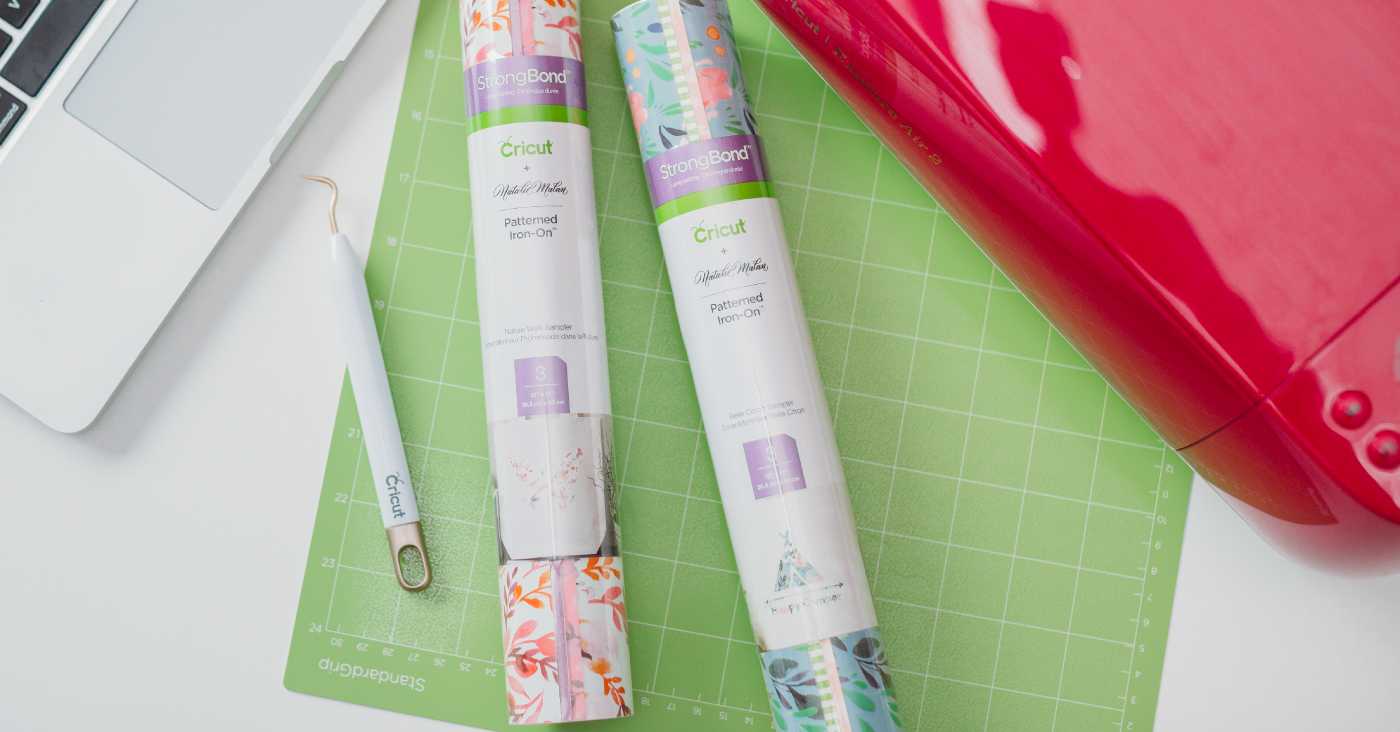
Cut the sprinkles in various colors of Cricut Everyday Iron On. For this project the classic colors of pink, yellow, and blue are being used, but you could make the sprinkles whatever color you'd like! You can also make them bigger or smaller.When you're ready, click Make It in the upper left corner.
Step 2
In the Prepare Screen, click the "mirror" option for each layer. This isn't really important with these sprinkles, but it's good to be in the habit of mirroring all of your iron on projects.In the Make Screen, instead of choosing the "Everyday Iron On" material setting, choose "Cardstock." This will cut all the way through the iron on carrier sheet. This means you don't have to weed your project, and it's easier to place your sprinkles down on your shoes.
Step 3
Cut Your Iron OnPlace your iron on shiny-side down on your cutting mat and cut using your Cricut Explore or Maker.Once cut, lift up the excess iron on and you'll see you have a bunch of tiny sprinkles with tiny sprinkle-shaped carrier sheets on them.
Step 4
Iron On Shoes with the EasyPress MiniSet the EasyPress Mini to medium and wait for it to come to temperature. Place a balled-up sock inside the shoe—this gives you the necessary resistance when pressing with the Mini.
Step 5
Place a sprinkle onto the shoe, shiny-side up, and press with the Mini for 20 seconds or until the sprinkle is adhered. Make sure you're pressing against the sock and not your fingers—the Mini can burn you through the canvas shoe. Make sure to avoid the rubber sole of the shoe.
Step 6
Do not remove the carrier sheet on the sprinkle. First, adhere all of the sprinkles. Keeping the carrier sheet over each sprinkle helps protect it from the heat place and means you don't need to worry about using a pressing cloth.
Step 7
Once you have all of the sprinkles adhered, remove all of the carrier sheets and you're done!
Step 8
Cut the sprinkles in various colors of Cricut Everyday Iron On. For this project the classic colors of pink, yellow, and blue are being used, but you could make the sprinkles whatever color you'd like! You can also make them bigger or smaller.When you're ready, click Make It in the upper left corner.
Step 9
In the Prepare Screen, click the "mirror" option for each layer. This isn't really important with these sprinkles, but it's good to be in the habit of mirroring all of your iron on projects.In the Make Screen, instead of choosing the "Everyday Iron On" material setting, choose "Cardstock." This will cut all the way through the iron on carrier sheet. This means you don't have to weed your project, and it's easier to place your sprinkles down on your shoes.
Step 10
Cut Your Iron OnPlace your iron on shiny-side down on your cutting mat and cut using your Cricut Explore or Maker.Once cut, lift up the excess iron on and you'll see you have a bunch of tiny sprinkles with tiny sprinkle-shaped carrier sheets on them.
Step 11
Iron On Shoes with the EasyPress MiniSet the EasyPress Mini to medium and wait for it to come to temperature. Place a balled-up sock inside the shoe—this gives you the necessary resistance when pressing with the Mini.
Step 12
Place a sprinkle onto the shoe, shiny-side up, and press with the Mini for 20 seconds or until the sprinkle is adhered. Make sure you're pressing against the sock and not your fingers—the Mini can burn you through the canvas shoe. Make sure to avoid the rubber sole of the shoe.
Step 13
Do not remove the carrier sheet on the sprinkle. First, adhere all of the sprinkles. Keeping the carrier sheet over each sprinkle helps protect it from the heat place and means you don't need to worry about using a pressing cloth.
Step 14
Once you have all of the sprinkles adhered, remove all of the carrier sheets and you're done!
Top similar recipes
Curated for youYour folders
 120 views
USING CRICUT PATTERNED IRON ON – MA...
heyletsmakestuff.com
Your folders
 254 views
Iron Negroni
diffordsguide.com
5.0
(6)
Your folders
 592 views
Cast-Iron Pizza
foodnetwork.com
4.5
(37)
15 minutes
Your folders
 707 views
Cast Iron Pizza
thecozyapron.com
24 minutes
Your folders
 729 views
Cast-Iron Steak
cooking.nytimes.com
5.0
(2.7k)
Your folders
 339 views
Cast Iron Cornbread
allrecipes.com
4.4
(49)
25 minutes
Your folders
 173 views
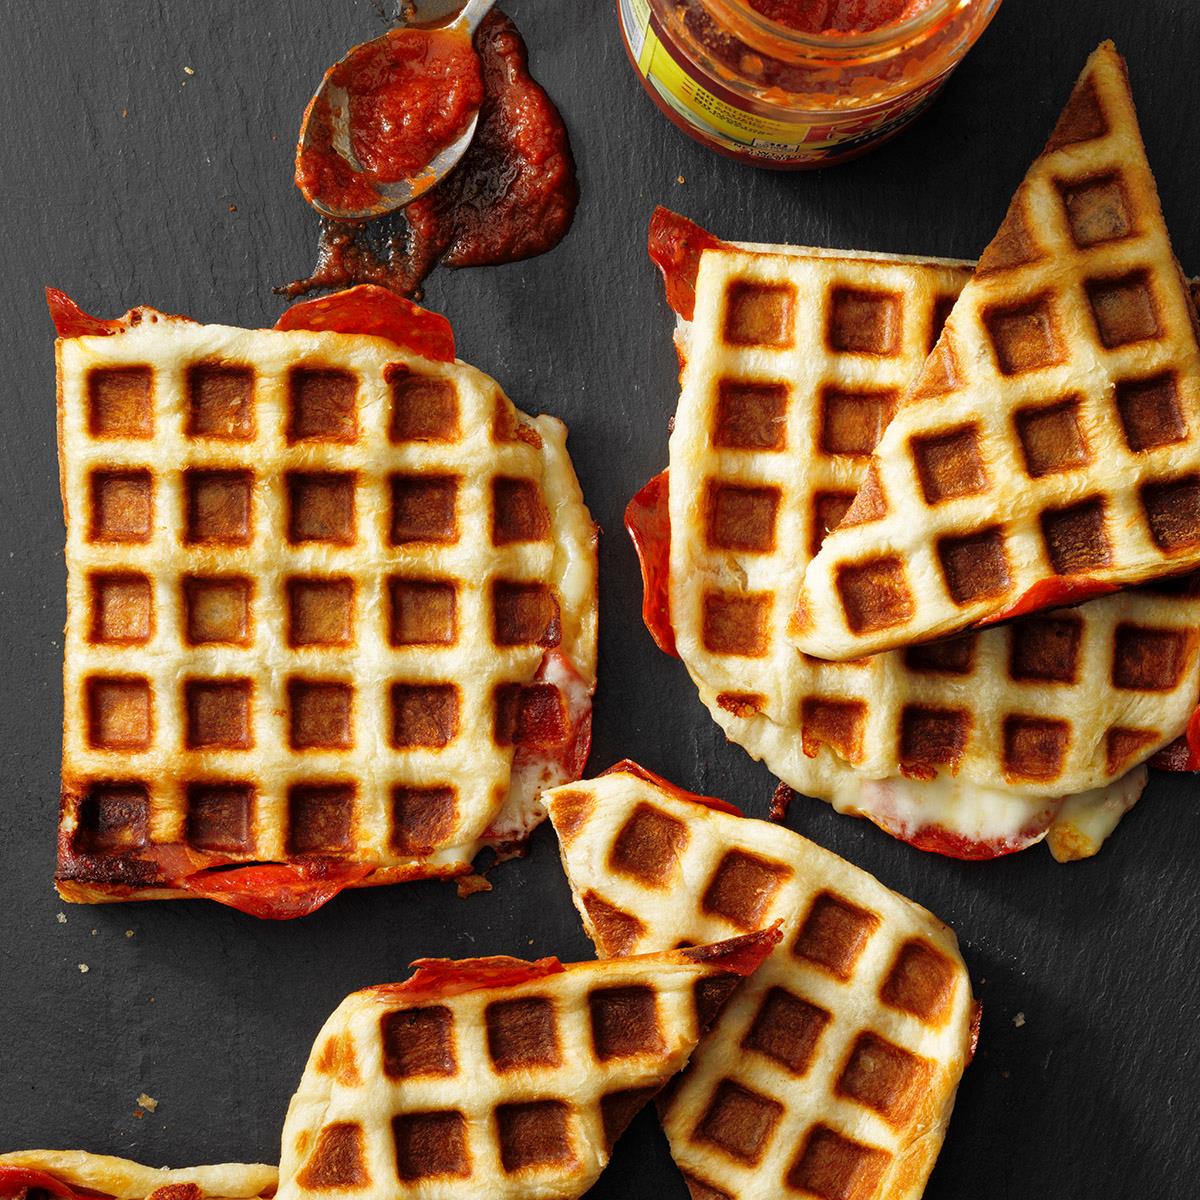
Waffle-Iron Pizzas
tasteofhome.com
4.0
(4)
20 minutes
Your folders
136 viewsWaffle-Iron Pizzas
tasteofhome.com
4.0
(4)
20 minutes
Your folders
 435 views
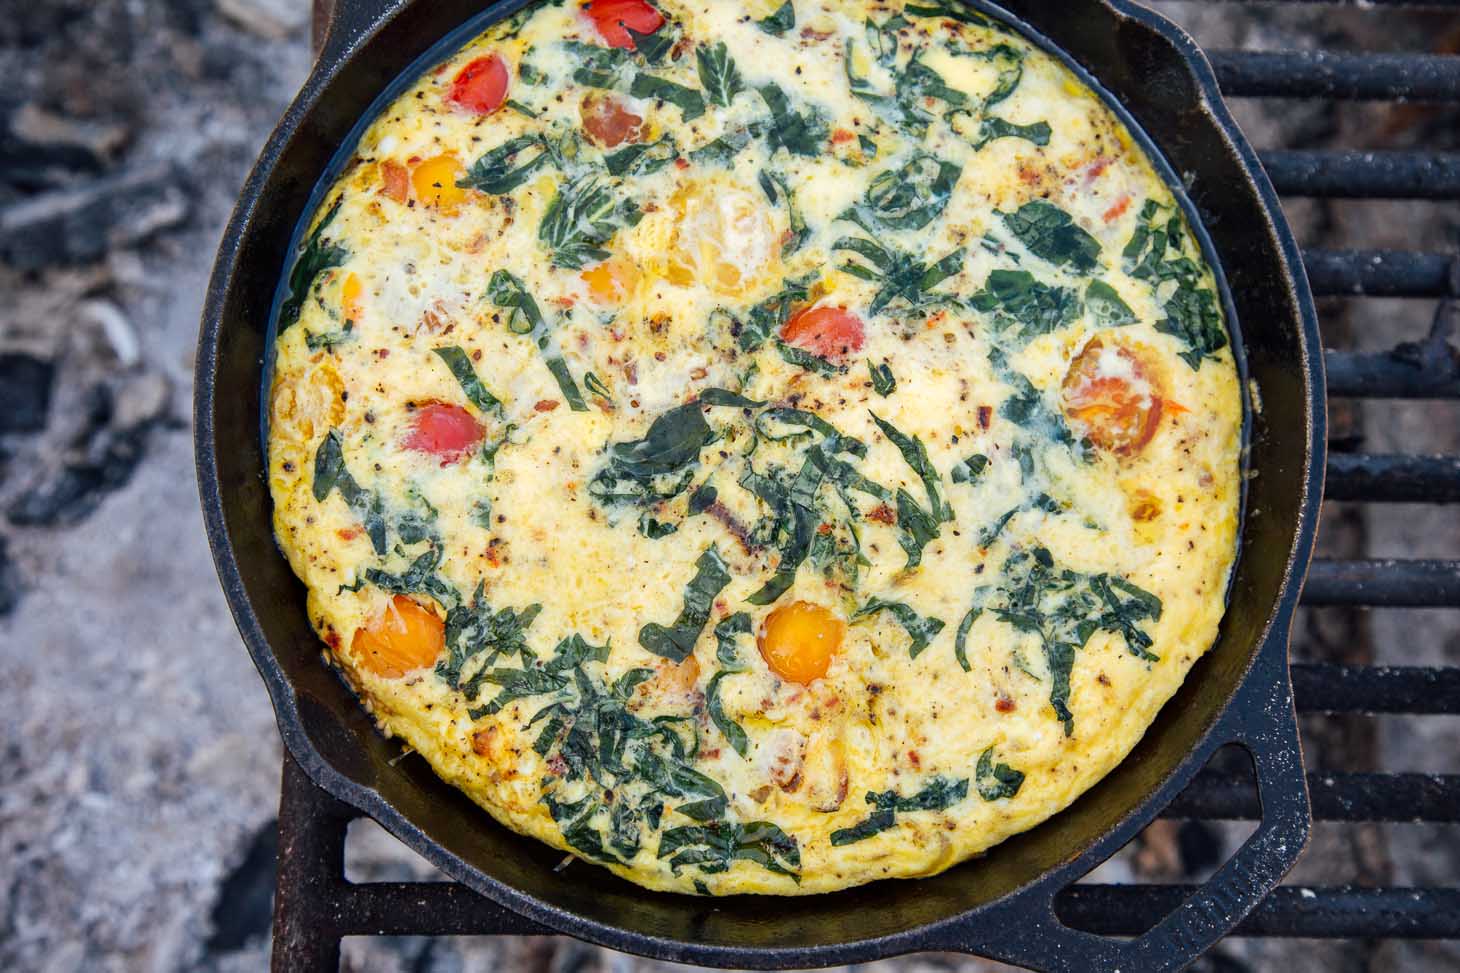
Cast Iron Frittata
freshoffthegrid.com
4.7
(10)
25 minutes
Your folders
 367 views
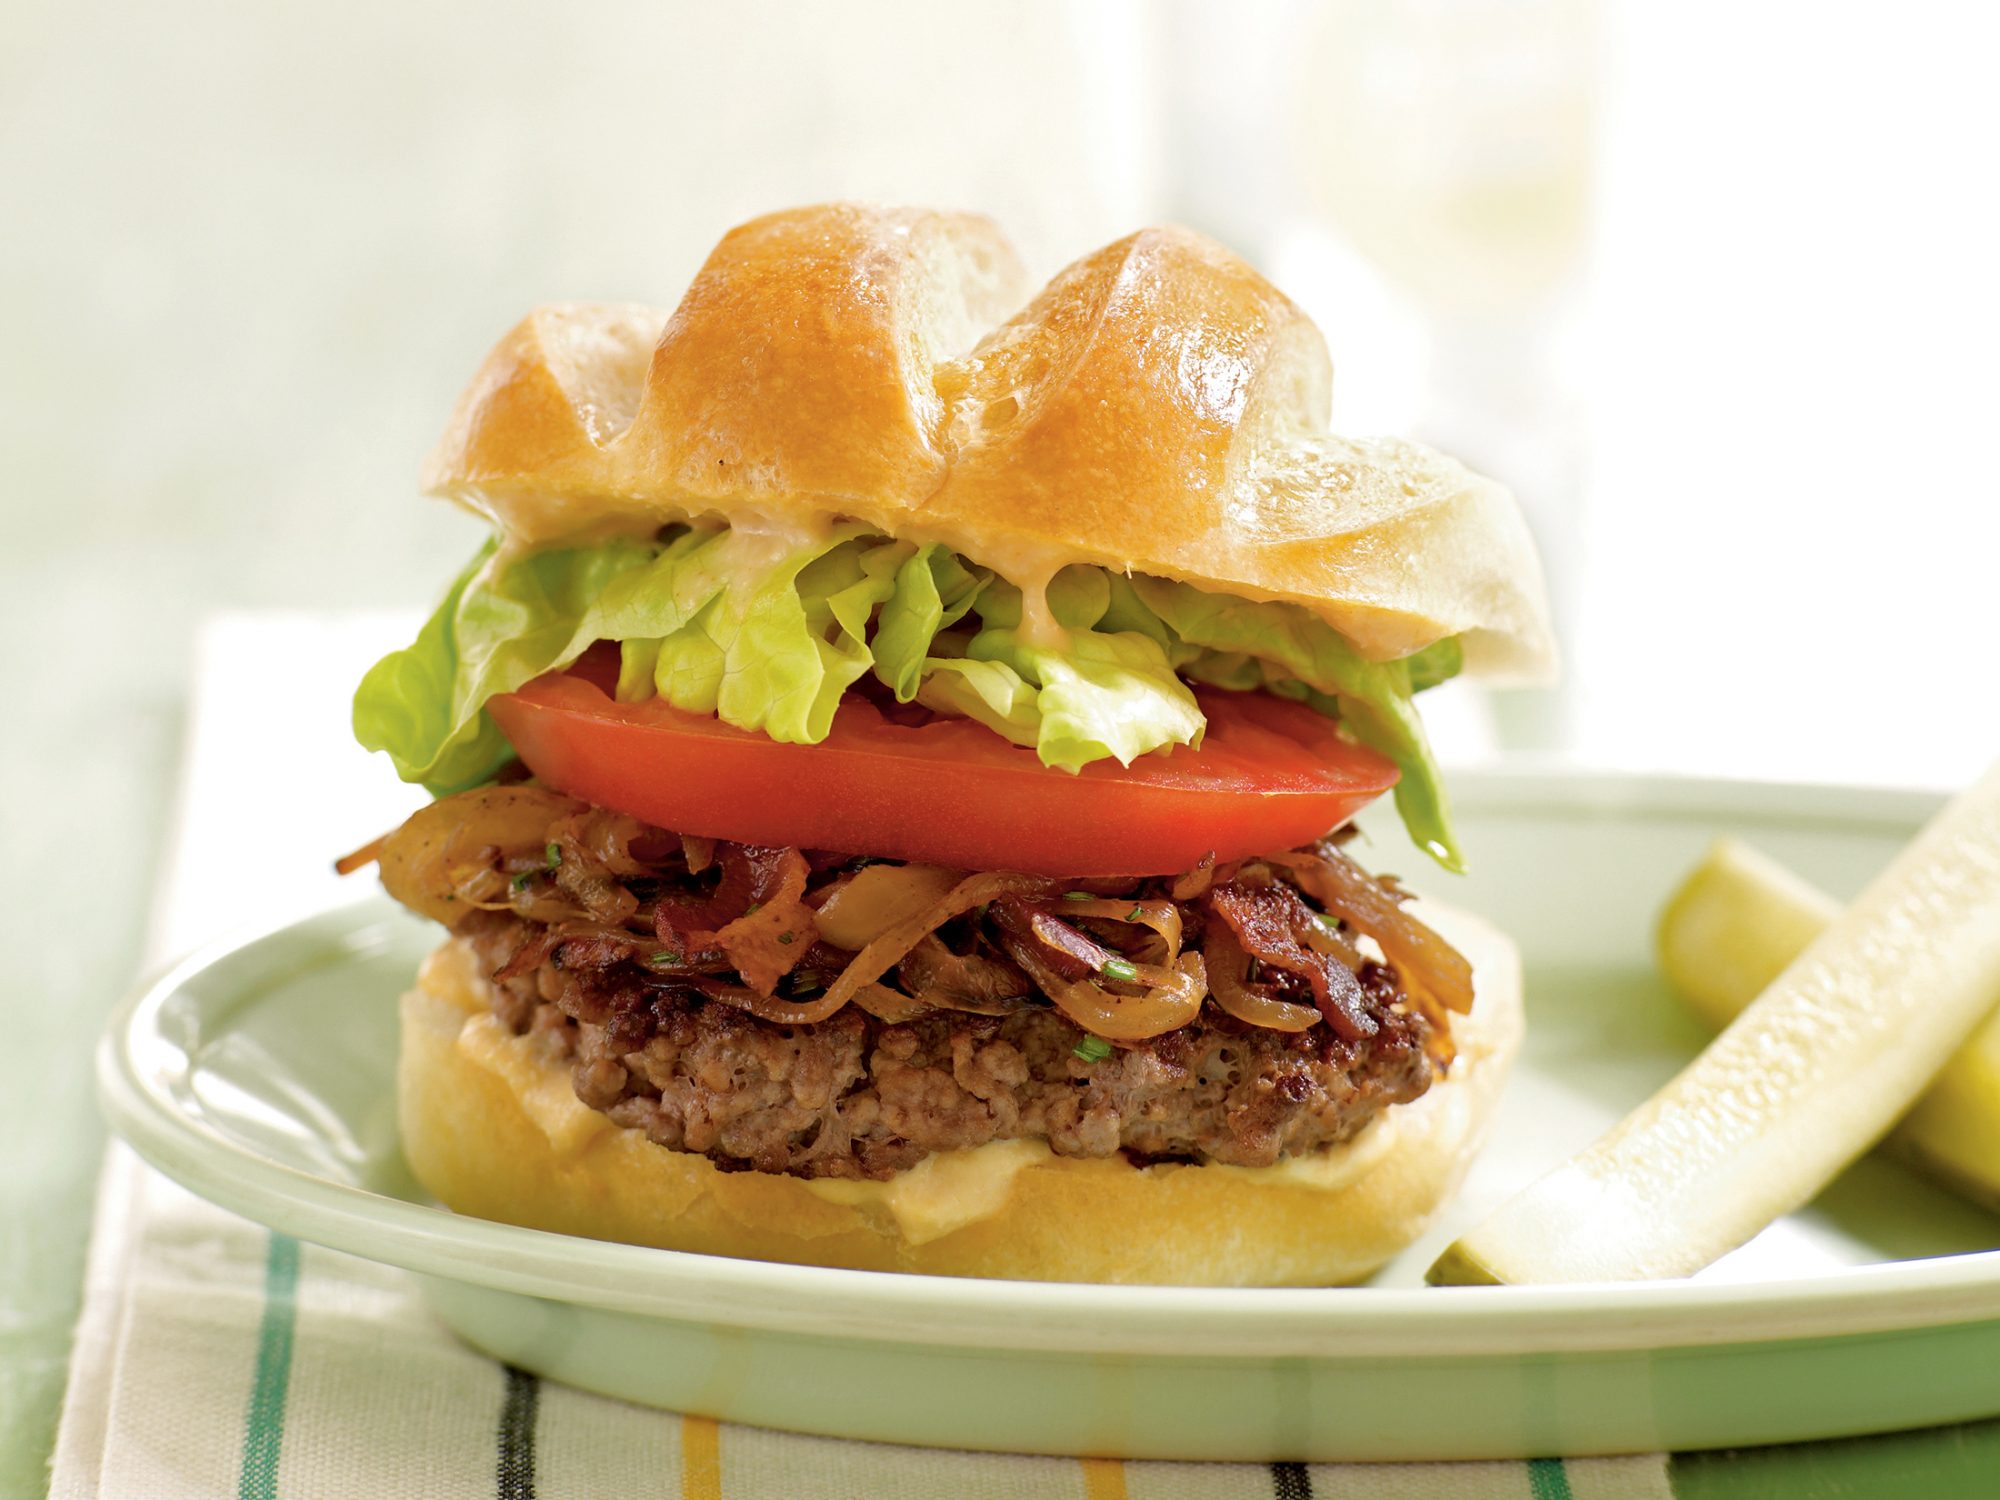
Cast-Iron Burgers
myrecipes.com
4.5
(19)
Your folders
 231 views
Flat Iron Steak
delish.com
Your folders
 340 views
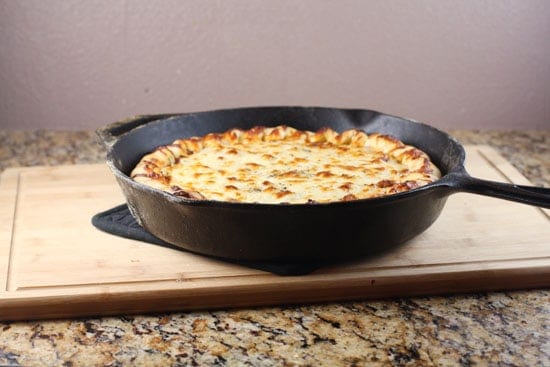
Cast Iron Pizza
macheesmo.com
3.5
(75)
Your folders
 378 views
Cast Iron Lasagna
saltandbaker.com
5.0
(4)
30 minutes
Your folders
 205 views
Iron Skillet Cake
thesouthernladycooks.com
45 minutes
Your folders
 42 views
Iron Skillet Cake
thesouthernladycooks.com
Your folders
56 viewsIron Skillet Cake
thesouthernladycooks.com
Your folders
 241 views
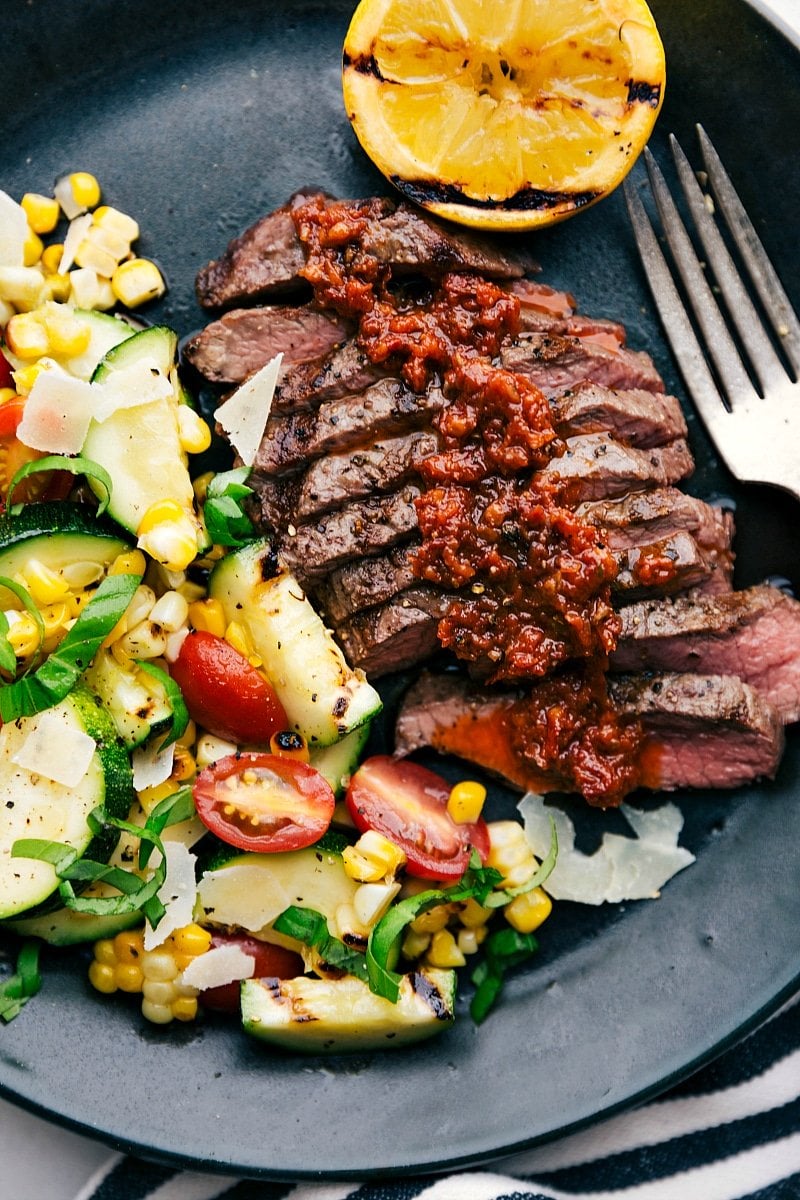
Flat Iron Steak
chelseasmessyapron.com
5.0
(9)
12 minutes
Your folders
 282 views
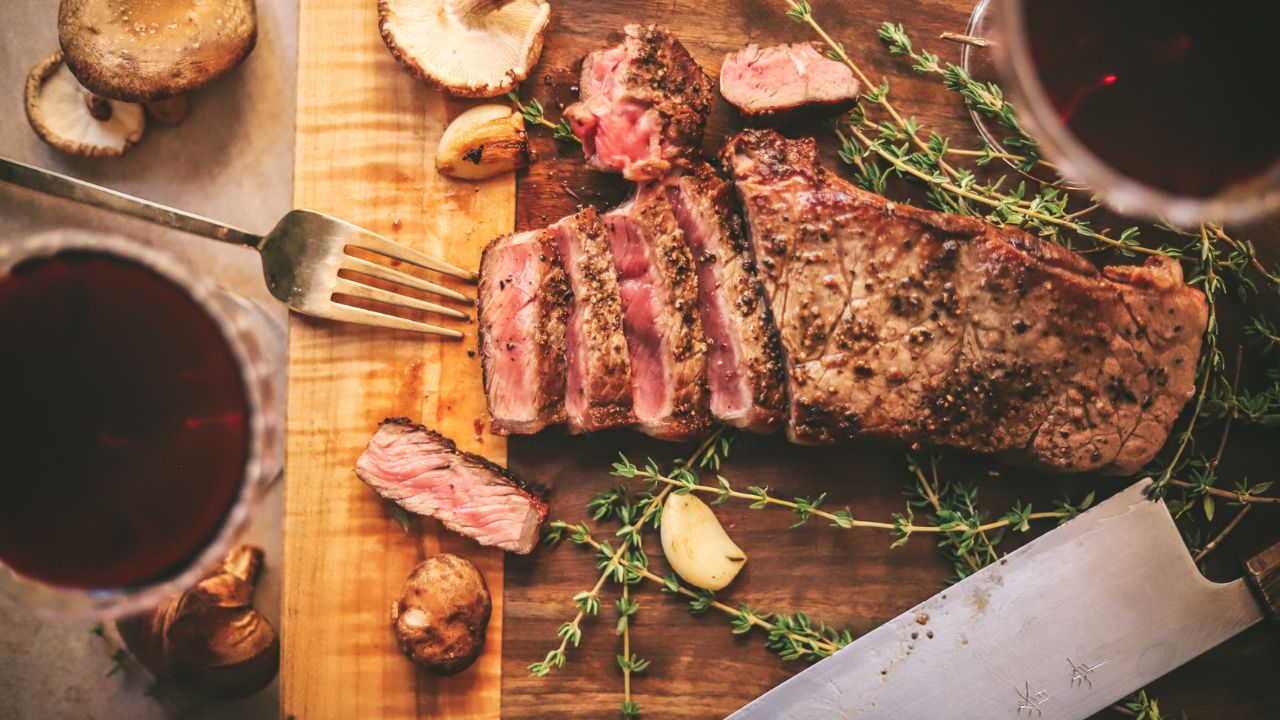
Cast Iron Steak
thegourmetbonvivant.com
5.0
(1)
15 minutes
Your folders
413 viewsCast Iron Steak
thegourmetbonvivant.com