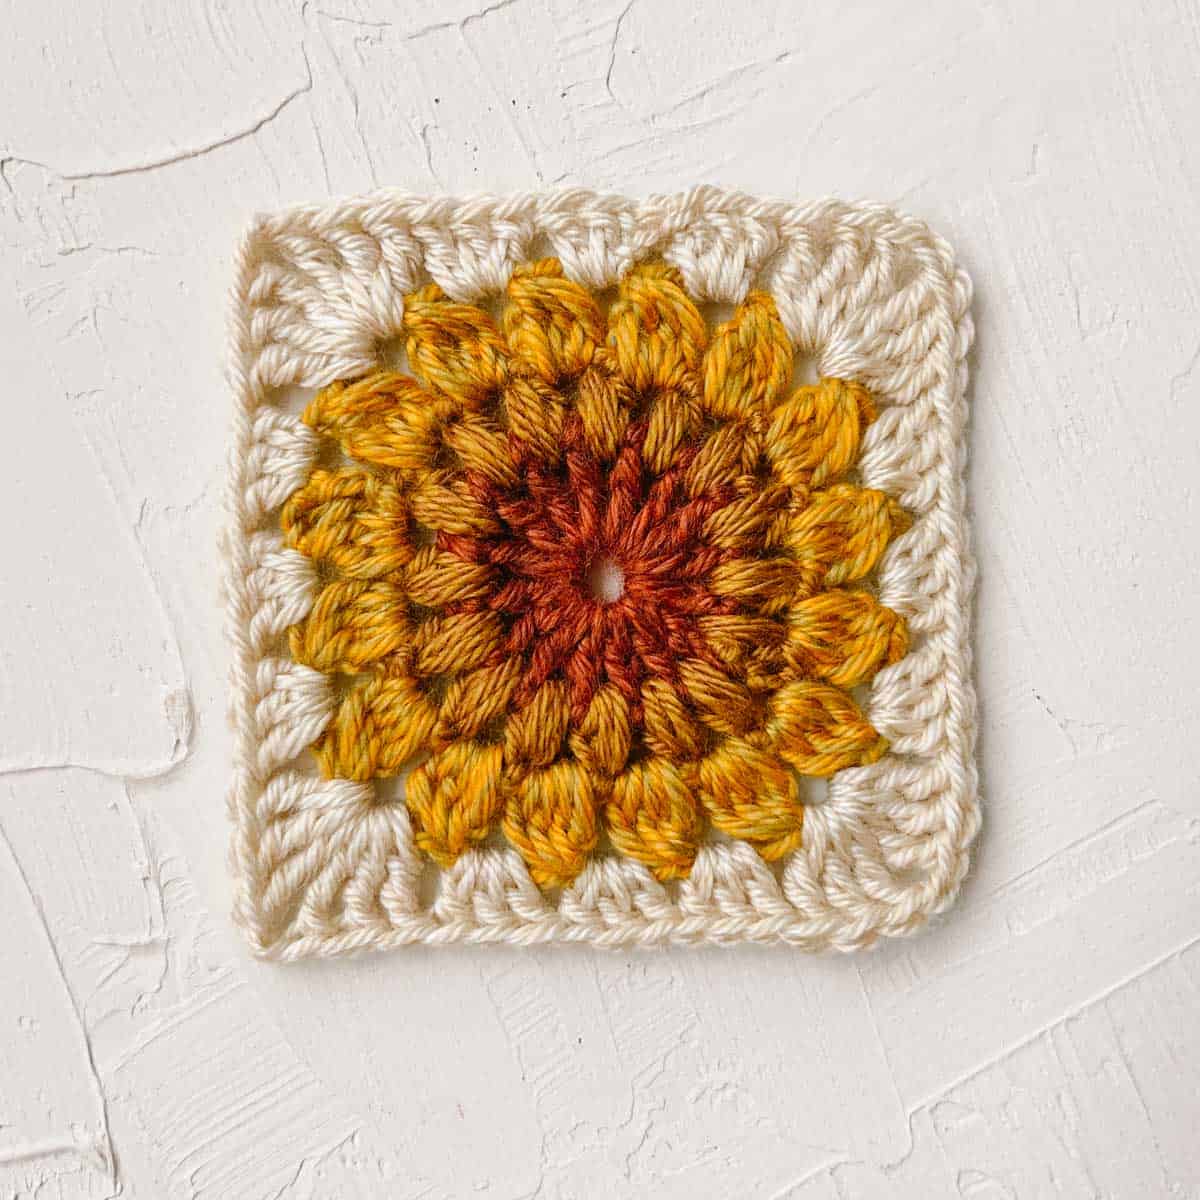
The Halcyon Granny Square Bucket Hat - a pattern peek
Your folders
Your folders
Total: 600

Ingredients
Export 10 ingredients for grocery delivery
Instructions
Step 1
1. Begin with a magic ring to create a foundation loop.
Step 2
2. Increasing at a rate of 6 single crochet per round, continue growing your circle until you've completed seven rounds.
Step 3
3. Stop to measure your gauge. This is important for ensuring your bucket hat is the size you expect.
Step 4
4. Continue increasing at a rate of 6 single crochet per round until you lhave 16 rounds total.
Step 5
5. Work the final two rounds without increasing, simply placing one single crochet in each stitch.
Step 6
Make 6 total granny squares.
Step 7
1. Begin with a magic ring to create a foundation loop.
Step 8
2. Crochet rounds 1-3 as outlined in the free pattern above. Each round should increase by 1 "cluster" per side. (Cluster = a set of 3 double crochet)
Step 9
3. Measure your square. Each should be about 3" across. If sizing is off, adjust hook size and remake until accurate measurement is reached. This is essential for ensuring finished hat measures as expected.
Step 10
1. Follow diagram that maps out the path to join all squares without fastening off. (No extra ends to weave it – hooray!)
Step 11
2. Beginning in corner #1 of the first granny square, work up first square side, then around to side #2 and #3.
Step 12
3. Grab next granny square and join it to side #3 of first granny square.
Step 13
4. Work side #2 and #3 of second granny square.
Step 14
5. Repeat steps 3-4 until all squares are joined.
Step 15
6. End by joining side #1 of first square to side #3 of sixth square. You should now have essentially a granny square headband.
Step 16
7. Crochet bottom border as outlined in free pattern above. Keep yarn attached.
Step 17
1. Use yarn that's already attached to follow the "set up round" in the free pattern above. The most important part of this step is ensuring the correct stitch count. It's less important to place the stitches exactly where described.
Step 18
2. Increasing at a rate of 12 single crochet per round, continue by alternating one increase round and one single crochet round with no increasing.
Step 19
1. Use stitch markers to pin circle top to granny square headband.
Step 20
2. With leftover yarn tail from circle and tapestry needle, whip stitch circle and headband together.
Step 21
(Note: There are more stitches in headband than in circle, so work between each circle increase to accommodate all headband stitches. Fasten off and weave in any remaining ends.)
Top similar recipes
Curated for youYour folders
 216 views
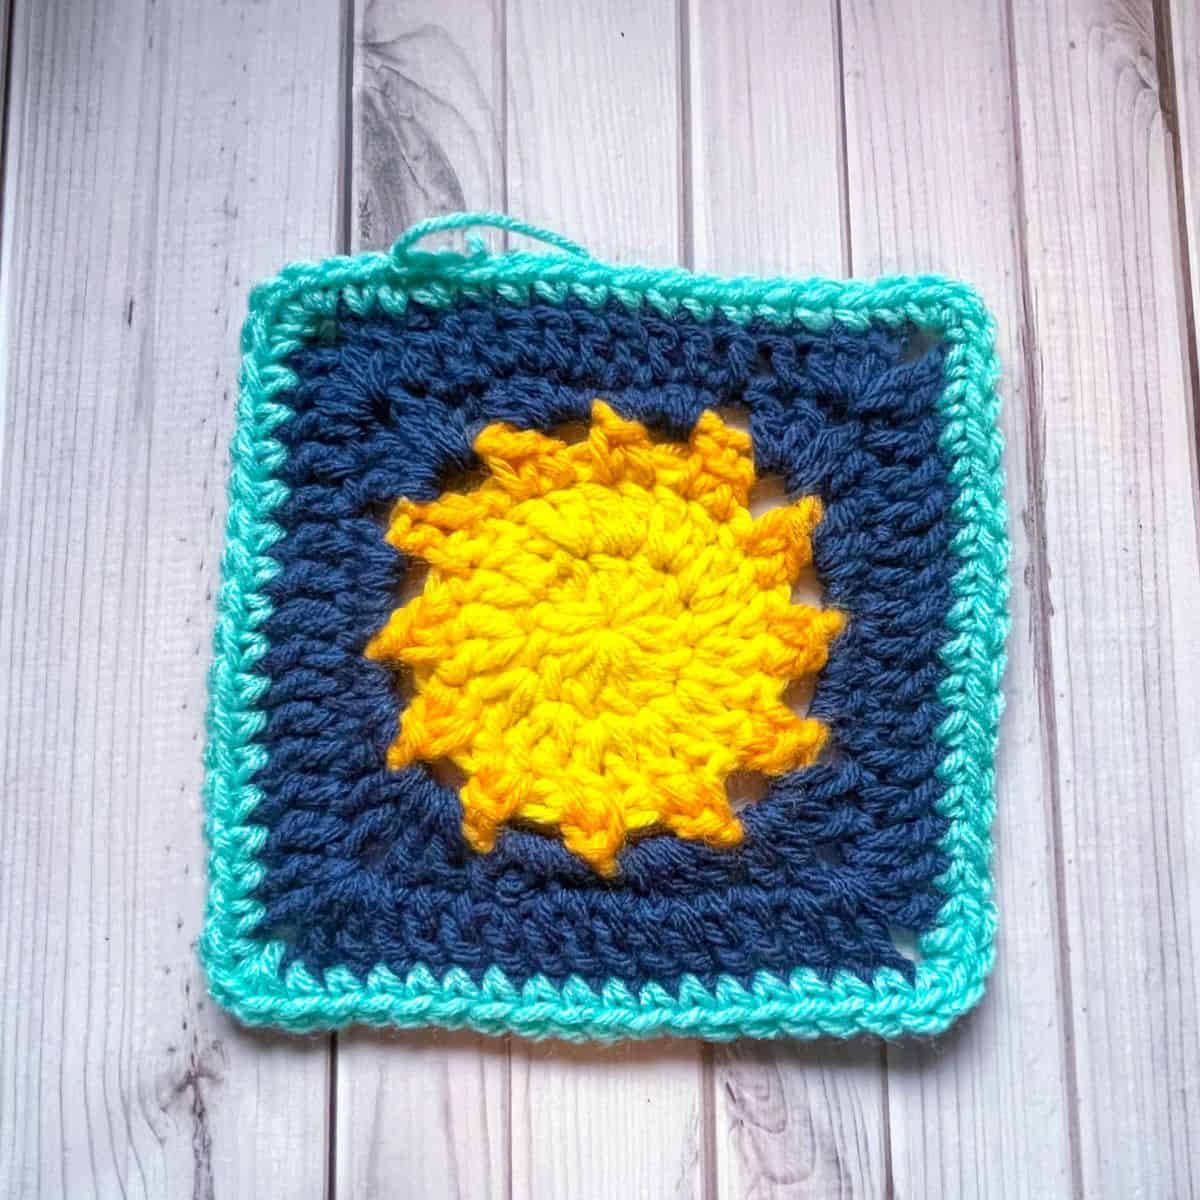
Sun Granny Square Pattern
thecaffeinatedsnail.com
Your folders
 197 views
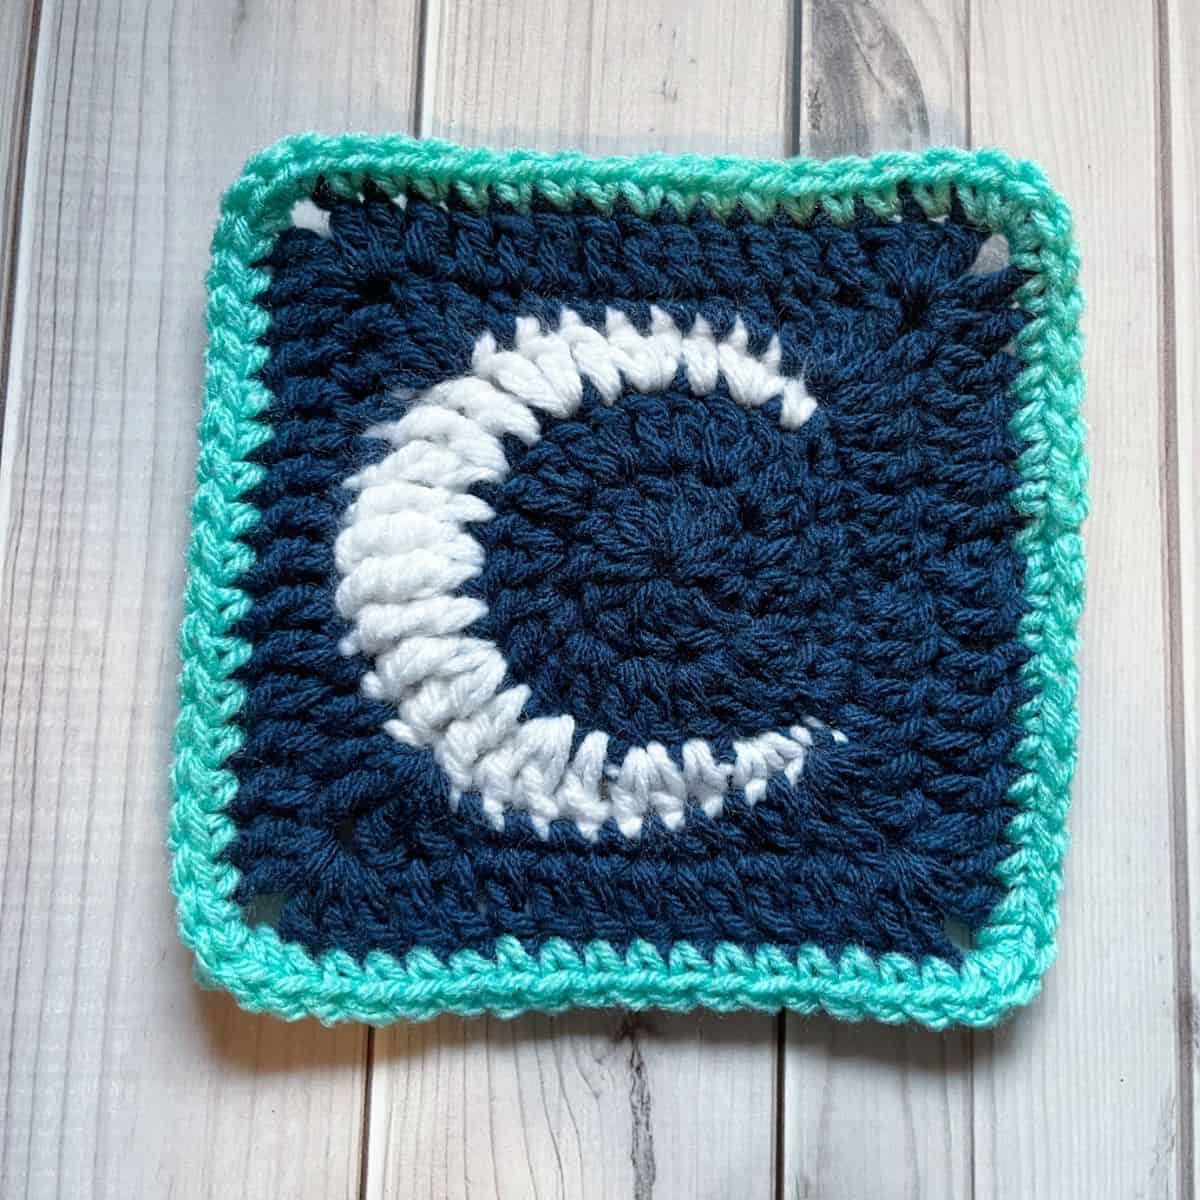
Moon Granny Square Pattern
thecaffeinatedsnail.com
Your folders
 198 views
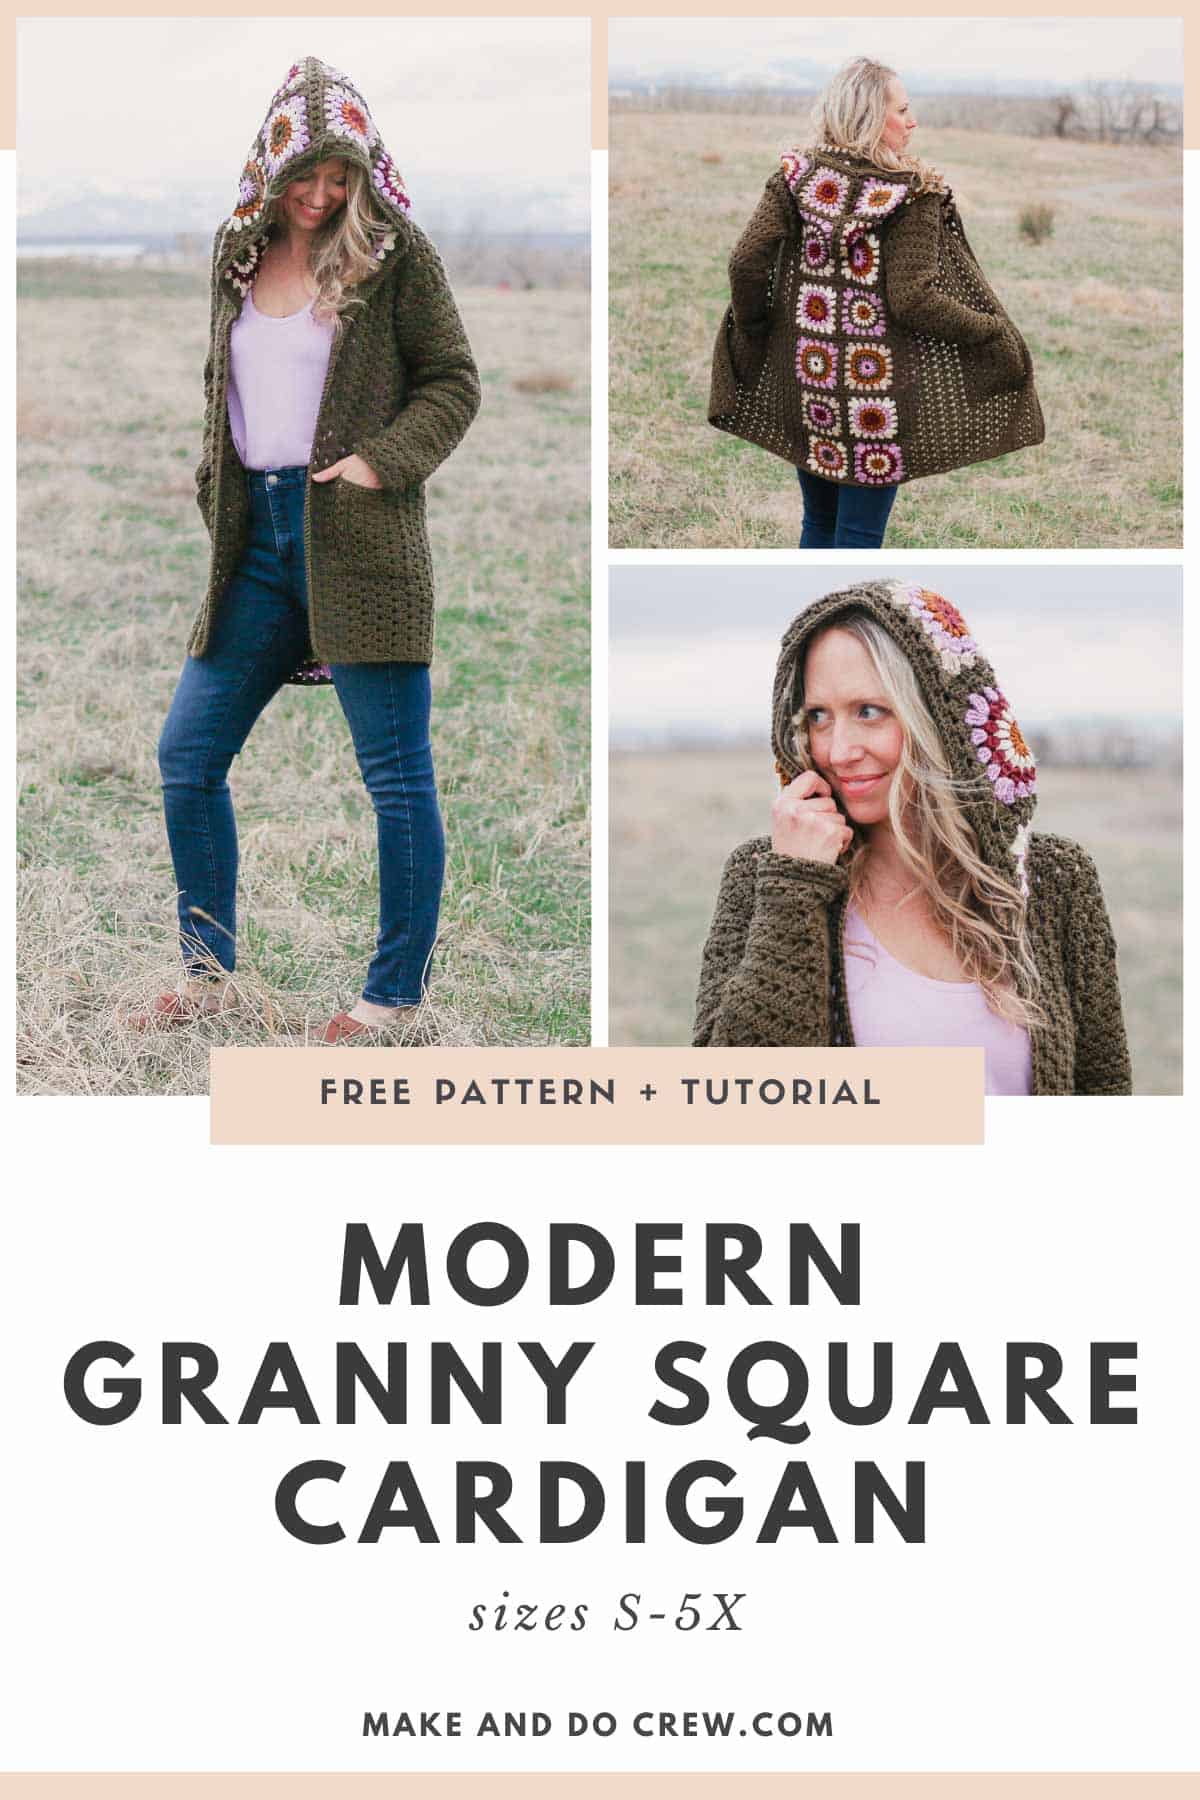
Crochet Granny Square Vest Pattern ...
makeanddocrew.com
Your folders
 118 views
How to Crochet a Granny Square Card...
makeanddocrew.com
Your folders
 57 views
How To Crochet a Solid Granny Squar...
joyofmotioncrochet.com
Your folders
 68 views
How To Crochet a Bucket Hat – Tips ...
makeanddocrew.com
Your folders
 164 views
Crochet Granny Rectangle Pattern
blog.treasurie.com
Your folders
 33 views
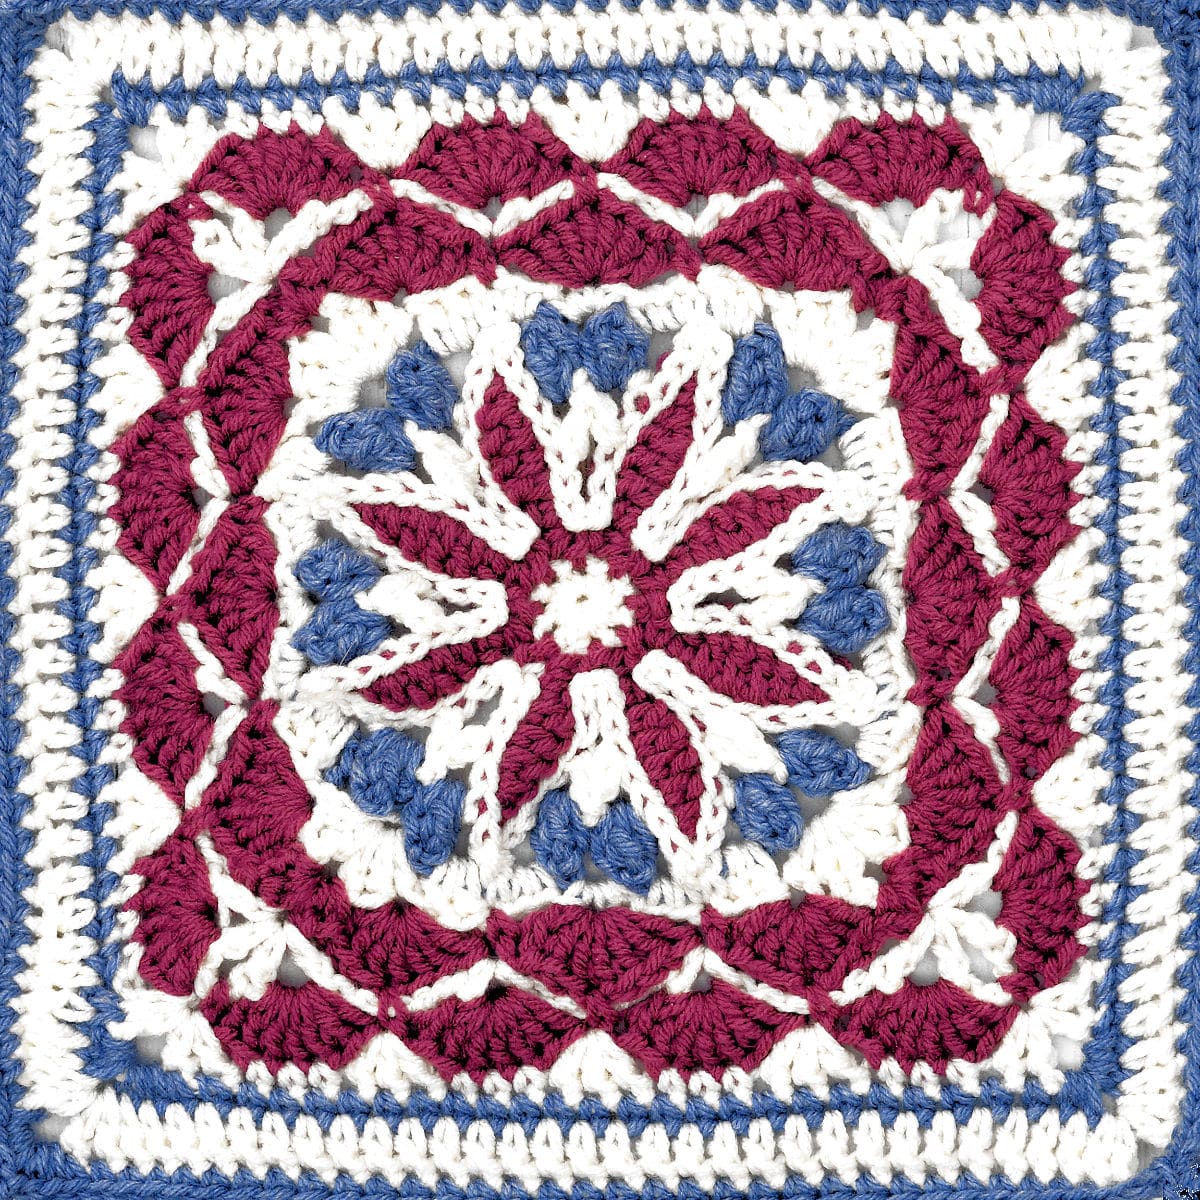
Blueberry Pie 12″ Granny Square
makeitcrochet.com
Your folders
 227 views
Granny Stitch Crochet Kerchief Patt...
crochetncrafts.com
Your folders
 61 views
In a Spiral Hat
crochetncrafts.com
Your folders
 235 views
How To Crochet a Sunburst Granny Sq...
makeanddocrew.com
Your folders
 189 views
How to Crochet a Baby Hat
blog.treasurie.com
Your folders
 6447 views
Beach Bucket Cocktail
everydayshortcuts.com
4.5
(20)
Your folders
 281 views
Halloween Candy Bucket
thecountrychiccottage.net
Your folders
 142 views
Bucket of Margaritas
allrecipes.com
4.5
(31)
Your folders
 130 views
Crochet Hat
onelittleproject.com
Your folders
 606 views
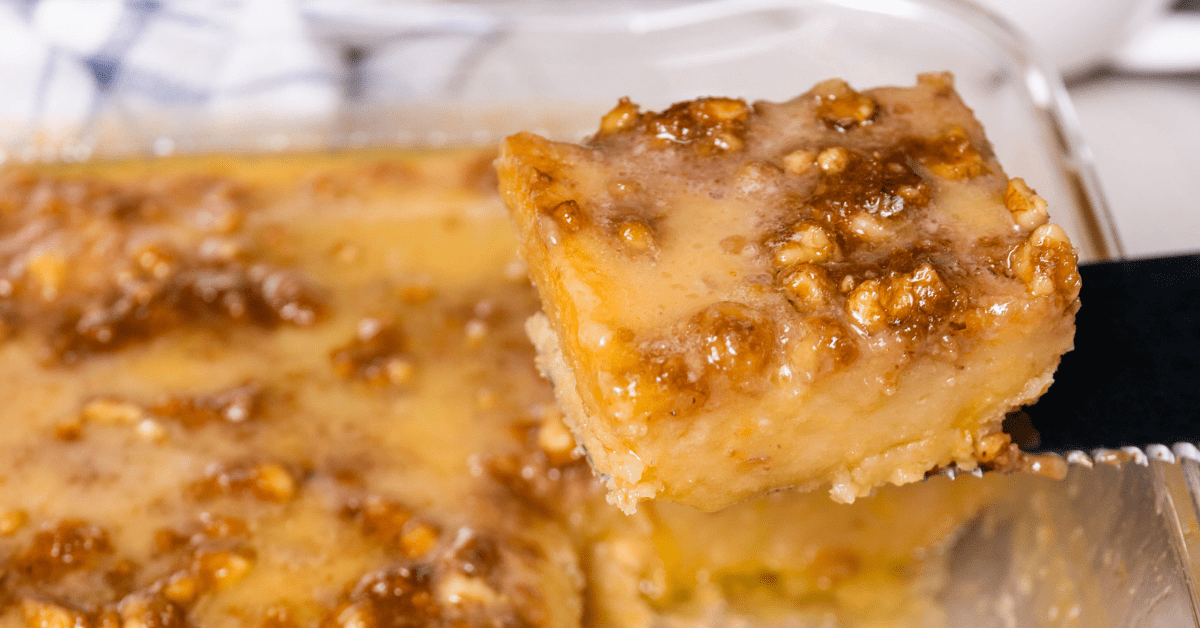
Granny Cake
justapinch.com
4.0
(167)
45 minutes
Your folders
 289 views
Granny Cake
insanelygoodrecipes.com
4.6
(5)
25 minutes
Your folders
 402 views
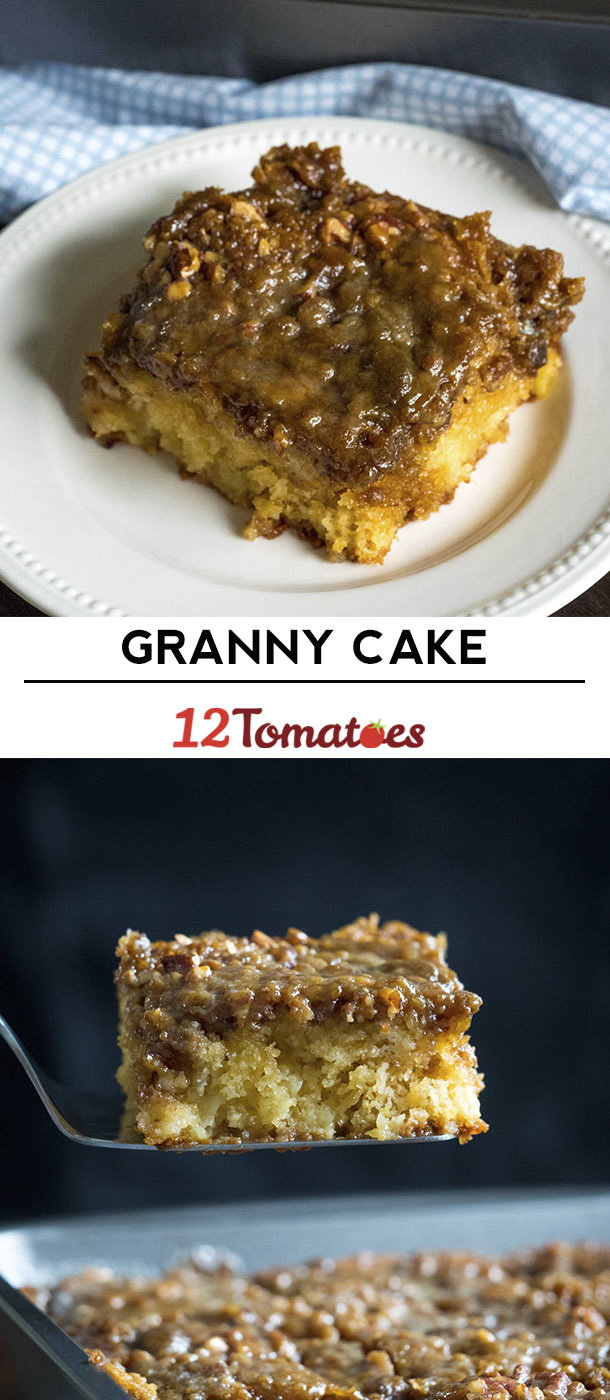
Granny Cake
12tomatoes.com
4.6
(731)