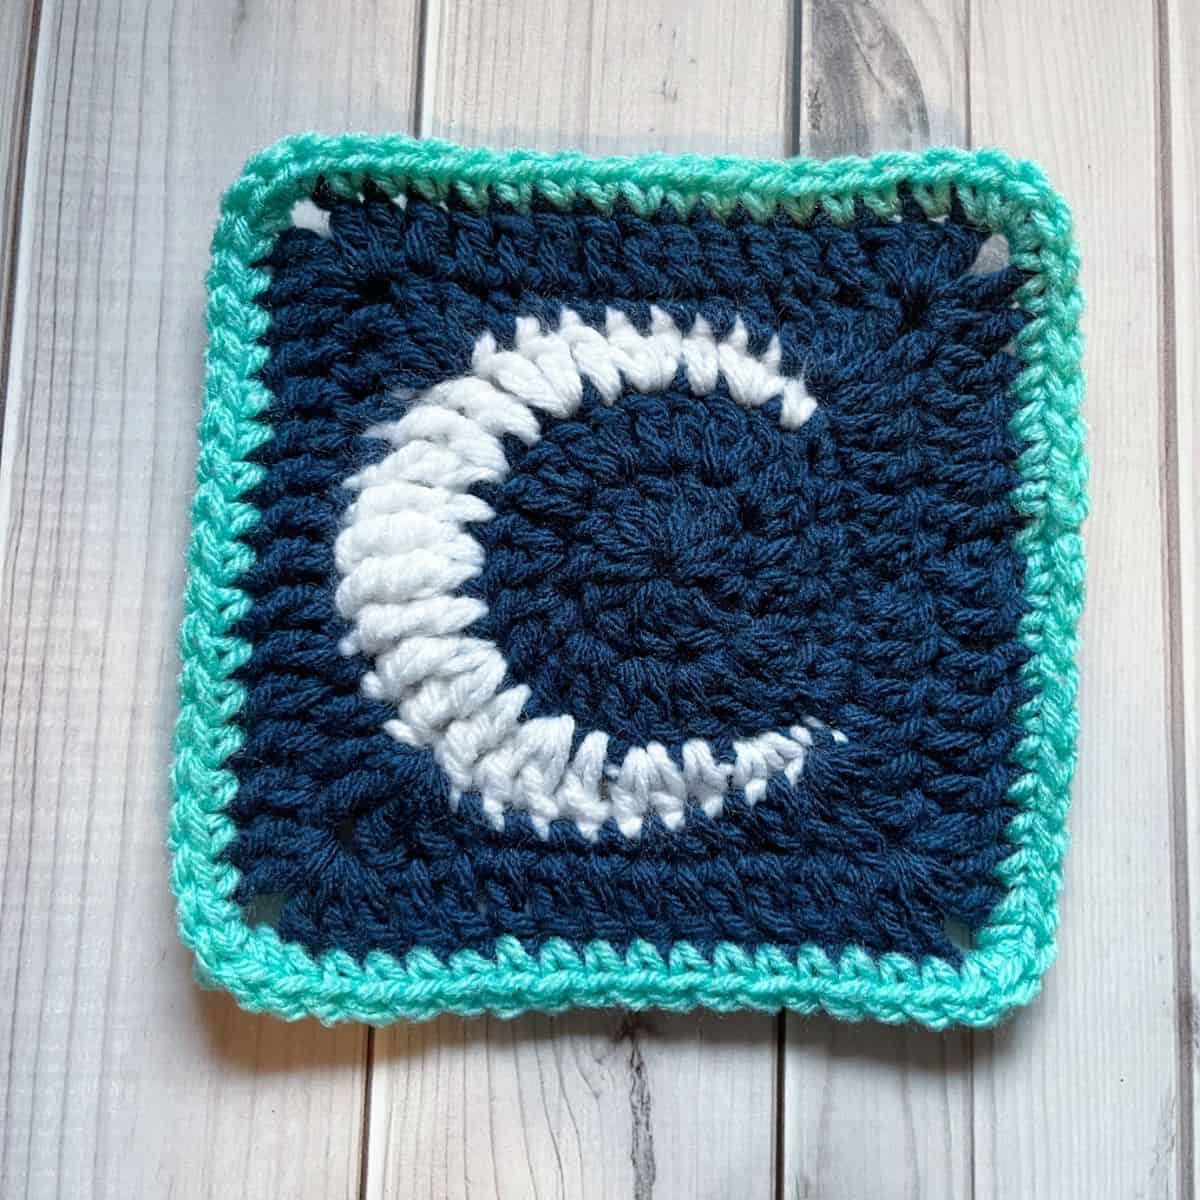
Moon Granny Square Pattern
Your folders
Your folders
Ingredients
Export 5 ingredients for grocery delivery
Instructions
Step 1
This pattern is made in the round.
Step 2
Round 1: With the blue yarn, make a mr, next ch x2 and then dc x12 into the mr, sl st to first dc (12). If you find it difficult making a magic ring you can chain 4, slip stitch it together, and then in the newly formed circle, ch x2 and dc x12 in the hole, then sl st to first dc. (12)
Step 3
Round 2: Ch x2, inc in every dc, sl st to first dc. (24) Then change the color to white, don't fasten off the blue yarn just carry it underneath the white stitches.
Step 4
Round 3: Ch x1 and then sc inc, sc, sc inc in blue.
Step 5
Then change the color to white, don't fasten off the blue yarn just carry it underneath the white stitches.
Step 6
With the white yarn, make the following sequence of stitches for the moon:
Step 7
Sc, sc inc, hdc, hdc inc, dc, dc inc, tr, tr inc, tr, extended tr inc, tr, tr inc, tr, dc inc, dc, hdc inc, hdc, sc inc, sc.
Step 8
Fasten off the white and switch the color back to navy.
Step 9
With the blue yarn:
Step 10
Sc inc, sc and then sl st to the first sc in the round (skip the chain).
Step 11
Round 4: Ch x2, dc in the next 4 stitches, then make a (dc + tr + ch + tr + dc) in the next stitch. This is the first corner and is made in the first white stitch of the last round.
Step 12
In the next 8 stitches make: dc, hdc x2, sc x4, hdc
Step 13
Make the second corner: (dc + tr + ch + tr + dc) in the next stitch.
Step 14
In the next 8 stitches make: hdc, sc, sl st x4, sc, hdc
Step 15
Make the third corner: (dc + tr + ch + tr + dc) in the next stitch.
Step 16
In the next 8 stitches make: hdc, sc x4, hdc x2, dc
Step 17
Make the fourth corner: (dc + tr + ch + tr + dc) in the next stitch.
Step 18
Dc in each of the next 4 stitches.
Step 19
Sl st to 1st dc top in the round.
Step 20
Round 5: Ch x2, then dc in the next couple of stitches. When you get to the chain space in the corner make a dc inc + ch x2 + dc inc. Then dc the side of the square (12 per side without the corners). Repeat 3 more times for the rest of the round.
Step 21
Once you make the last dc in the round, sl st to the first dc. Then fasten off the yarn and switch the color to turqua.
Step 22
Round 6 (optional): Ch x1, then sc then entire round and make 3 sc in each corner. Sl st to the first sc in the round when you get to the end.
Step 23
Weave in any ends.
Step 24
Now you have a finished moon granny square pattern, perfect for any celestial crochet project!
Top similar recipes
Curated for youYour folders
 218 views
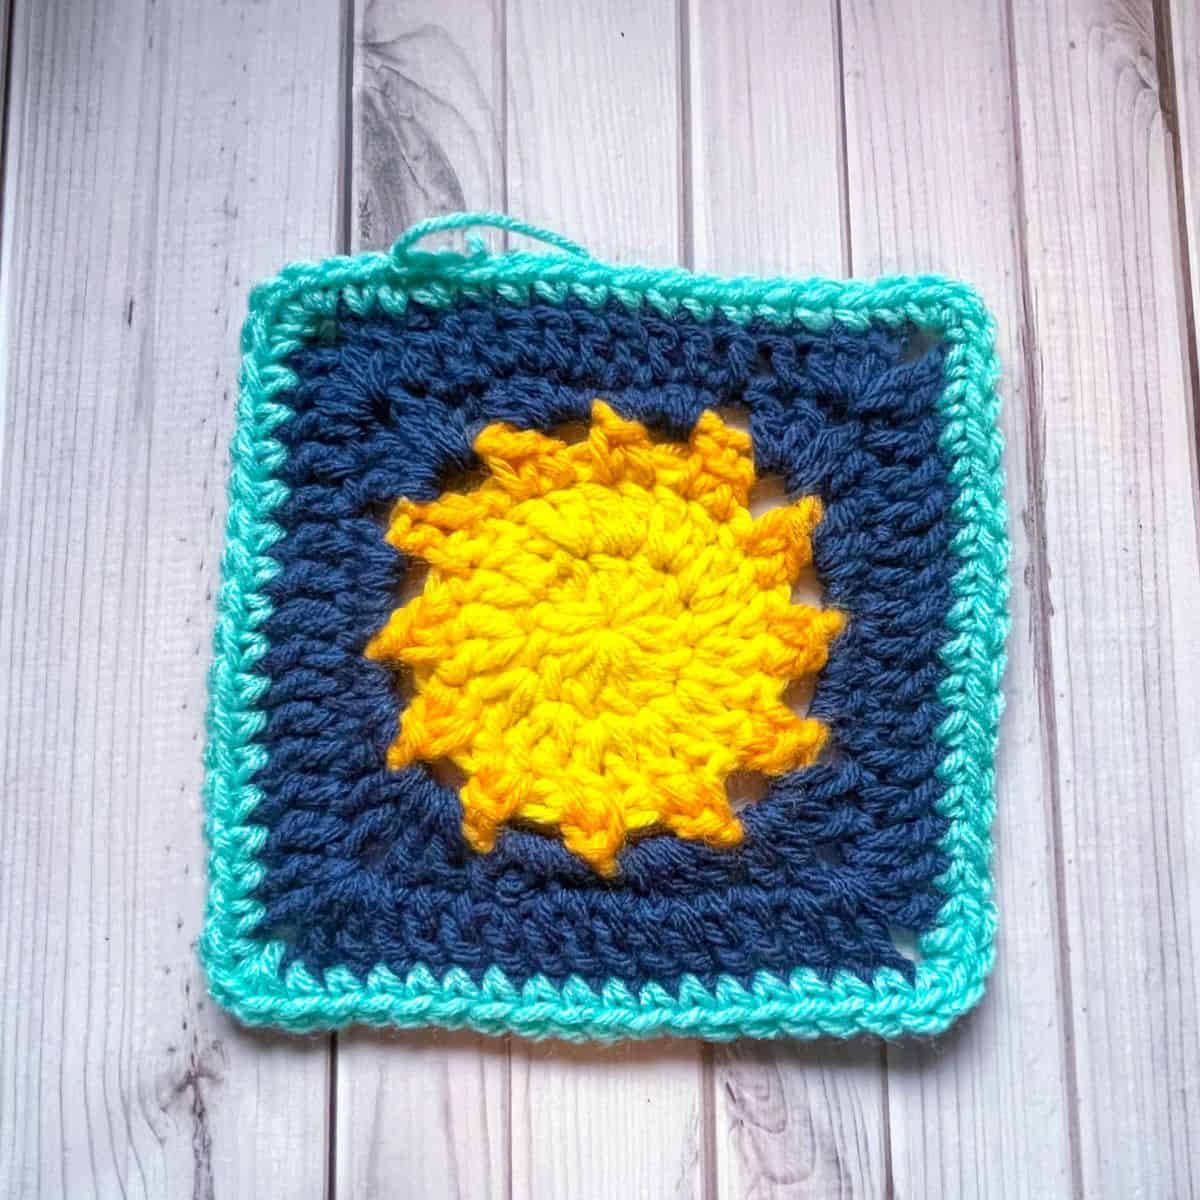
Sun Granny Square Pattern
thecaffeinatedsnail.com
Your folders
 204 views
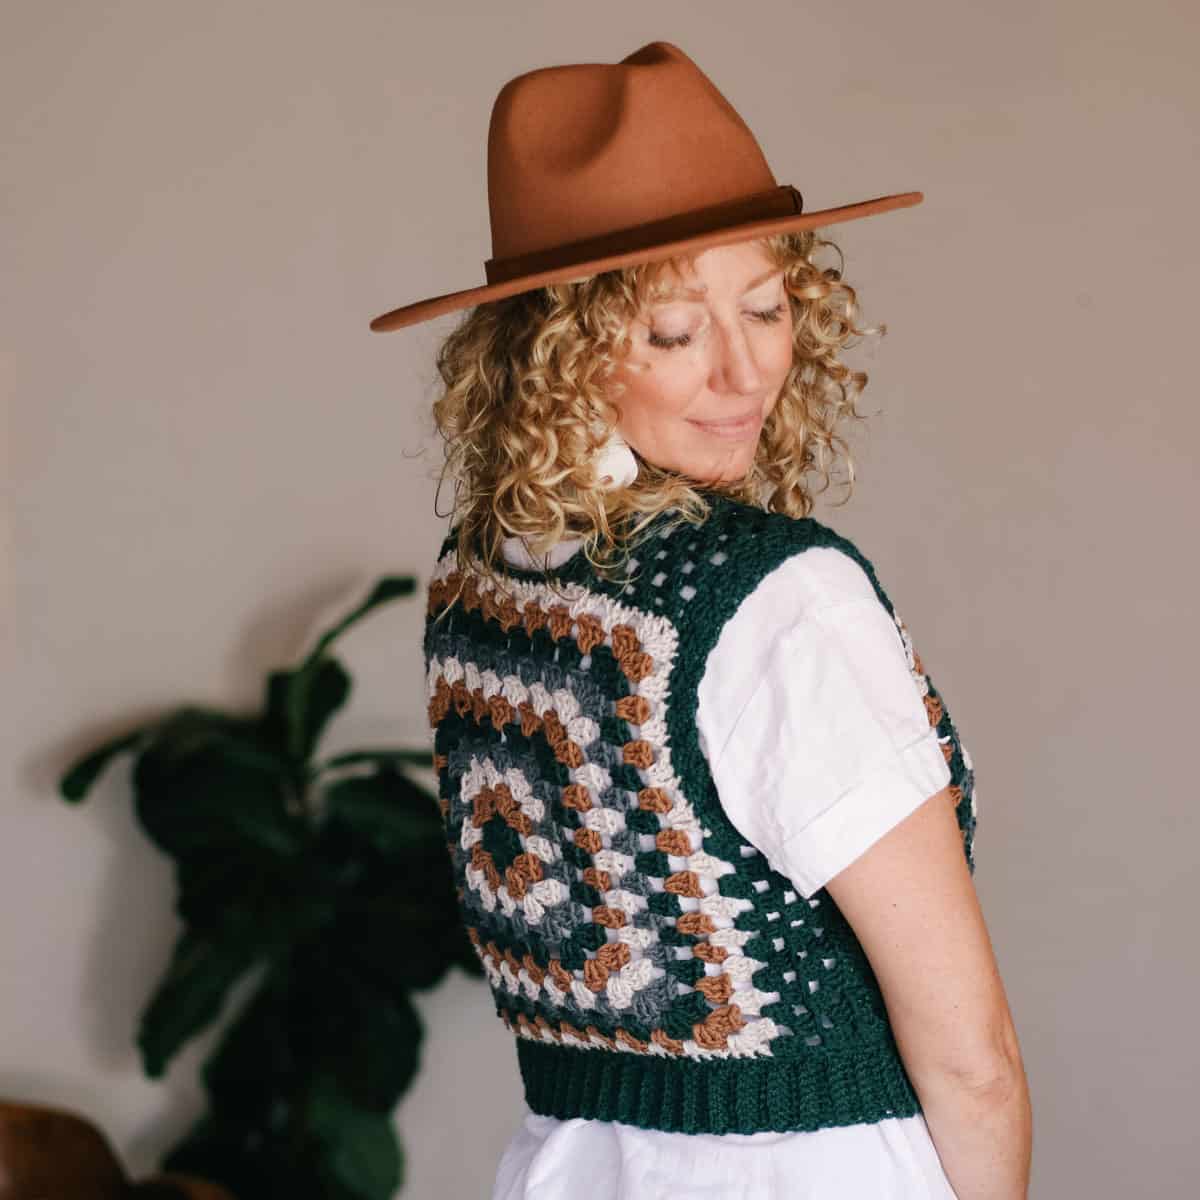
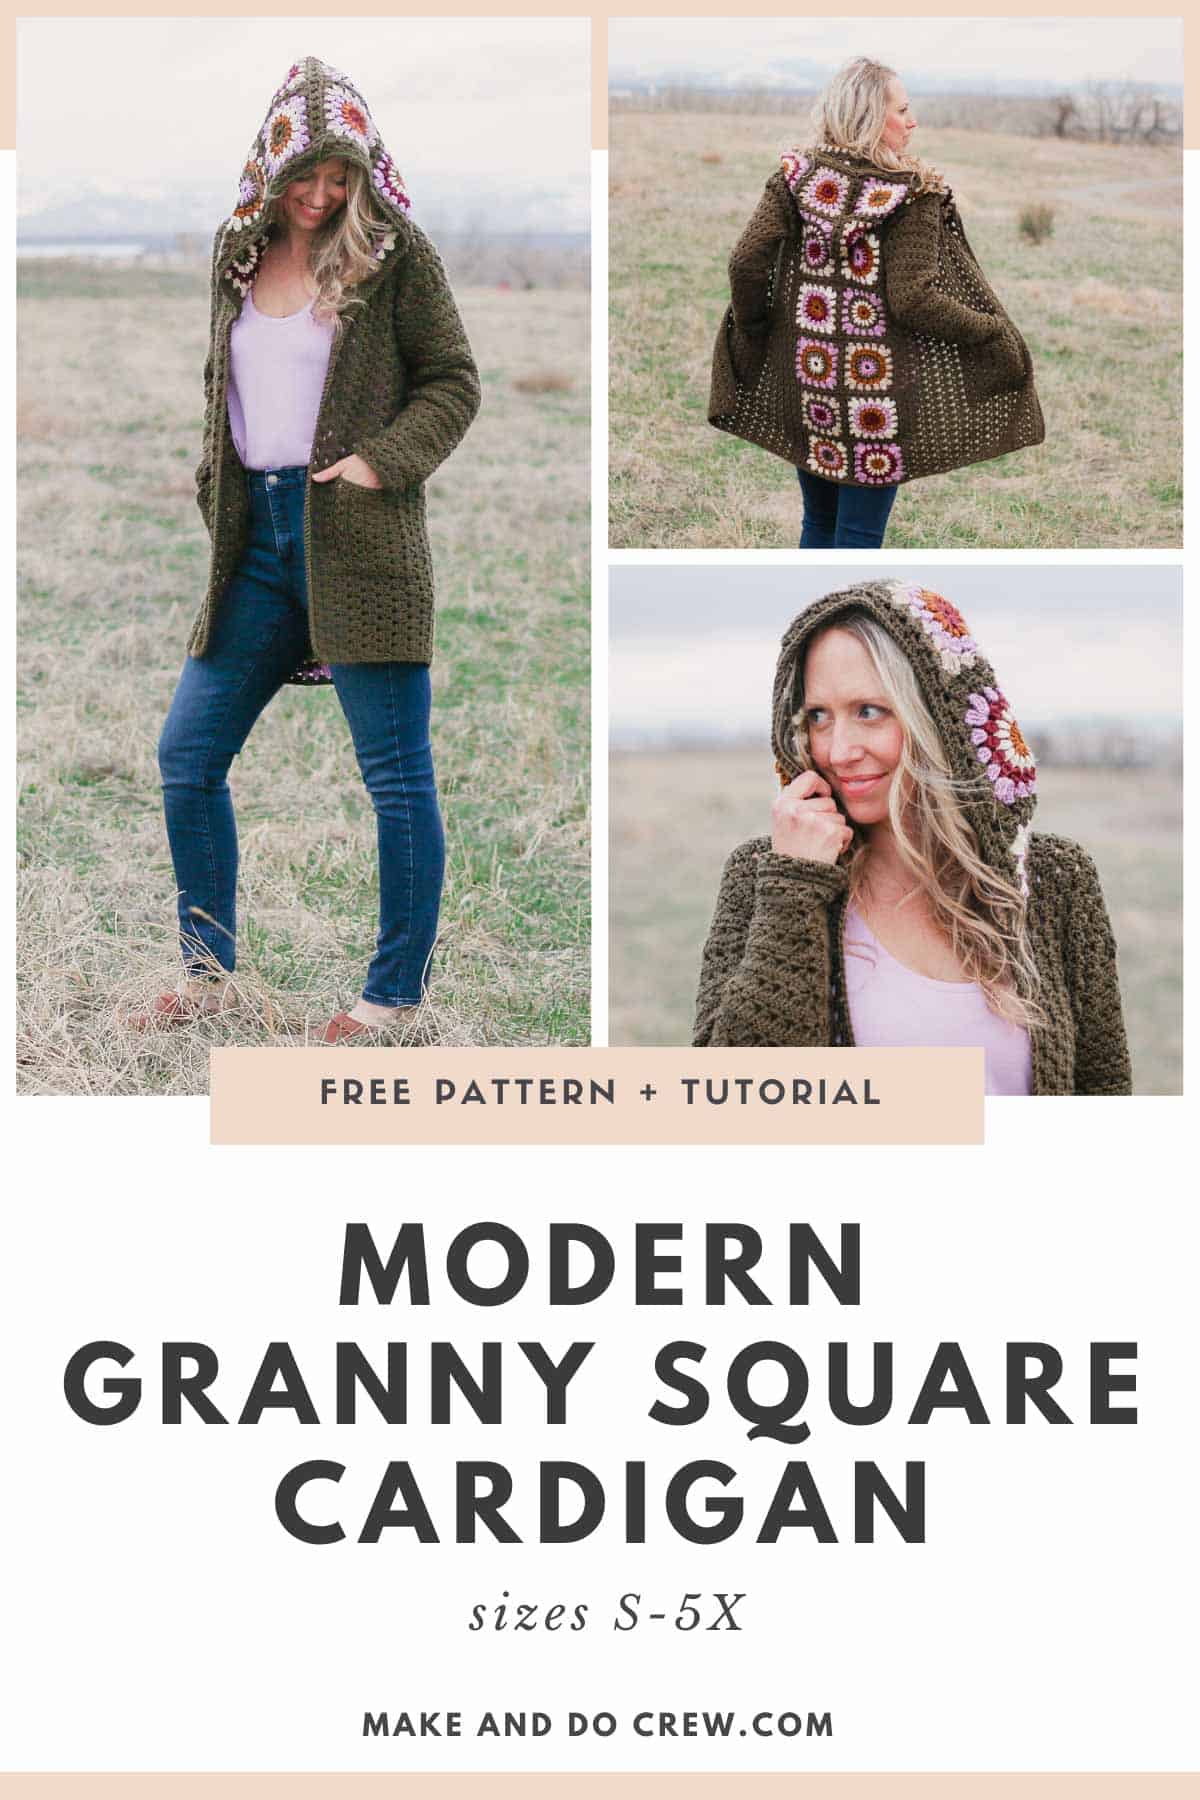
Crochet Granny Square Vest Pattern ...
makeanddocrew.com
Your folders
 249 views
The Halcyon Granny Square Bucket Ha...
makeanddocrew.com
Your folders
 169 views
Crochet Granny Rectangle Pattern
blog.treasurie.com
Your folders
 40 views
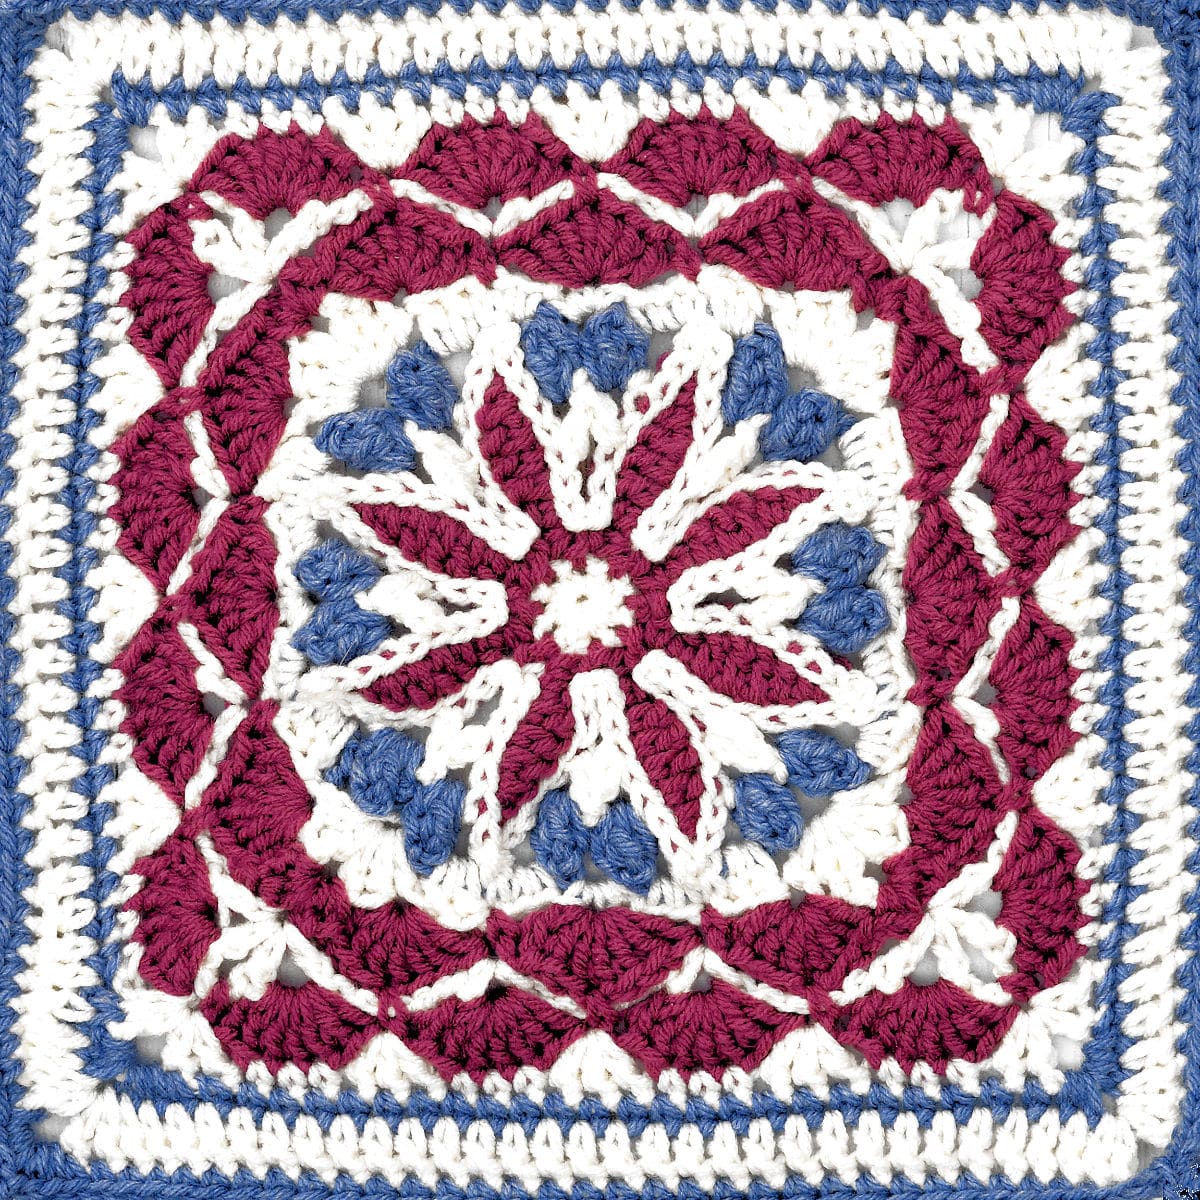
Blueberry Pie 12″ Granny Square
makeitcrochet.com
Your folders
 232 views
Granny Stitch Crochet Kerchief Patt...
crochetncrafts.com
Your folders
 122 views
How to Crochet a Granny Square Card...
makeanddocrew.com
Your folders
 63 views
How To Crochet a Solid Granny Squar...
joyofmotioncrochet.com
Your folders
 614 views
Granny Cake
justapinch.com
4.0
(167)
45 minutes
Your folders
 294 views
Granny Cake
insanelygoodrecipes.com
4.6
(5)
25 minutes
Your folders
 414 views
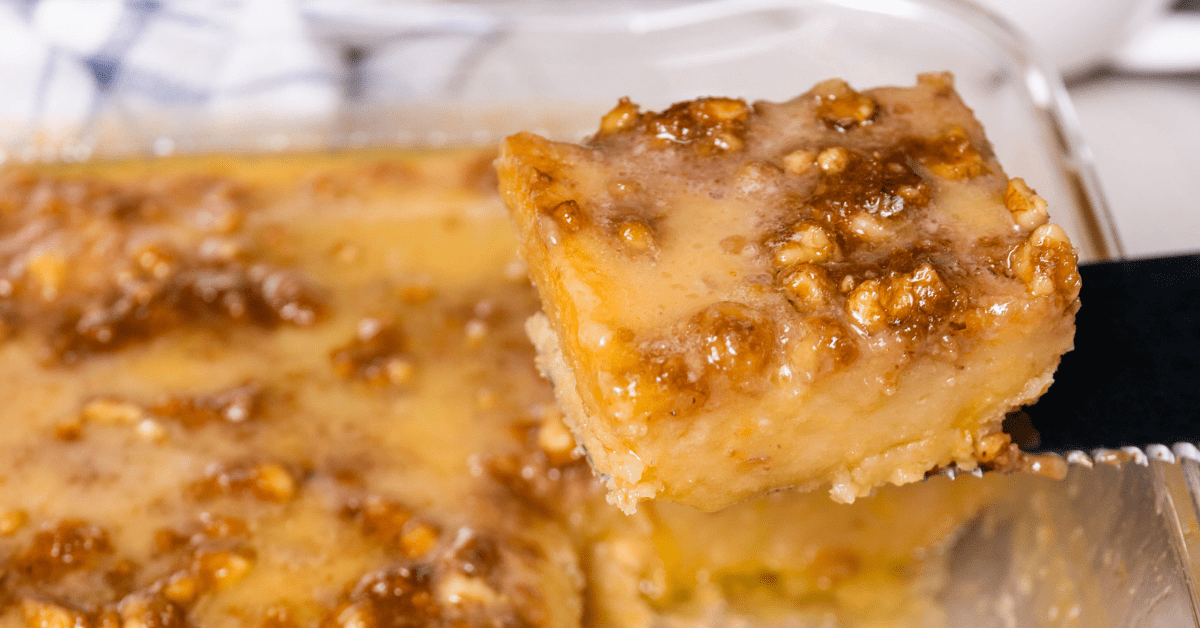
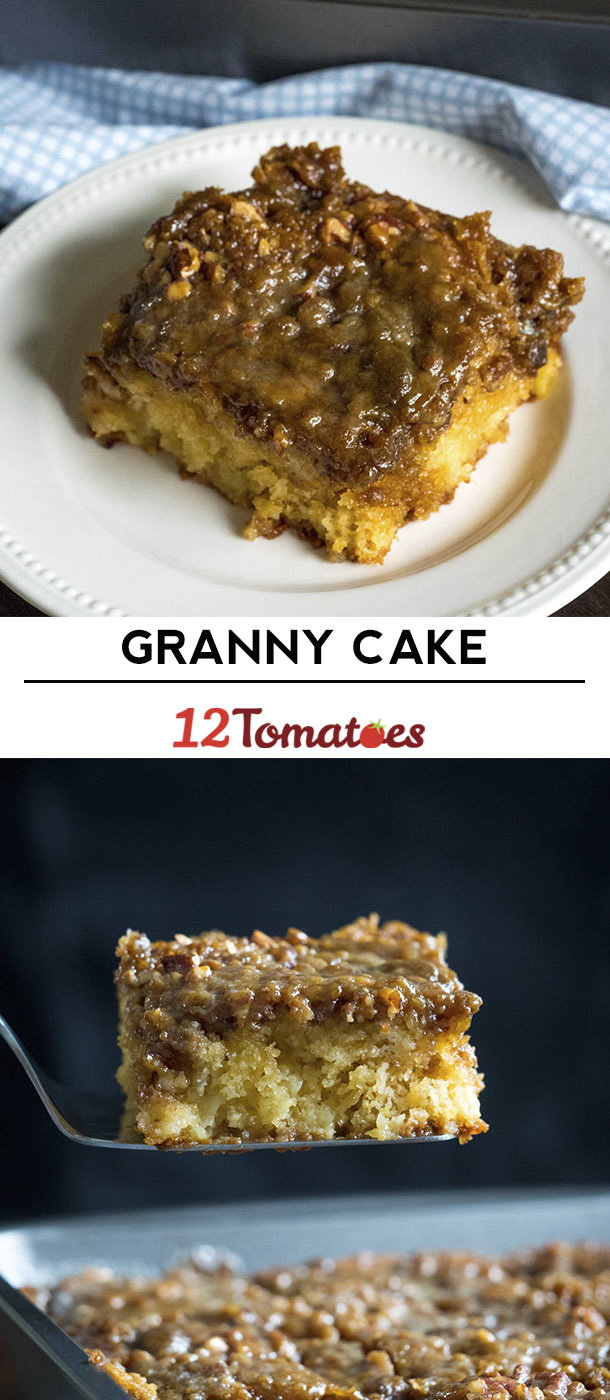
Granny Cake
12tomatoes.com
4.6
(731)
Your folders
 87 views
Granny Cake
fantabulosity.com
30 minutes
Your folders
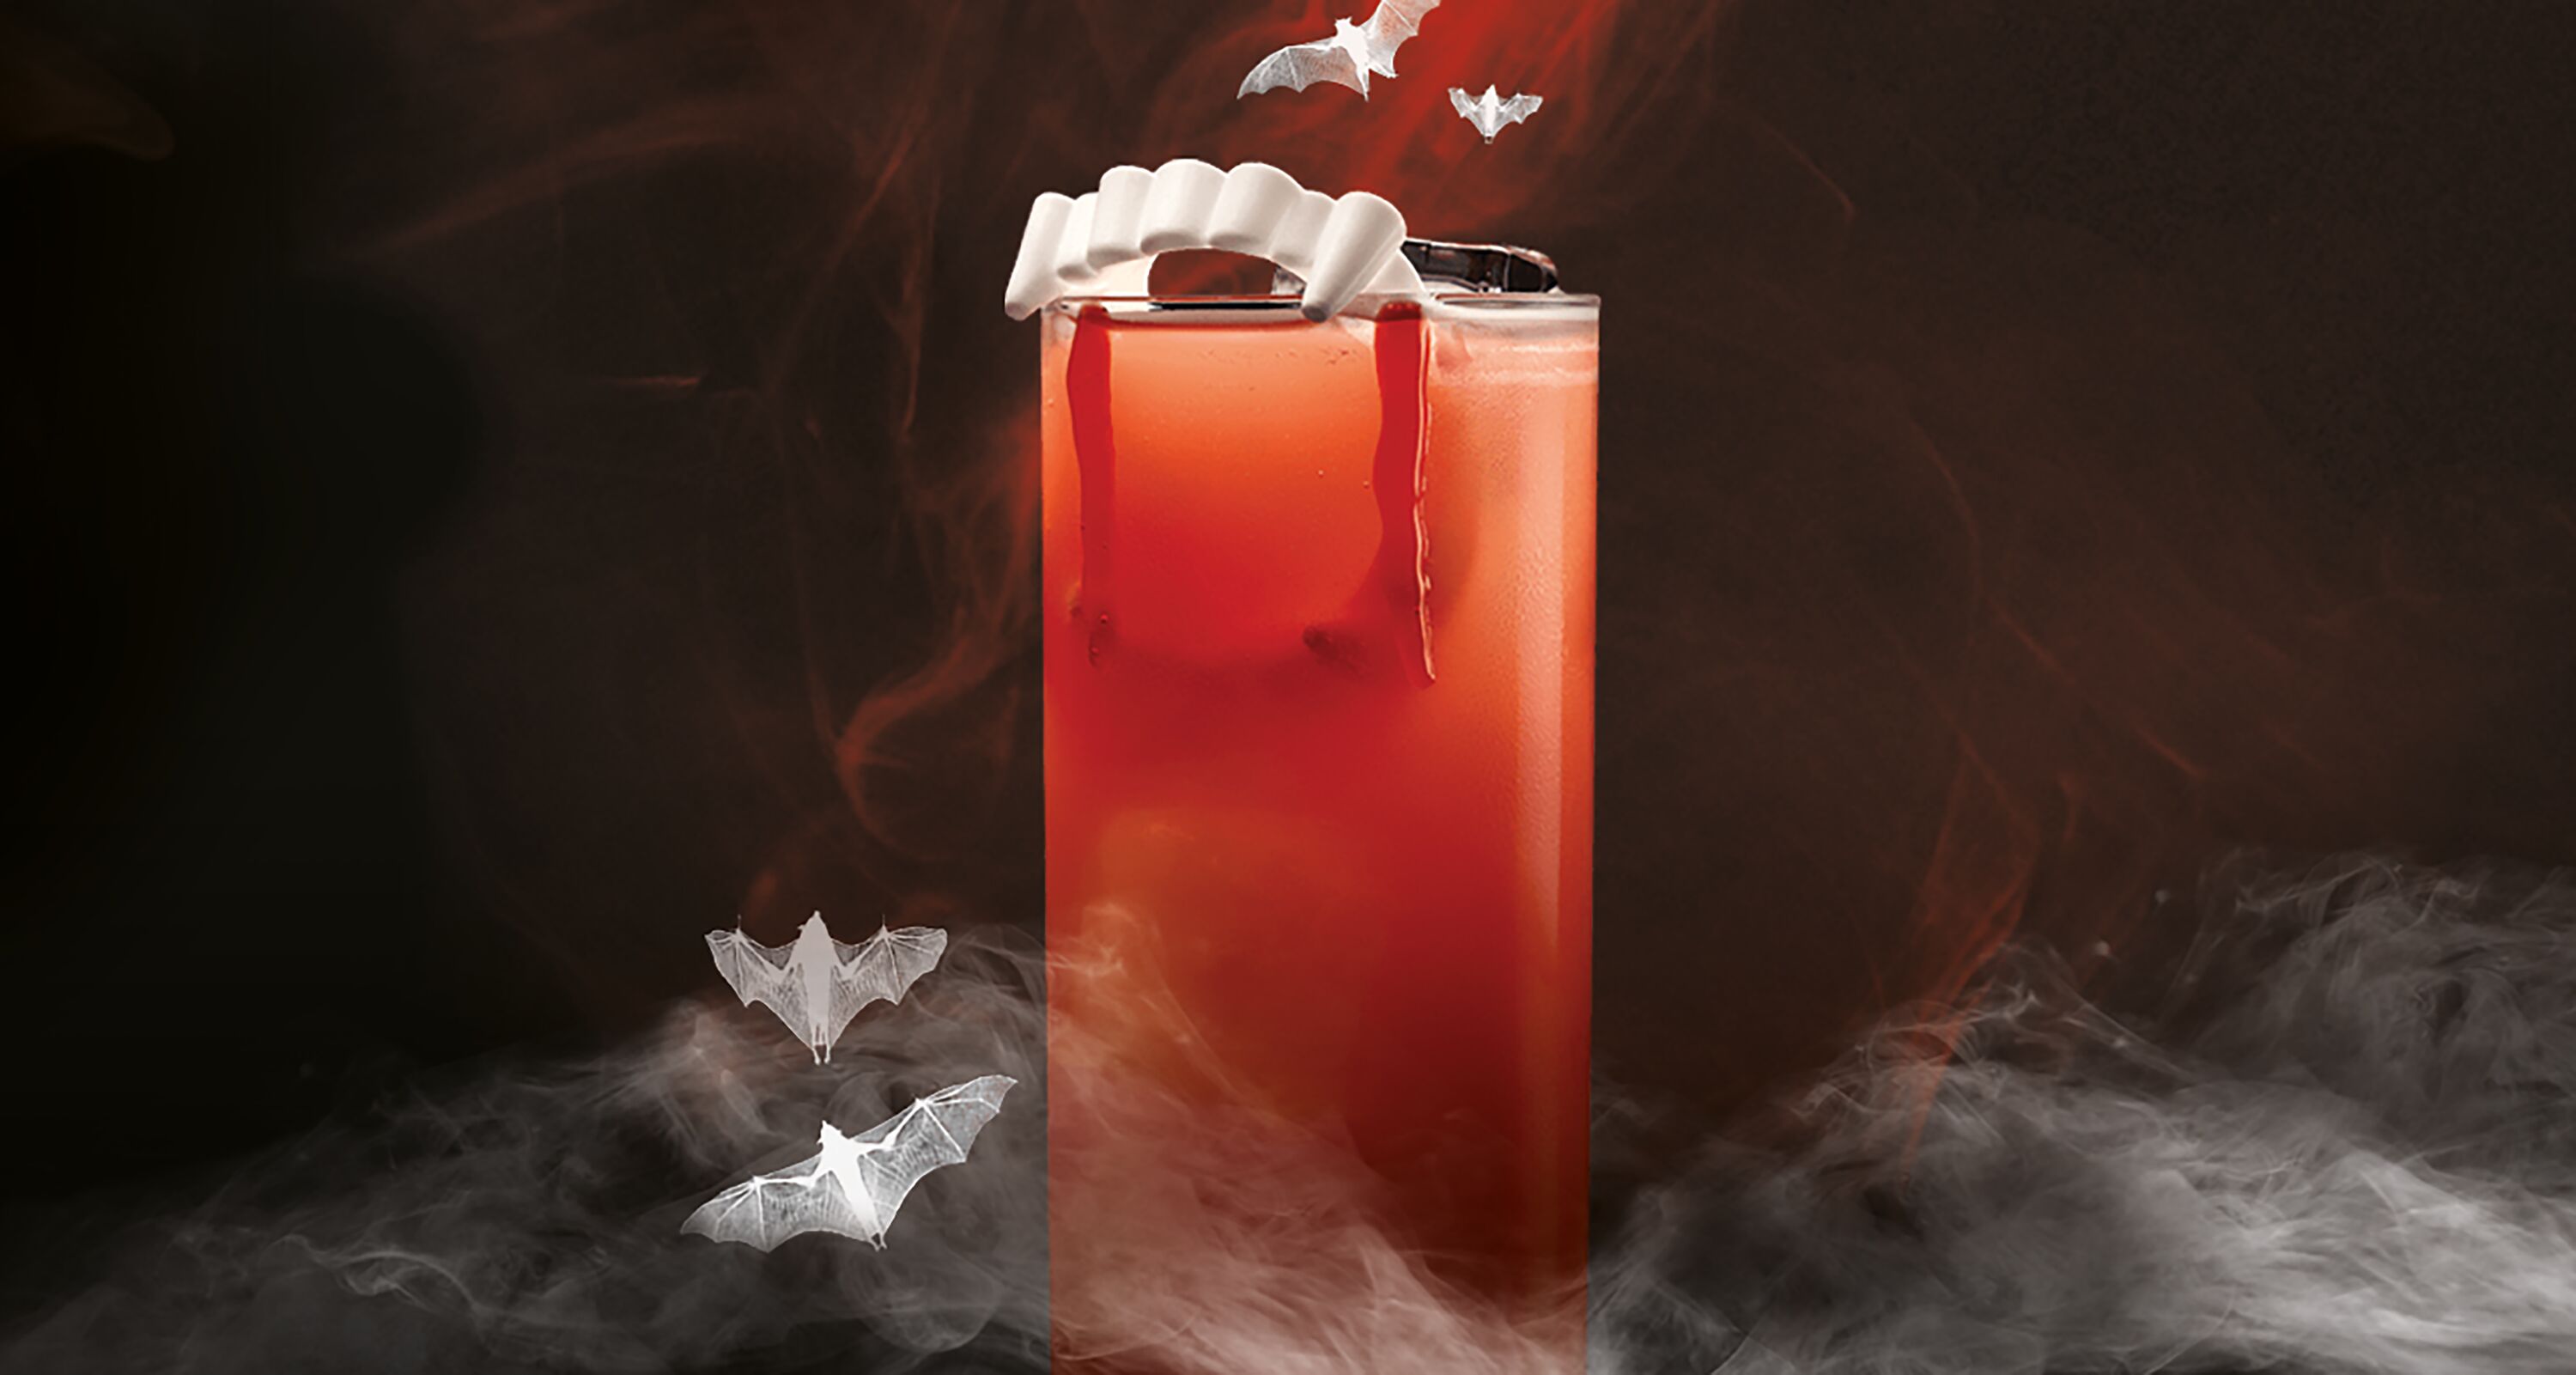 317 views
Blood Moon
bacardi.com
Your folders
 419 views
Dark Moon
bonappetit.com
3.4
(36)
Your folders
 324 views
Moon Cake
allrecipes.com
4.5
(79)
30 minutes
Your folders
 278 views
Moon Milk
bonappetit.com
4.5
(35)
Your folders
 2872 views
Moon Water
yummymummykitchen.com
4.5
(4)
Your folders
 272 views
Moon Milk
yuzubakes.com
5.0
(1)
Your folders
 295 views
Midnight Moon
totalwine.com