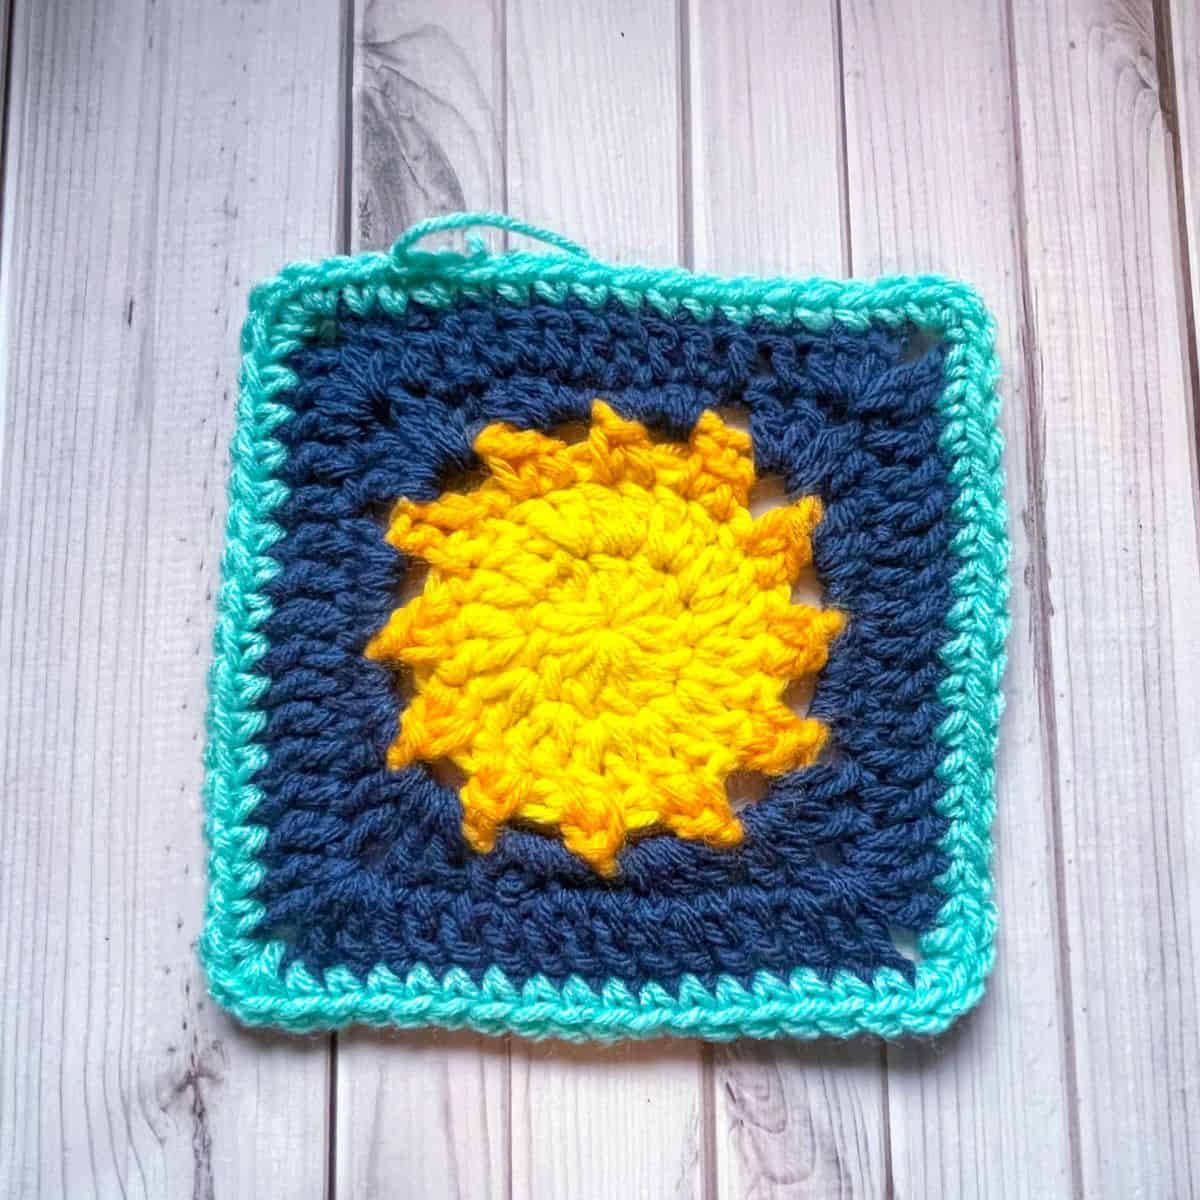
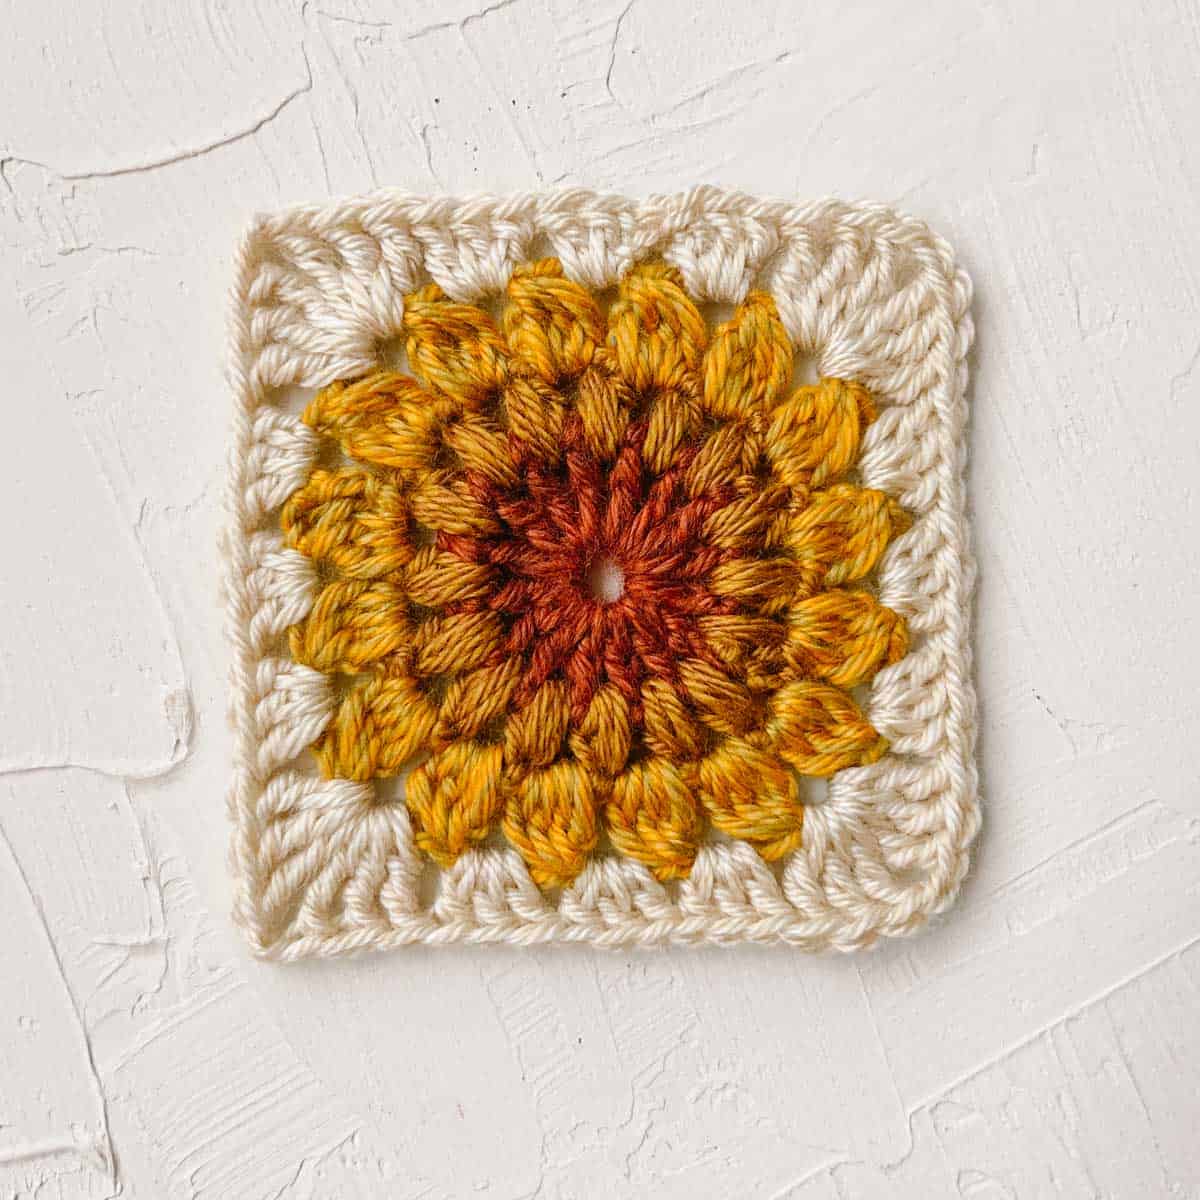
Sun Granny Square Pattern
Your folders
Your folders
Ingredients
Export 6 ingredients for grocery delivery
Instructions
Step 1
This pattern is made in the round.
Step 2
Round 1: With the yellow yarn, make a mr, next ch x2 and then dc x12 into the mr, sl st to first dc (12). If you find it difficult making a magic ring you can chain 4, slip stitch it together, and then in the newly formed circle, ch x2 and dc x12 in the hole, then sl st to first dc. (12)
Step 3
Round 2: Ch x2, inc in every dc, sl st to first dc. (24) Then change the color to gold.
Step 4
Round 3: With the gold yarn, ch x1 and then in the next stitch make a dc.
Step 5
Then ch x2, and in the next stitch (don't skip any stitches from the previous row), make a dc, but don't go through the last 2 loops on the hook when you are finishing the stitch. Instead with your half way done dc, go into the next stitch and pull up a loop. Finish that stitch like a dc. Now you have 2 stitches merged into 1 and it makes the stitches look like an upside down V. Ch x2 then repeat for the rest of the round.
Step 6
When you get to the end of the round sl st to the first dc.
Step 7
Fasten off the gold and switch the color to navy.
Step 8
Round 4: The sun rounds are done and now we will start turning the circle into a square.
Step 9
Ch x2, dc inc + ch + dc inc in the closest chain space. This is the first corner.
Step 10
In the next chain space, hdc x2 and sc x2.
Step 11
In the next chain space, sc x2 and hdc x2.
Step 12
Now repeat the above 3 chain space stitch sequences 3 more times. After the last hdc in the round, sl st to the first dc of the round. (48 stitches with 4 chain spaces)
Step 13
Round 5: Ch x2, then dc in the next stitch. When you get to the chain space in the corner make a dc inc + ch x2 + dc inc. Then dc the side of the square (12 per side without the corners). Repeat 3 more times for the rest of the round.
Step 14
Once you make the last dc in the round, sl st to the first dc. Then fasten off the yarn and switch the color to teal.
Step 15
Round 6 (optional): Ch x1, then sc then entire round and make 3 sc in each corner. Sl st to the first sc in the round when you get to the end.
Step 16
Weave in any ends.
Step 17
Now you have a finished sun granny square perfect for any celestial crochet project!
Top similar recipes
Curated for youYour folders
 197 views
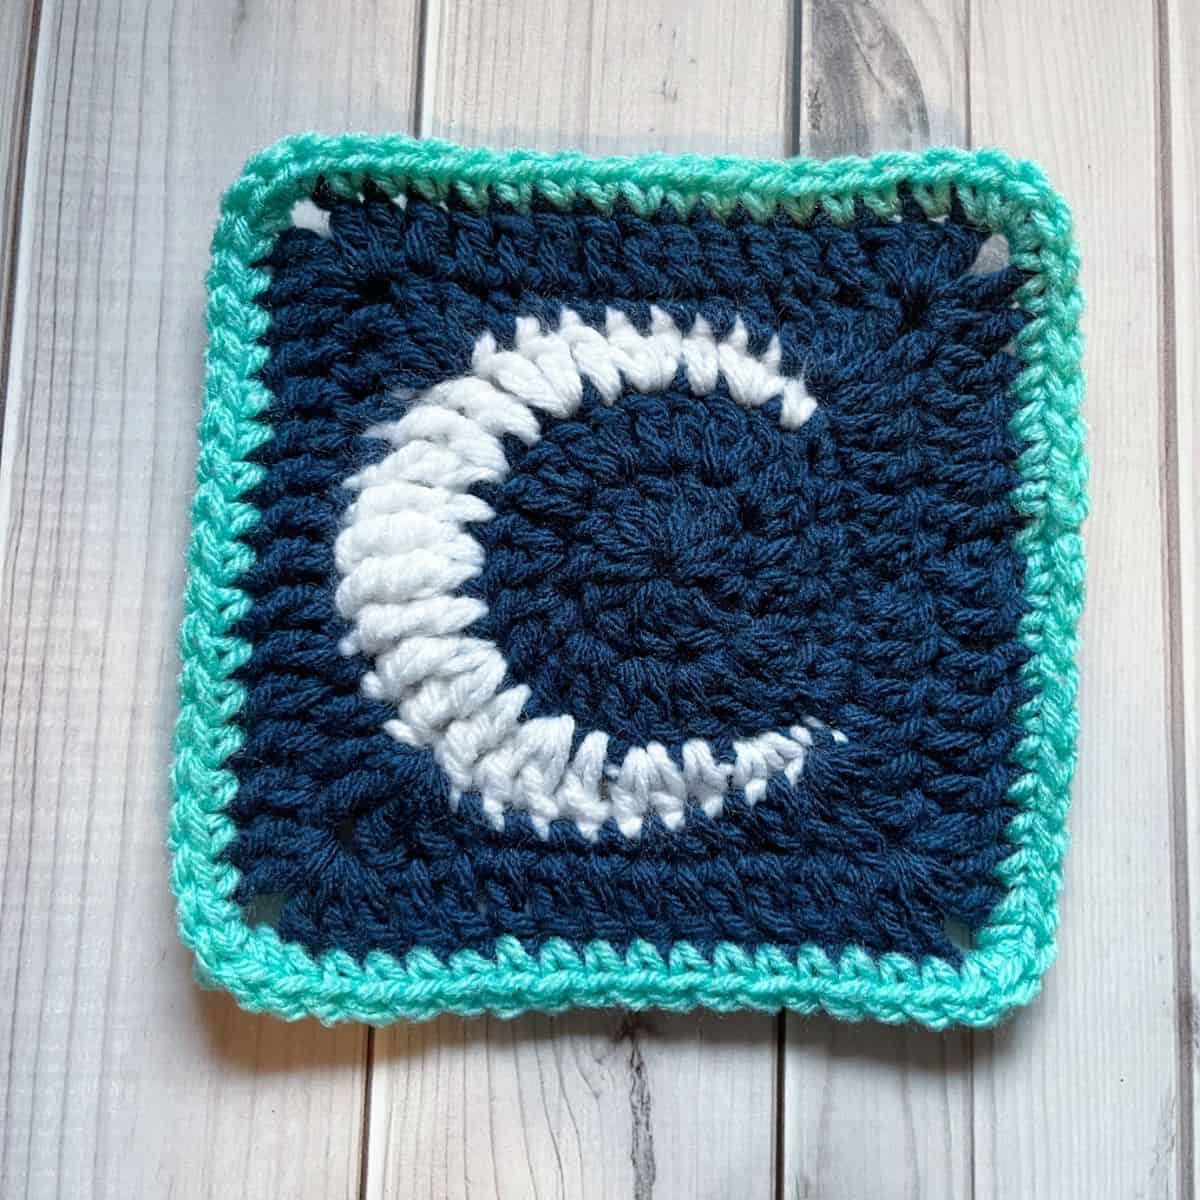
Moon Granny Square Pattern
thecaffeinatedsnail.com
Your folders
 198 views
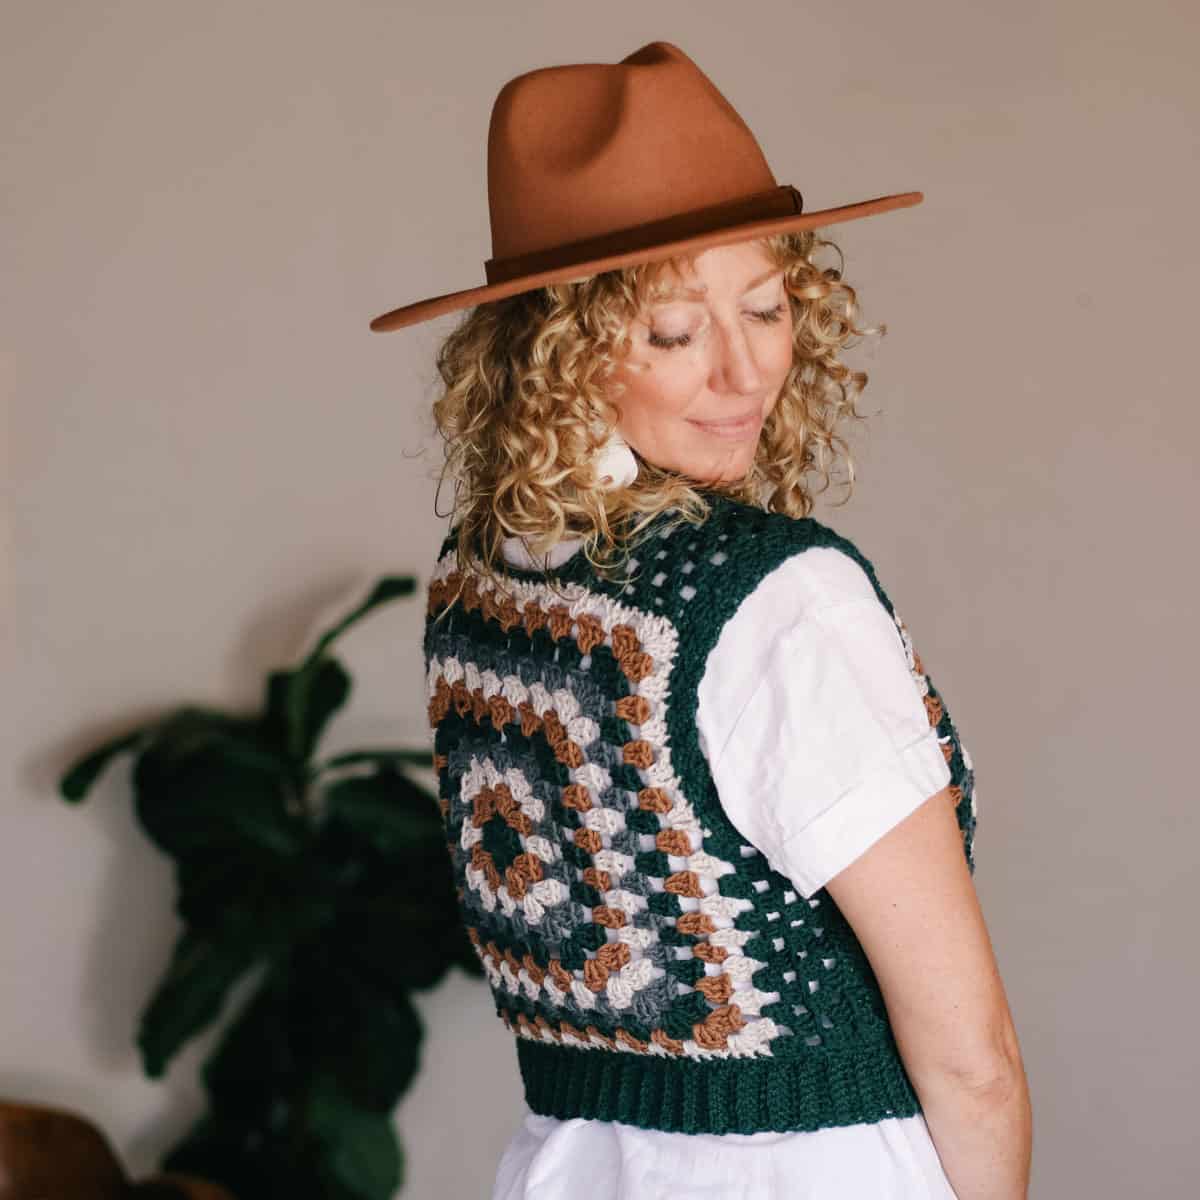
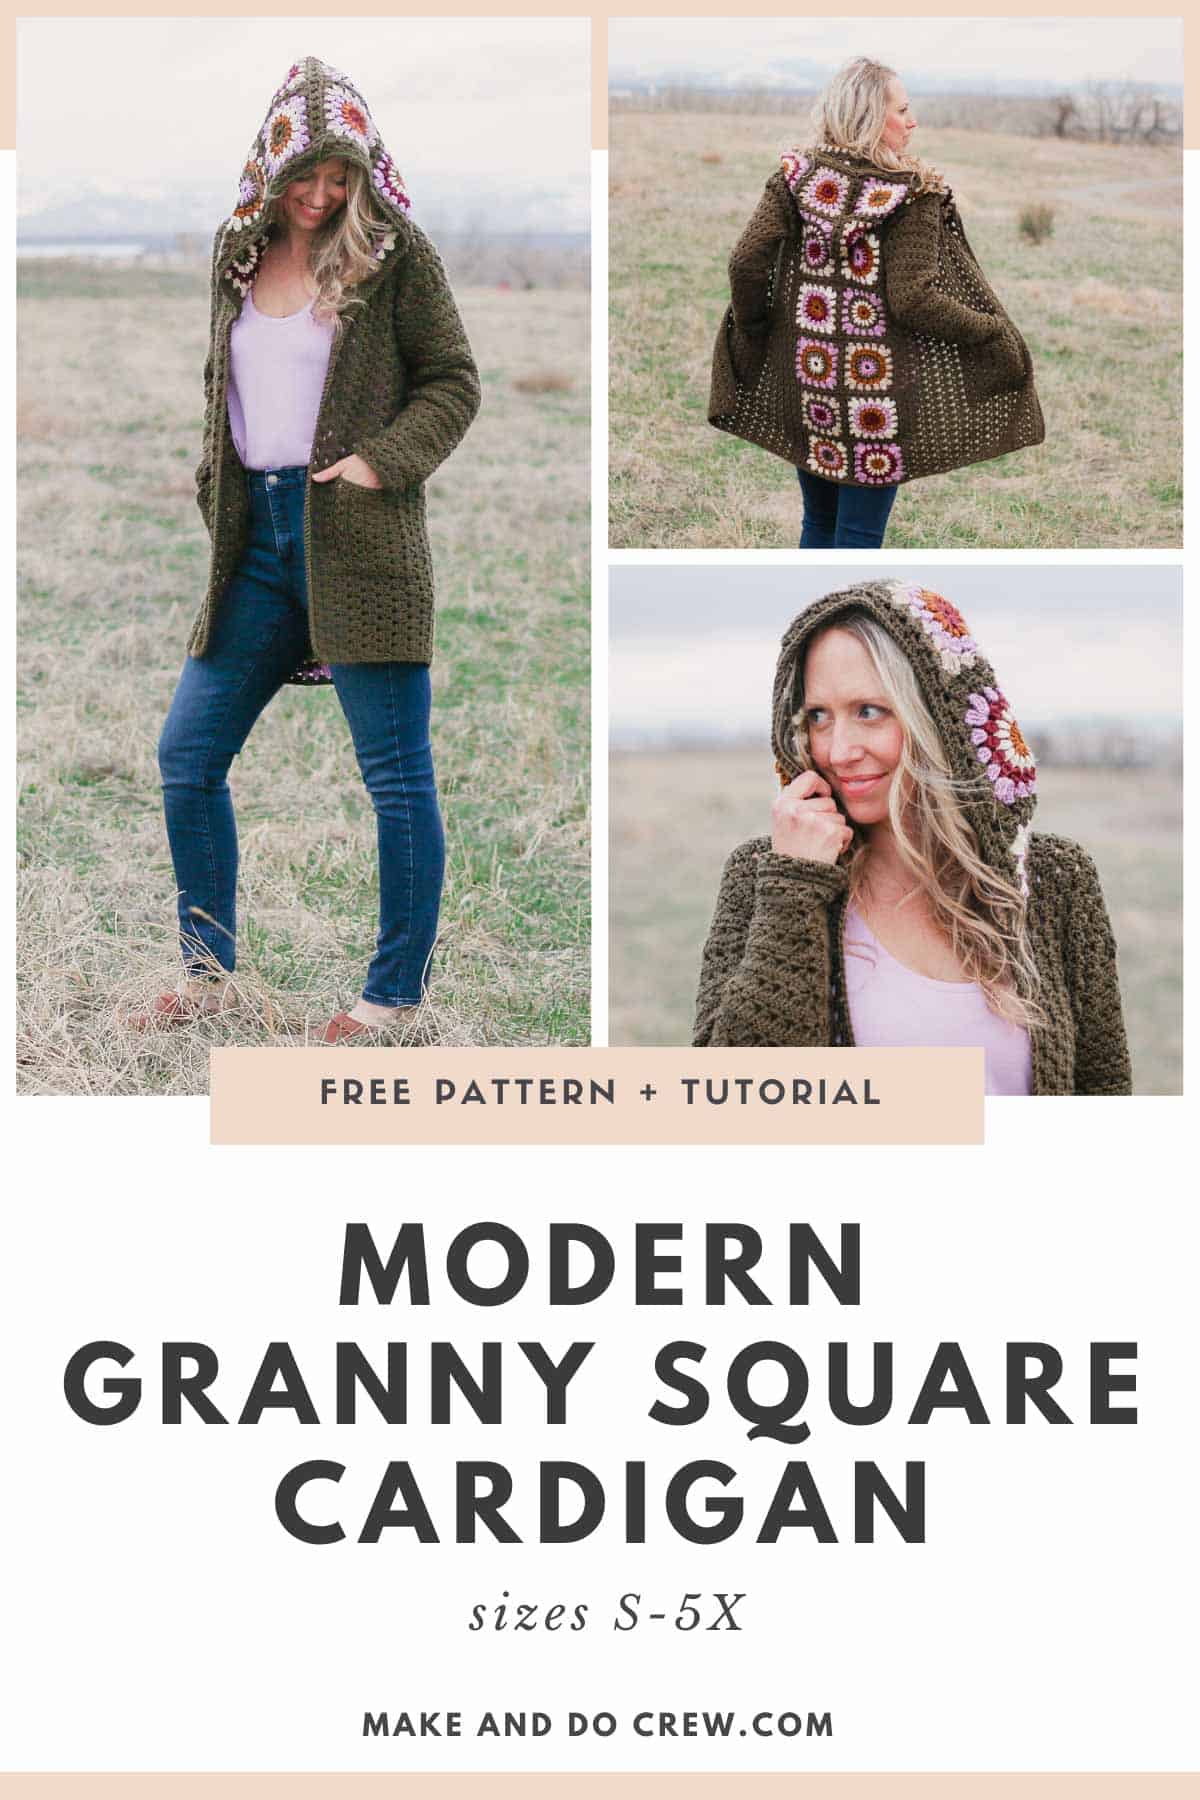
Crochet Granny Square Vest Pattern ...
makeanddocrew.com
Your folders
 240 views
The Halcyon Granny Square Bucket Ha...
makeanddocrew.com
Your folders
 164 views
Crochet Granny Rectangle Pattern
blog.treasurie.com
Your folders
 33 views
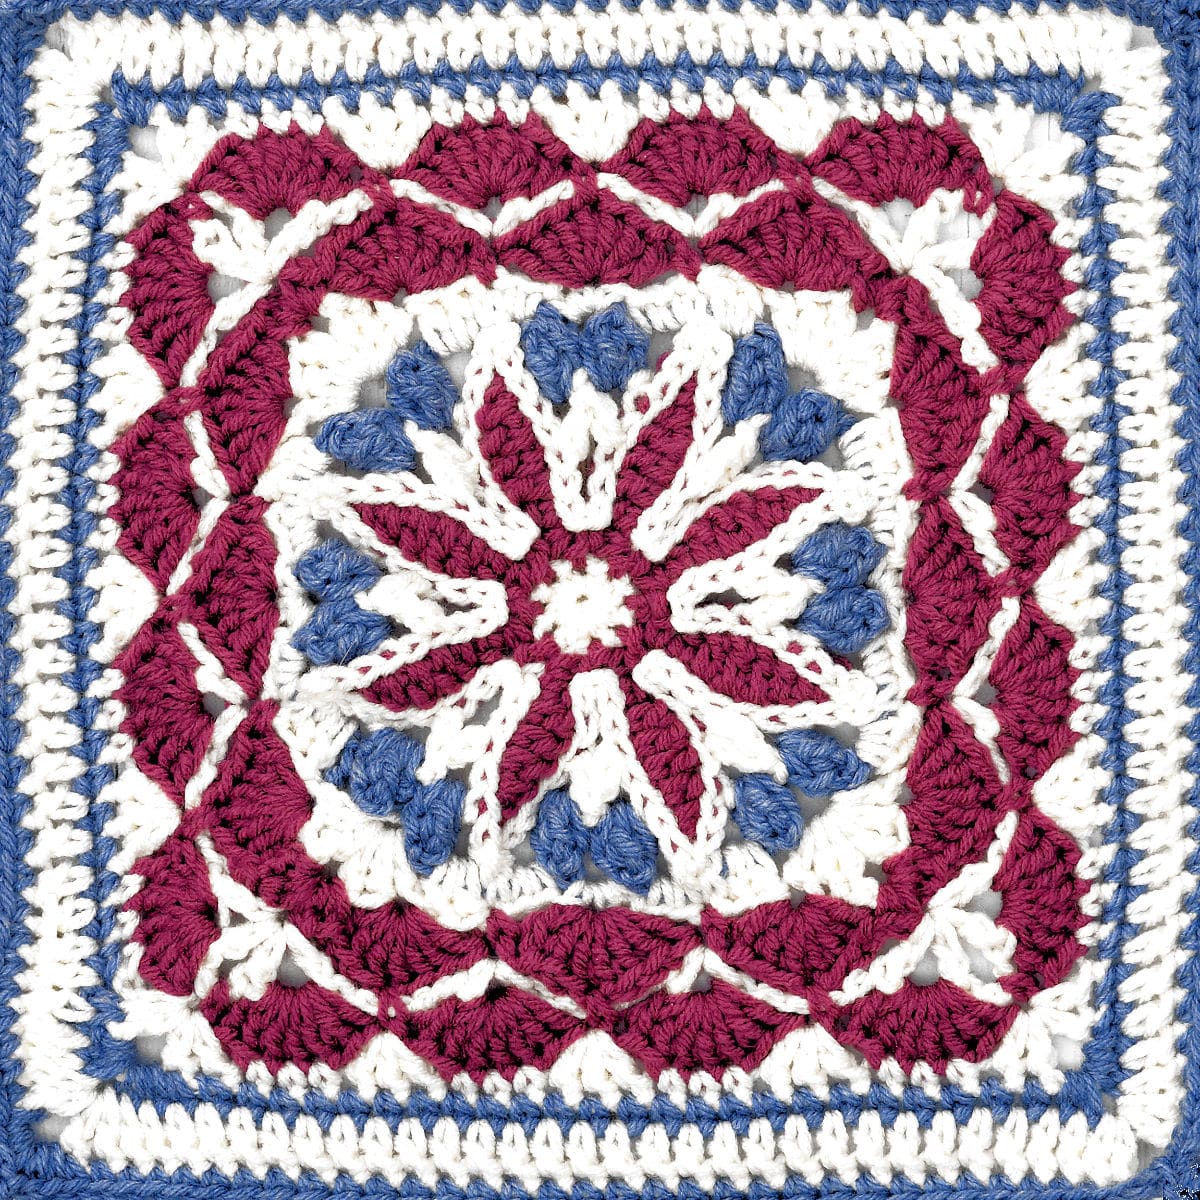
Blueberry Pie 12″ Granny Square
makeitcrochet.com
Your folders
 227 views
Granny Stitch Crochet Kerchief Patt...
crochetncrafts.com
Your folders
 118 views
How to Crochet a Granny Square Card...
makeanddocrew.com
Your folders
 56 views
How To Crochet a Solid Granny Squar...
joyofmotioncrochet.com
Your folders
 606 views
Granny Cake
justapinch.com
4.0
(167)
45 minutes
Your folders
 288 views
Granny Cake
insanelygoodrecipes.com
4.6
(5)
25 minutes
Your folders
 402 views
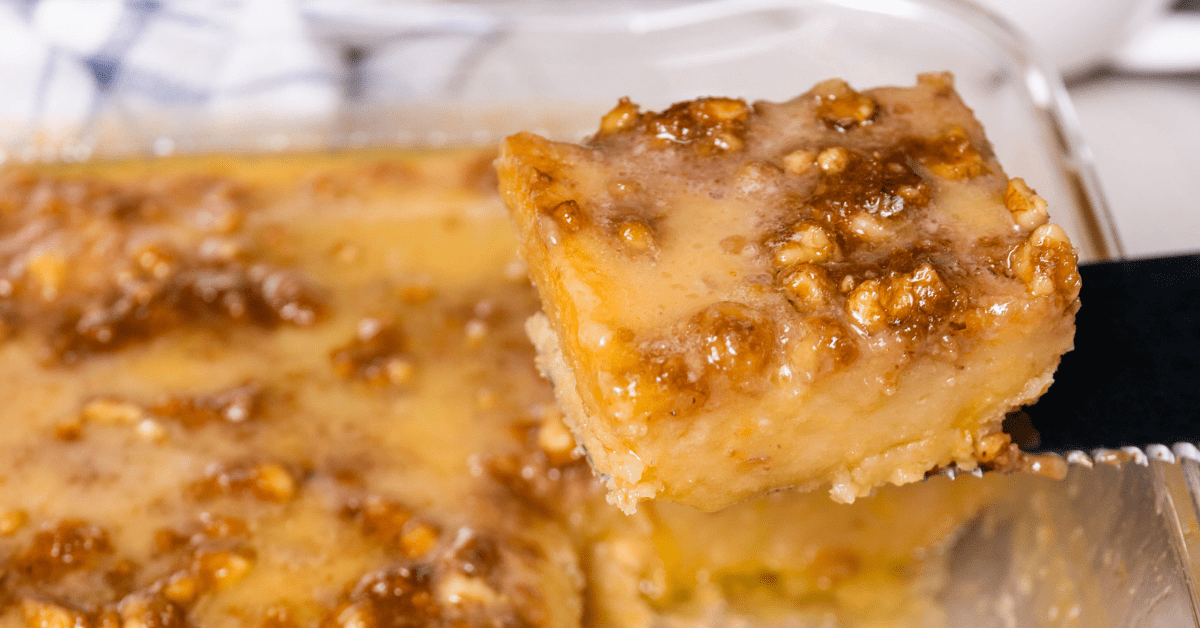
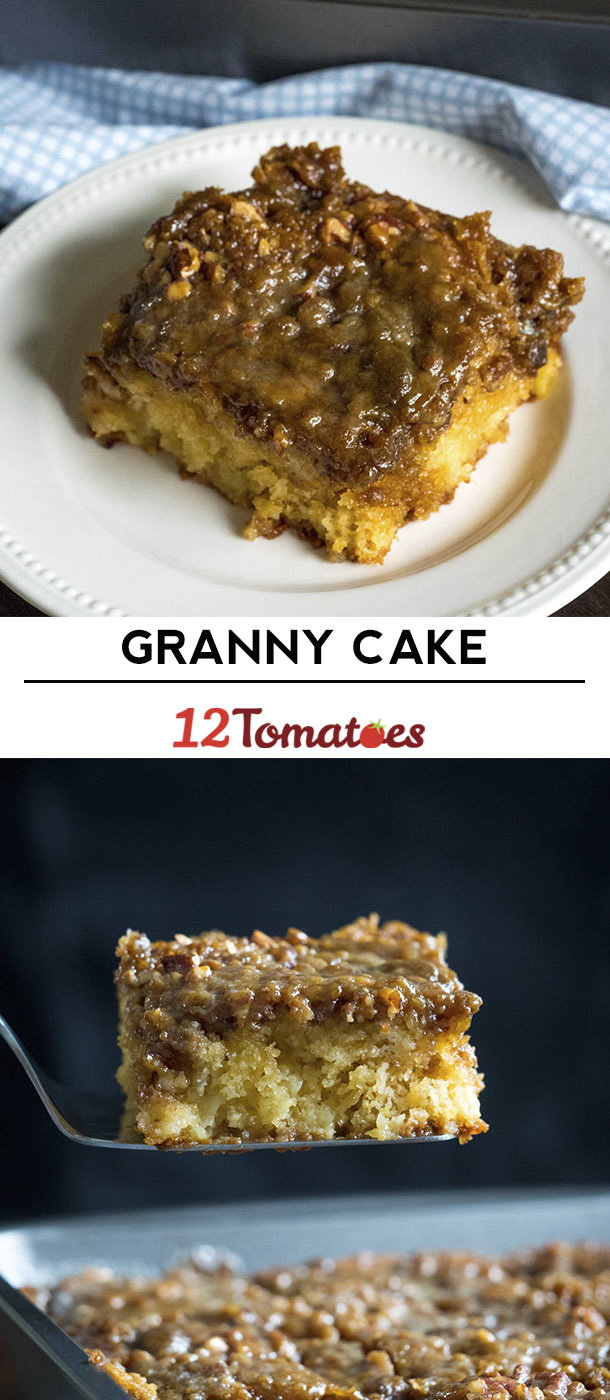
Granny Cake
12tomatoes.com
4.6
(731)
Your folders
 83 views
Granny Cake
fantabulosity.com
30 minutes
Your folders
 235 views
How To Crochet a Sunburst Granny Sq...
makeanddocrew.com
Your folders
 402 views
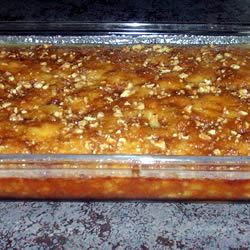
Granny Cake I
allrecipes.com
4.6
(59)
25 minutes
Your folders
248 viewsHomemade Granny Cake
100krecipes.com
5.0
(3)
45 minutes
Your folders
 70 views
Fried Rice Square
therecipecritic.com
Your folders
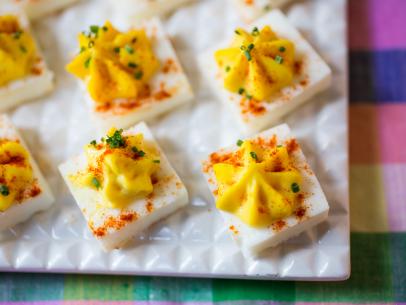 414 views
Square Deviled Eggs
foodnetwork.com
2.8
(28)
35 minutes
Your folders
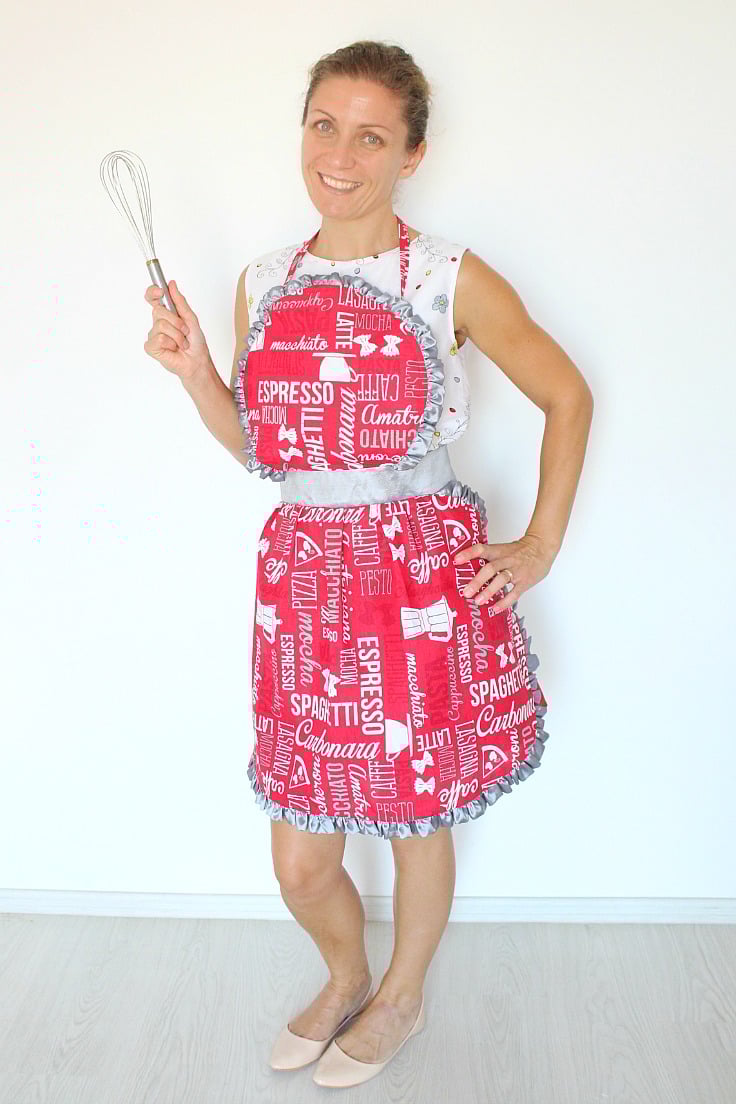 190 views
Apron pattern with rufflesApron pat...
theseamanmom.com
Your folders
 449 views
Granny Smith Apple Sauce
pastrychefonline.com
4.5
(2)
30 minutes