Your Guide to Cricut Joy Label MakingYour Guide to Cricut Joy Label MakingCruise Shirt with Infusible InkTwo Ingredient Hand SanitizerEnnegram ShirtsThinking of You CardDIY SignDIY Notebook TabsTravel Toiletries with a CricutDisneyland Countdown CalendarRainbow Baby Picture FrameJust Between Us Parent and Child JournalEaster Bunny PlateDIY Ruler Growth Chart
Your folders
Your folders
Total: 30
Ingredients
Export 3 ingredients for grocery delivery
Instructions
Step 1
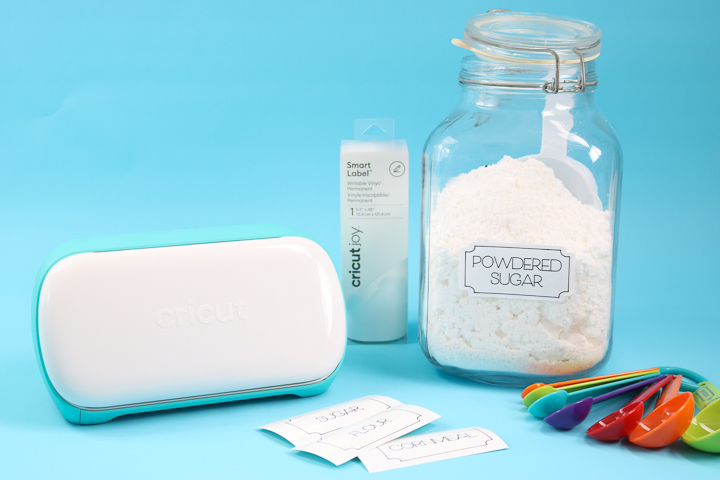
Pull up the Cricut Design Space file. You can use the "customize this" label to easily add in your own words. Duplicate it as many times as you need. You will also want to delete off any of the pre-made ones that you do not need.
Step 2
Change the text of the labels to anything that you want. You may find it easier to move the text off to the side in order to change it.
Step 3
Put the text over the label. Be sure both the text and the labels are highlighted. Then click align and click "center" to center it both horizontally and vertically. You will also want to click "attach" in the lower right-hand corner while both pieces are highlighted.
Step 4
Then click "make it" to make the labels. You will need to choose the "no mat" option before continuing.
Step 5
You will then have something that looks like the screen below. You can hide any objects from this screen that you forgot to delete in the first few steps of this tutorial. Do this by clicking the three dots and choosing "hide selected".
Step 6
Click continue and pick the SmartLabel material from the material list. The machine will then ask you to load the pen into the holder. Do this by unclamping, removing the blade, and dropping the pen into place. Remember that there is no need to push the pen down on the Cricut Joy. Just drop the pen and lock the clamp.
Step 7
To load your material, just put the SmartLabel material under the guides. The Cricut Joy will sense the material and automatically feed it in. Then it will measure the material to make sure you have enough for your project.
Step 8
The Joy will then write the labels with the pen. Cricut Design Space will then prompt you to unload the pen and add the blade to the machine. The Joy will then cut your labels.
Step 9
Once cut, Cricut Design Space will prompt you to either unload your material or try again (which means to cut again). Once unloaded, your writable labels are ready to add to any surface.
Step 10
Pull up the Cricut Design Space file. You can use the "customize this" label to easily add in your own words. Duplicate it as many times as you need. You will also want to delete off any of the pre-made ones that you do not need.
Step 11
Change the text of the labels to anything that you want. You may find it easier to move the text off to the side in order to change it.
Step 12
Put the text over the label. Be sure both the text and the labels are highlighted. Then click align and click "center" to center it both horizontally and vertically. You will also want to click "attach" in the lower right-hand corner while both pieces are highlighted.
Step 13
Then click "make it" to make the labels. You will need to choose the "no mat" option before continuing.
Step 14
You will then have something that looks like the screen below. You can hide any objects from this screen that you forgot to delete in the first few steps of this tutorial. Do this by clicking the three dots and choosing "hide selected".
Step 15
Click continue and pick the SmartLabel material from the material list. The machine will then ask you to load the pen into the holder. Do this by unclamping, removing the blade, and dropping the pen into place. Remember that there is no need to push the pen down on the Cricut Joy. Just drop the pen and lock the clamp.
Step 16
To load your material, just put the SmartLabel material under the guides. The Cricut Joy will sense the material and automatically feed it in. Then it will measure the material to make sure you have enough for your project.
Step 17
The Joy will then write the labels with the pen. Cricut Design Space will then prompt you to unload the pen and add the blade to the machine. The Joy will then cut your labels.
Step 18
Once cut, Cricut Design Space will prompt you to either unload your material or try again (which means to cut again). Once unloaded, your writable labels are ready to add to any surface.
Top similar recipes
Curated for youYour folders
 202 views
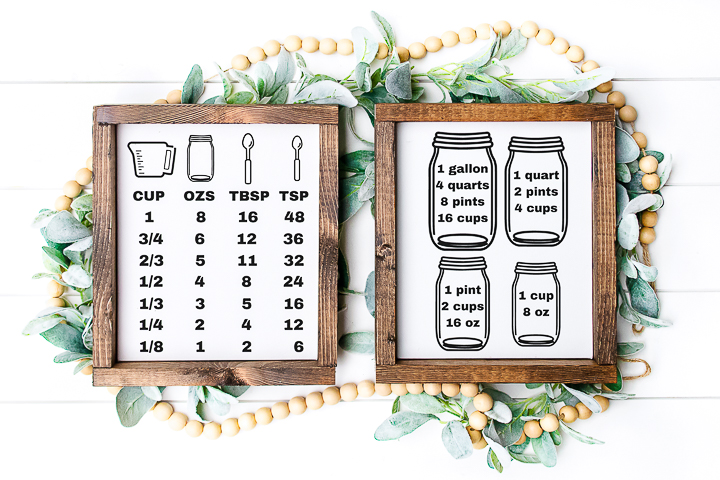
Cooking Conversion Chart with your ...
thecountrychiccottage.net
Your folders
 161 views
Cricut Joy Card Mat CardsCricut Joy...
thecountrychiccottage.net
Your folders
 49 views
Create Personalized Tea Towels with...
thekingstonhome.com
Your folders
 50 views
Projects to Make with a Picture SVG...
thecountrychiccottage.net
Your folders
 187 views
How to Make a Custom Hat with Cricu...
prettyprovidence.com
Your folders
 93 views
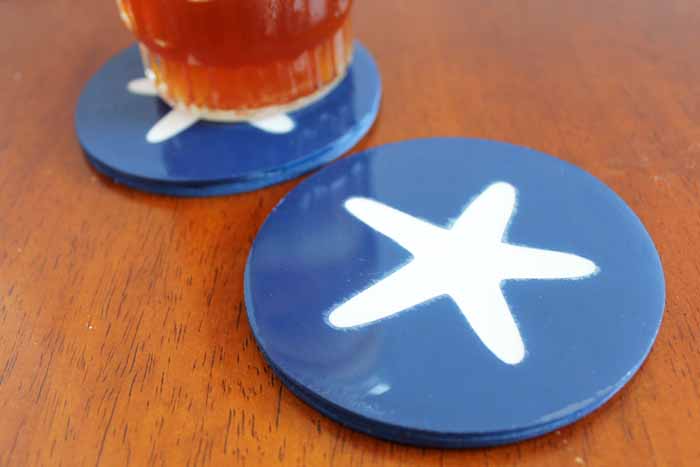
How to Make DIY Wood Coasters with ...
thecountrychiccottage.net
Your folders
/umeboshi6-56cf8a7f3df78cfb37ad885f.jpg) 336 views
336 viewsA Guide to Making Umeboshi
thespruceeats.com
Your folders
 265 views
A Guide to Quick Pickles
crowdedkitchen.com
5.0
(19)
5 minutes
Your folders
 233 views
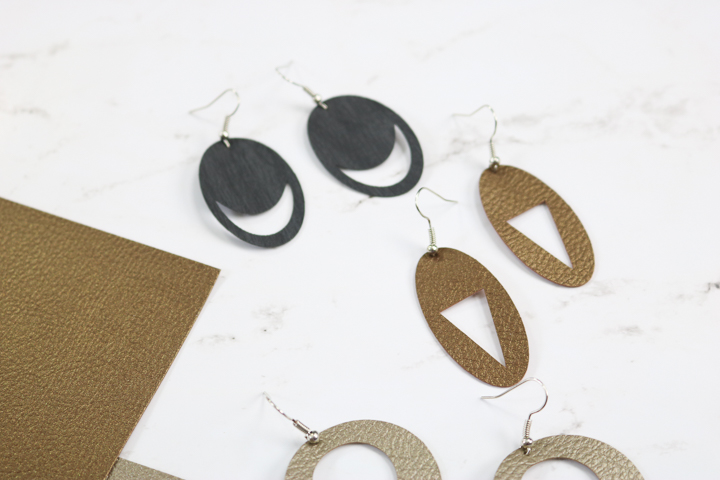
Cutting Earrings with a Cricut Mach...
thecountrychiccottage.net
Your folders
 141 views
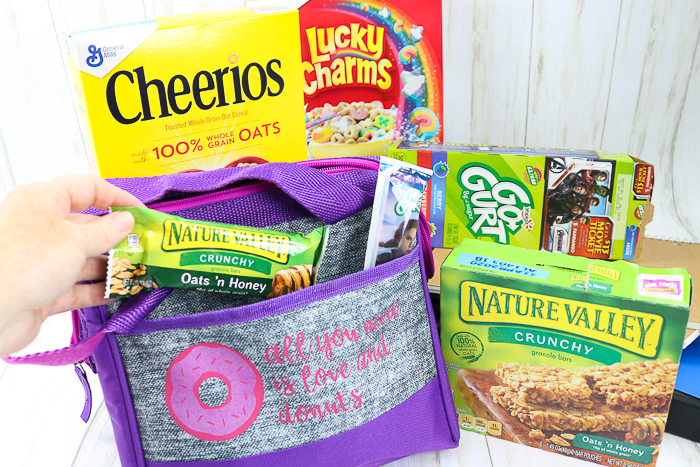
Custom Lunch Box with Your Cricut M...
thecountrychiccottage.net
Your folders
 216 views
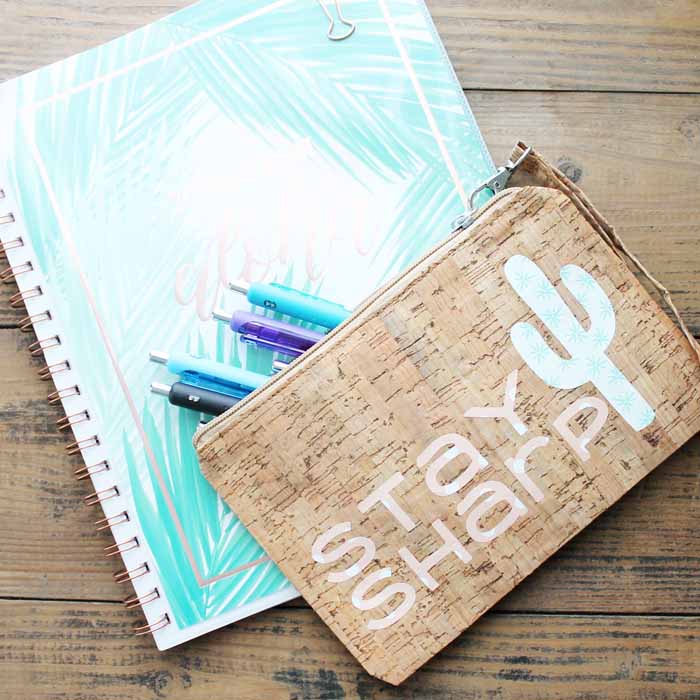
Custom Pencil Case with Your Cricut...
thecountrychiccottage.net
Your folders
 215 views
Cricut Maker
thecountrychiccottage.net
Your folders
 303 views
How to Use Cricut Printable Vinyl
thecountrychiccottage.net
Your folders
 40 views
How to Etch Glass with a CricutHow ...
thecountrychiccottage.net
Your folders
 220 views
Ultimate Guide to British Scones
thestayathomechef.com
Your folders
 154 views
Guide to Growing Spring Onions
themicrogardener.com
5.0
Your folders
 279 views
Ultimate Guide to British Scones
thestayathomechef.com
4.9
(24)
15 minutes
Your folders
 299 views
Ultimate Guide to Chocolate Ganache
thestayathomechef.com
5 minutes
Your folders
 295 views
Easy Guide to Growing Microgreens
themicrogardener.com
5.0