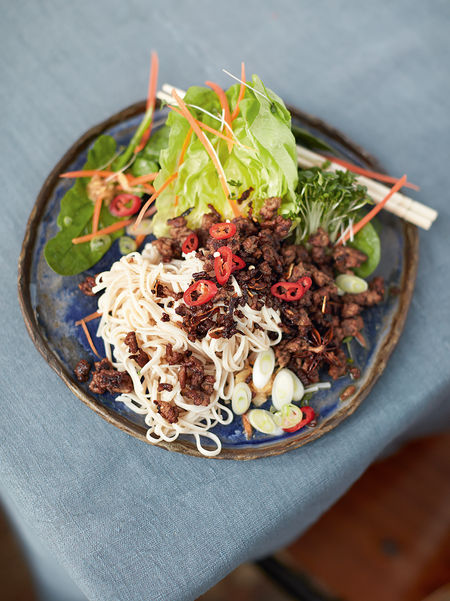
Air Fryer Essentials: Crispy Asian Beef on Rice
Your folders
Your folders
Prep Time: 20 minutes
Cook Time: 10 minutes
Total: 30 minutes
Servings: 3
Cost: $21.19 /serving
Author : Andy Anderson !

Ingredients
Export 16 ingredients for grocery delivery
Instructions
Step 1
PREP/PREPARE
Step 2
The best cuts of beef for this recipe (in my opinion) would be flank steak, London broil, or chuck steak. All three of these will work well and tenderize nicely in the quick time spent in the air fryer.
Step 3
I understand that the “traditional” thickener for this recipe would be cornstarch; however, I like the way all-purpose flour changes up the flavors.
Step 4
One of my contributions to this recipe was the addition of beer. And, the reason I added it was… well, because it is beer :-)
Step 5
Gather your ingredients (mise en place).
Step 6
THE SAUCE
Step 7
Add the oil to a large skillet over medium-low heat.
Step 8
Add the garlic, and stir until fragrant, about 60 seconds.
Step 9
Add the remainder of the ingredients, and slowly simmer for about 3 – 4 minutes.
Step 10
Set heat to low, low, cover, and keep warm.
Step 11
THE BEEF
Step 12
Slice the beef against the grain.
Step 13
I usually slice mine about 1/4 inch (0.6cm). Too thin and they will burn when cooking, too thick and they will be really chewy.
Step 14
Whisk together the rice vinegar, and sesame oil, then add the beef slices, and allow to marinate for about 10 minutes.
Step 15
Set your air fryer to 375f (190c) and preheat for a few minutes.
Step 16
Take the beef out of the marinade, shake off the excess, and then coat with the flour.
Step 17
Add the beef strips in a single layer to the basket of your air fryer and cook for 5 minutes, then flip them over and cook for an additional 5 minutes.
Step 18
You will probably need to do the beef strips in batches. When you finish a batch, just place them on a paper towel, and move on to the next batch. No need to keep them warm.
Step 19
When all the beef strips are cooked, throw them into the reserved sauce, and bring the skillet up to a slow simmer.
Step 20
As the sauce and beef simmer, the flour on the beef will begin thickening the sauce. Once simmering begins, the beef should be ready in 3 – 4 minutes.
Step 21
PLATE/PRESENT
Step 22
Serve over a steaming bowl of rice. Enjoy.
Step 23
Keep the faith, and keep cooking
Top similar recipes
Curated for youYour folders

 128 views
Air Fryer Crispy Rice
theplantcollective.co
Your folders
 423 views
Asian crispy beef
jamieoliver.com
Your folders
 292 views
Air fryer crispy chilli beef
bbcgoodfood.com
15 minutes
Your folders
 80 views
Air Fryer Crispy Rice Sushi
foodbythegram.com
4.0
(3)
20 minutes
Your folders
 177 views
Crispy Air Fryer Asian Tofu and Bro...
kitschencat.com
20 minutes
Your folders
 514 views
Essentials: Rice Recipe
seriouseats.com
Your folders
/__opt__aboutcom__coeus__resources__content_migration__serious_eats__seriouseats.com__2018__09__20180906-rice-microwave-cooking-vicky-wasik-6-2c77139288bd446e9ffdec7812c8301c.jpg) 322 views
322 viewsEssentials: Rice Recipe
seriouseats.com
Your folders
 76 views
Air Fryer Crispy Chilli Beef Recipe
theglutenfreeblogger.com
5.0
(2)
15 minutes
Your folders
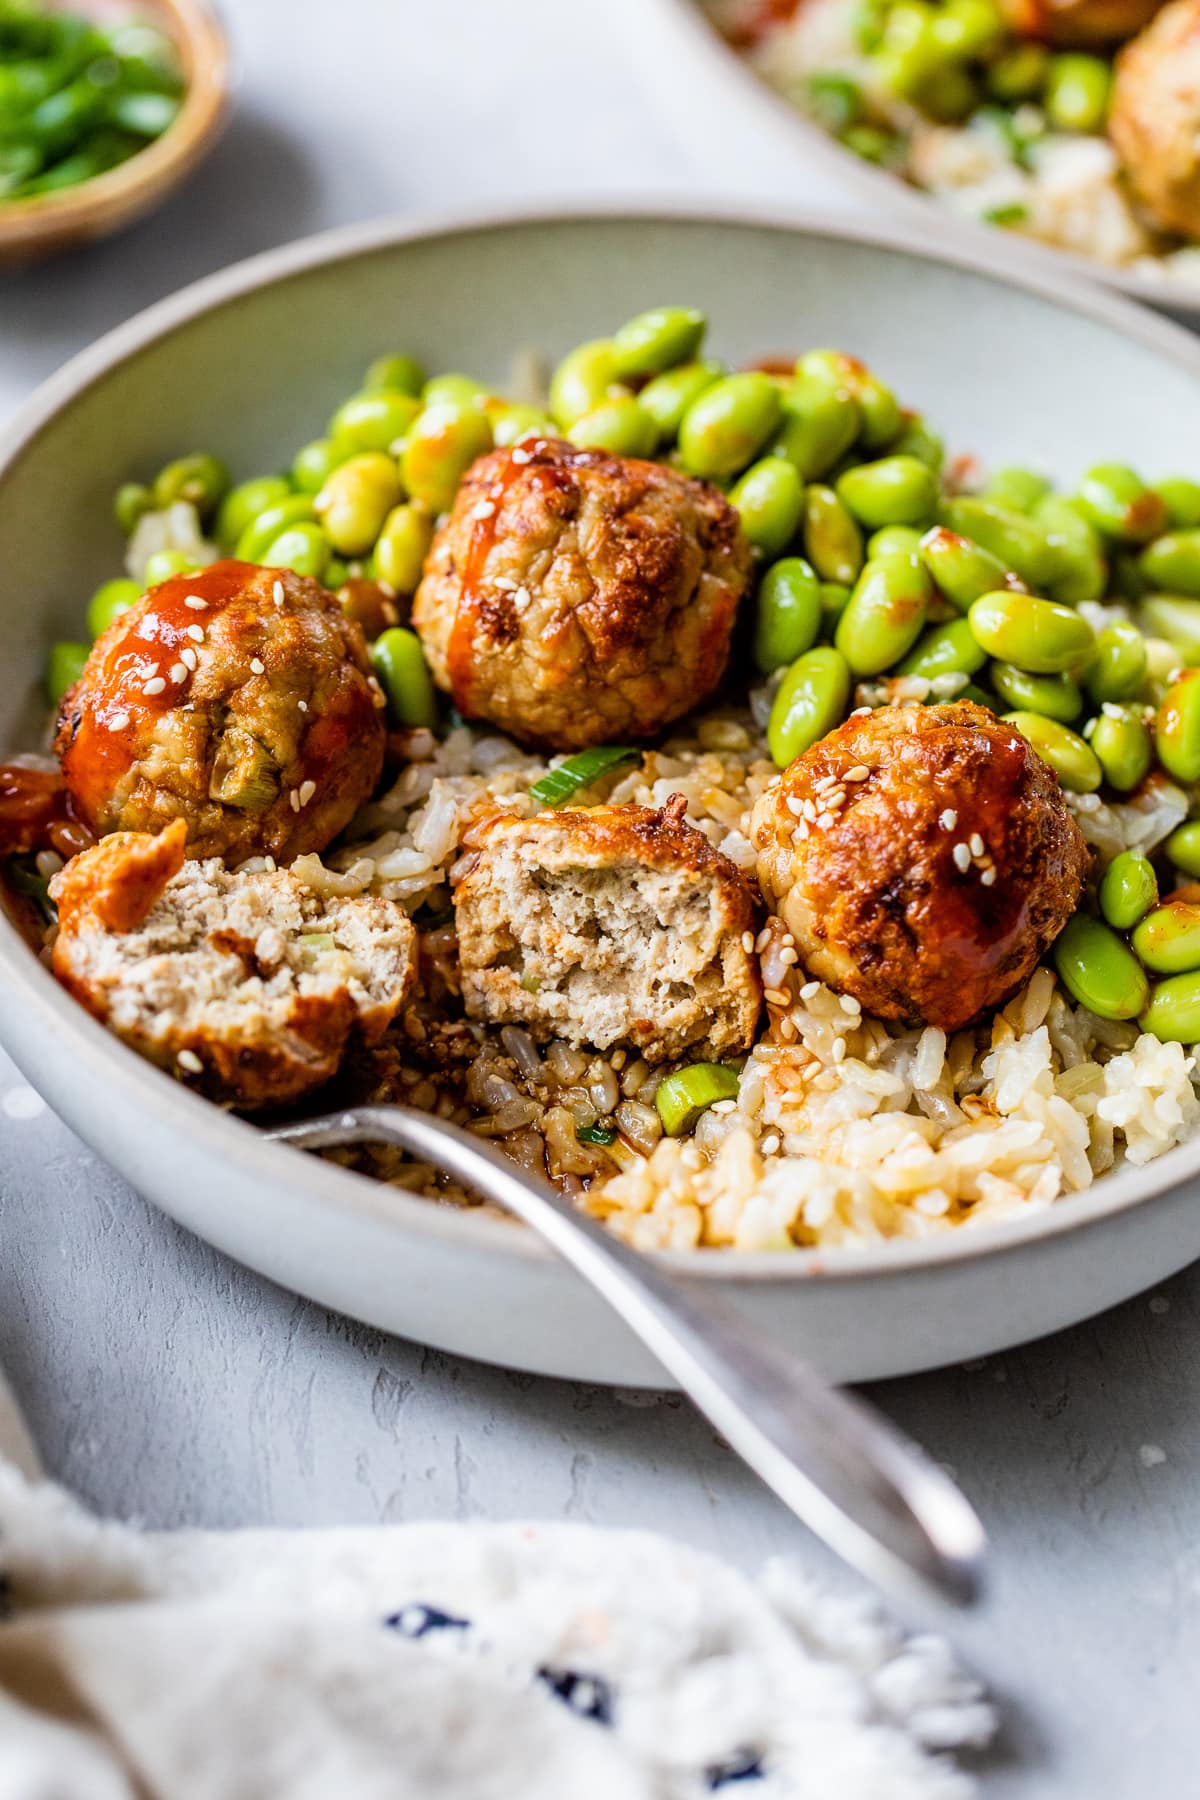 174 views
Air Fryer Asian Meatballs
skinnytaste.com
4.8
(6)
20 minutes
Your folders
 162 views
Crispy Air Fryer Rice Paper Rolls
myplantifulcooking.com
5.0
(1)
20 minutes
Your folders
 248 views
Asian Beef Rice Bowls
bettycrocker.com
4.5
(5)
Your folders
 139 views
Air Fryer Rice
everydayfamilycooking.com
4.9
(7)
25 minutes
Your folders
 7 views
Air Fryer Crispy Beef (Better than ...
supergoldenbakes.com
5.0
(5)
10 minutes
Your folders
 299 views
Air Fryer Asian Chicken Wings
domesticsuperhero.com
5.0
(3)
16 minutes
Your folders
 177 views
Air Fryer Cheese on Toast
happyveggiekitchen.com
4.7
(12)
10 minutes
Your folders
 454 views
Crispy Air Fryer Potatoes
sweetandsavorymeals.com
5.0
(3)
20 minutes
Your folders
 436 views
Crispy Air Fryer Potatoes
thetoastedpinenut.com
5.0
(4)
15 minutes
Your folders
 763 views
Crispy Air Fryer Potatoes
vikalinka.com
5.0
(3)
20 minutes
Your folders
 1234 views
Air Fryer Crispy Potatoes
delish.com
4.8
(18)