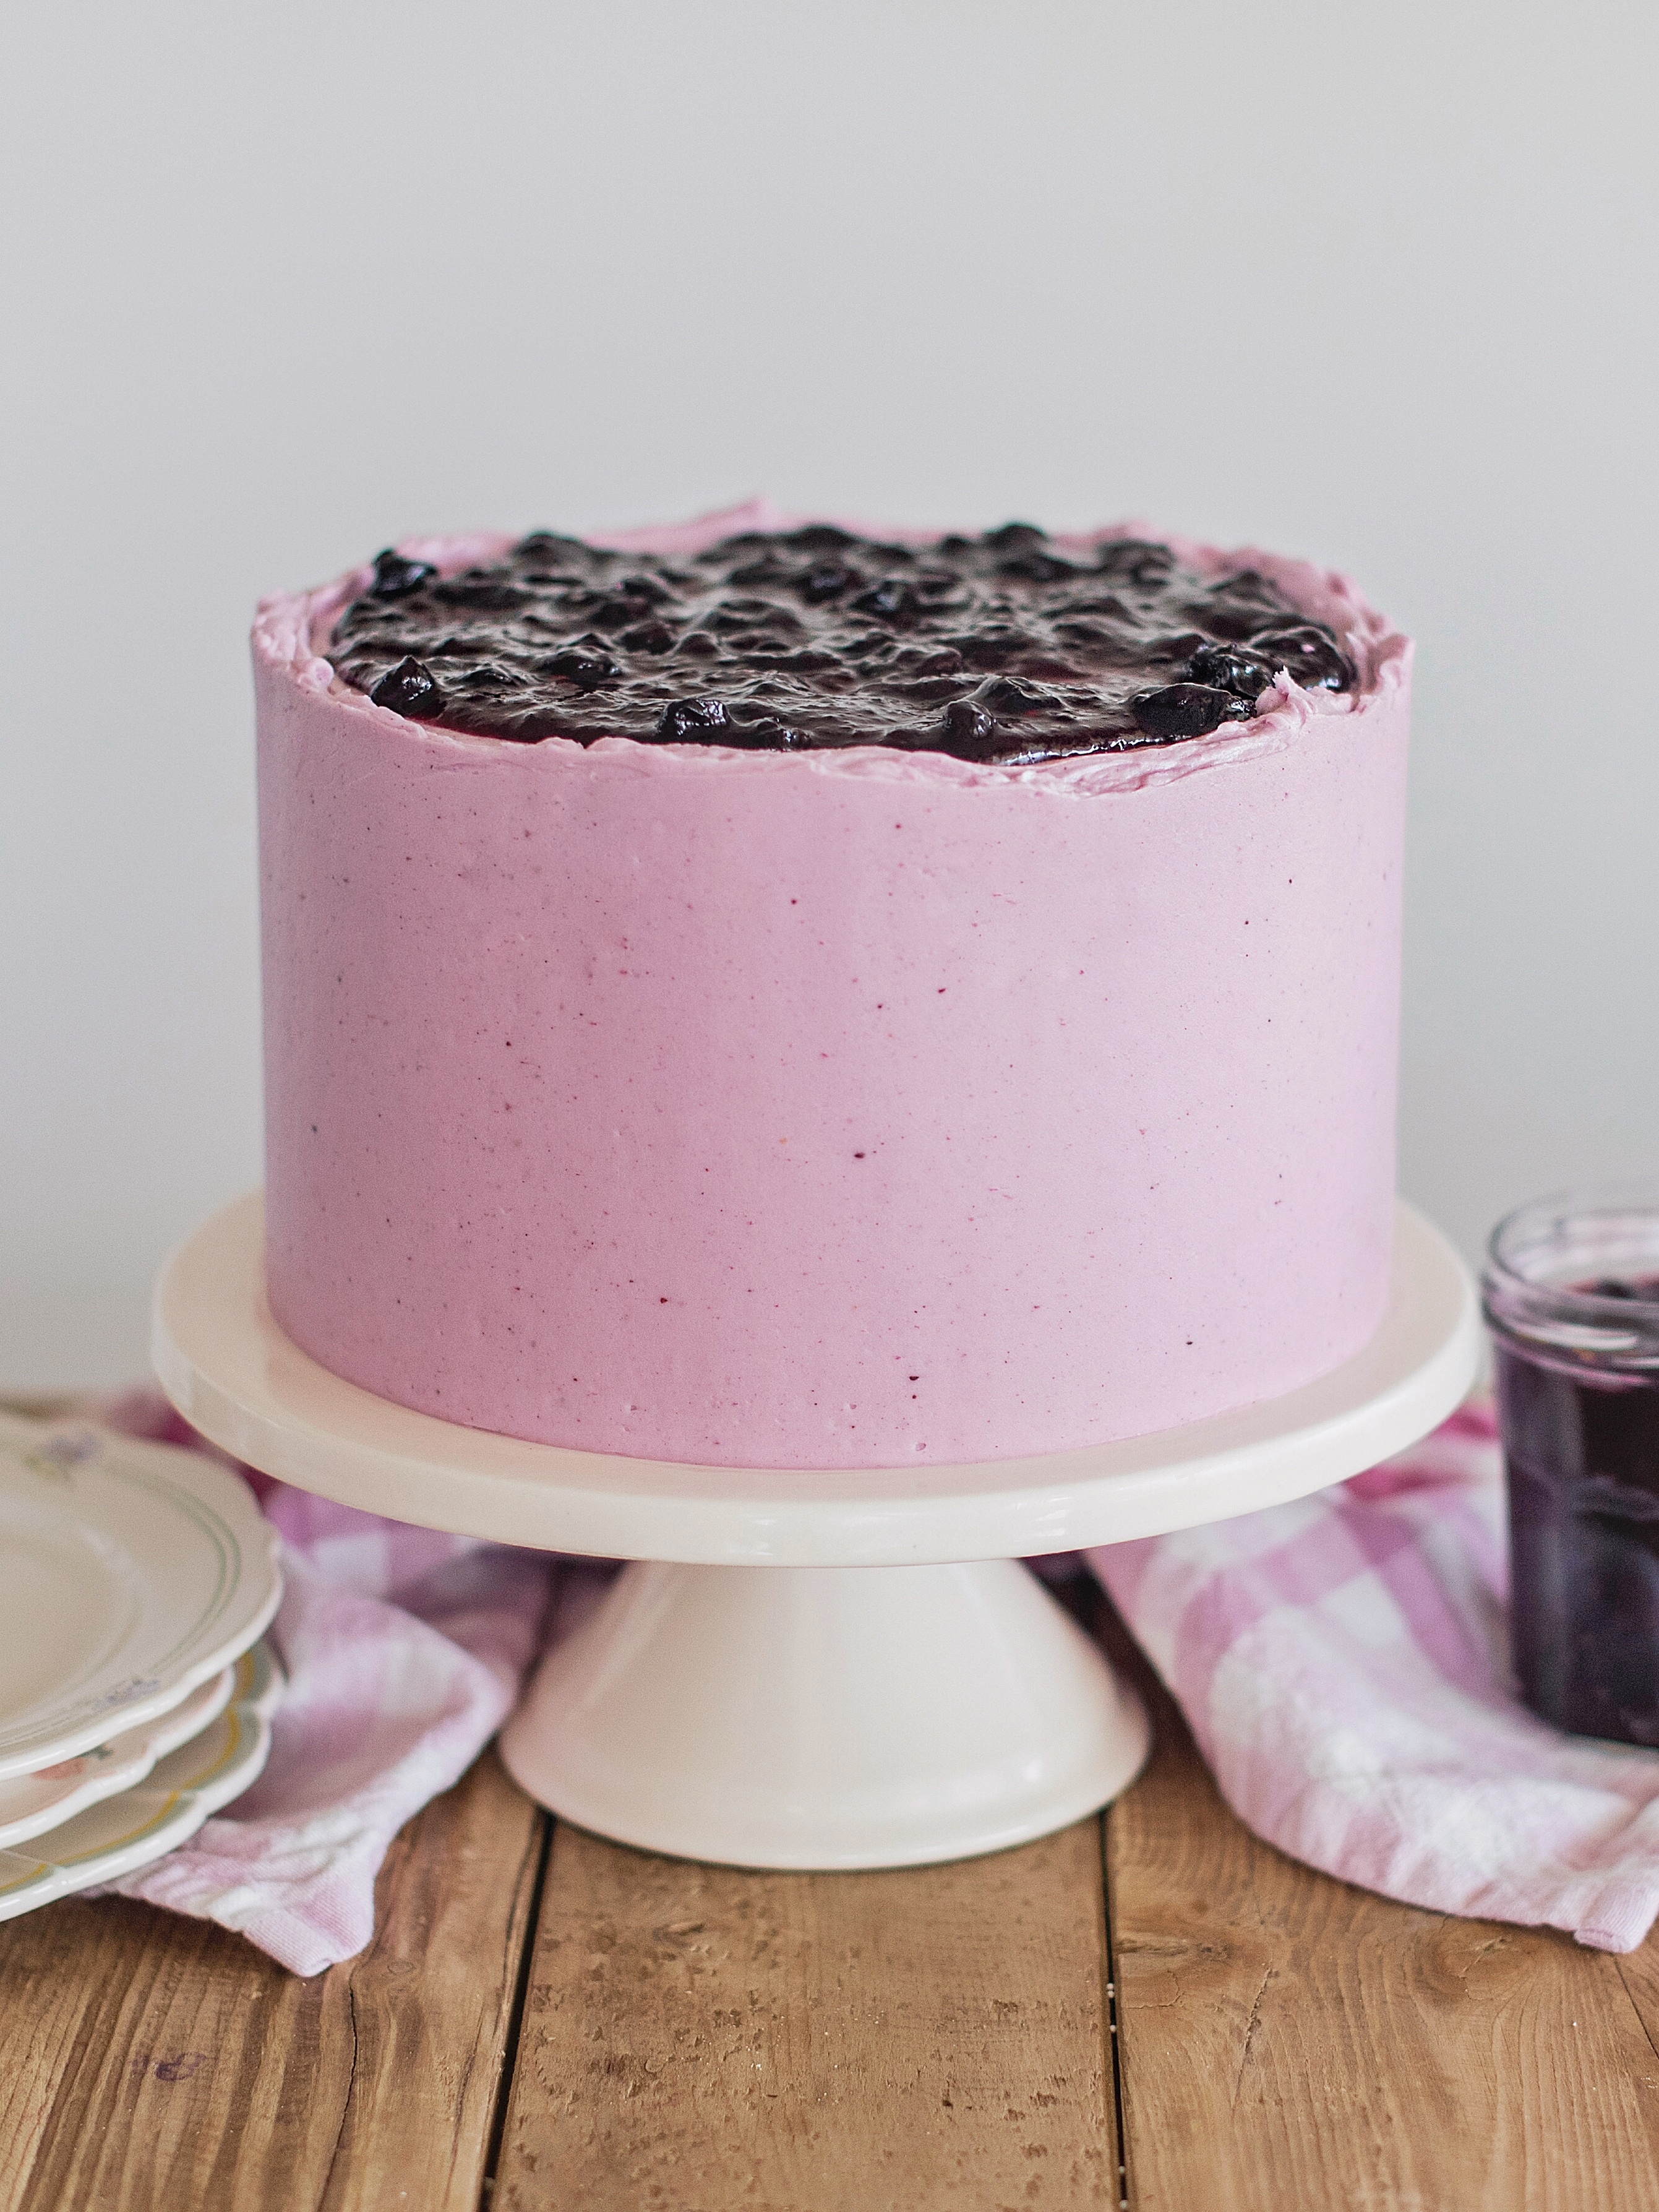
Blueberry Delight Cake
5.0
(1)
Your folders
Your folders
Servings: 18
Author : Courtney Rich

Ingredients
Export 20 ingredients for grocery delivery
Instructions
Step 1
Preheat the oven to 350 degrees F. Spray three 8-inch (or four, 6-inch) cake pans with nonstick spray, line with parchment and spray again. Set aside.
Step 2
In a mixing bowl, combine the cookie crumbs, sugar and melted butter. Mix to coat the crumbs so you're left with a "wet sand" consistency.
Step 3
Divide the crumbs between the three pans (about 5 ounces in each). Pat firmly into place.
Step 4
Bake the crusts for 7 minutes.
Step 5
Preheat your oven to 325 degrees.
Step 6
In a medium sized mixing bowl, whisk together the flour, baking powder and salt. Set aside.
Step 7
Cream the grapeseed oil and the sugar on medium speed in a stand mixer fitted with the paddle attachment for one minute. Stir in the lemon zest.
Step 8
Add the eggs, one at a time, until incorporated. Scrape down the sides of the bowl.
Step 9
With the mixer on low, alternately add the flour mixture and the ricotta, starting and finishing with the flour. Combine until incorporated.
Step 10
Evenly distribute the batter among the three cake pans on top of the crusts (about 15-16 ounces of batter in each pan) and bake for 25 to 28 minutes or until a toothpick inserted in the center of the cake comes out with just a few moist crumbs.
Step 11
Let cool in pans 5-10 minutes before inverting onto a wire rack to cool completely. Once cooled, you can cover with plastic wrap and store in your refrigerator overnight or freezer for longer.
Step 12
FOR THE RICOTTA (best to make ahead of time): Combine the whole milk, cream and salt in a large pot over medium heat. Bring the mixture to a boil and let boil, while stirring occasionally, for about 5 minutes.
Step 13
Once the mixture has boiled for a few minutes, turn the heat off and add the vinegar. Give the mixture a stir and then let it sit for about 5 minutes. You'll see the mixture start to separate into thick parts and thin parts.
Step 14
Place a mesh strainer over a large bowl and then place a damp cheese cloth over the mesh strainer. Pour the milk mixture over the cheese cloth. Let the mixture strain for about an hour. Discard the liquid in the bowl and pour the ricotta in a bowl to chill until ready to use. Can be made ahead of time and store in the fridge for about 3 to 5 days.
Step 15
FOR THE FILLING: Combine the powdered sugar and whipping cream. Beat until stiff peaks form. Fold the whipping cream into 2 cups of the homemade ricotta.
Step 16
Combine all of the ingredients in a medium saucepan. Heat to a boil. Boil for 5 minutes, stirring occasionally. You want the blueberries to burst and the liquid to thicken. It should coat your spoon well.
Step 17
This is best made ahead of time and can be stored in an airtight container in the refrigerator for a couple weeks.
Step 18
In a stand mixer fitted with a paddle attachment, cream the butter on medium-high speed for about two minutes.
Step 19
With the mixer on low speed, slowly add the sifted powdered sugar until incorporated. Scrape down the sides of the bowl and continue to mix for another minute.
Step 20
Add the blueberry filling, vanilla, salt and heavy cream (one tablespoon at a time). Once the cream is incorporated, increase the speed to medium-high and beat the frosting for five minutes. It should get lighter in texture and color.
Step 21
Use a spoon to mix the frosting by hand, which will push out the air pockets created by the electric mixer.
Step 22
Place the first cake layer, top side up, on a cake board or cake plate. Using a piping bag, pipe a rim of buttercream around the edge of the cake.
Step 23
Fill the cake with 1/2 to 3/4 cup ricotta filling, followed by 1/2 cup blueberry compote.
Step 24
Place the second cake layer on top and repeat step two.
Step 25
Place the final cake layer on top and apply a thin layer of buttercream around the entire. Freeze the cake for about 10 minutes to set crumb coat.
Step 26
Finish frosting the cake with the remaining buttercream and top with blueberry compote.
Step 27
See above picture tutorial for more details.