Bread Machine Ciabatta Recipe
4.6
(71)
Your folders
Your folders
Prep Time: 1440 minutes
Cook Time: 20 minutes
Total: 1460 minutes
Servings: 16
Author : Paula Rhodes
Ingredients
Export 6 ingredients for grocery delivery
Instructions
Step 1
Combine yeast, water, and flour in the bread machine pan. (Use another container if you don't want to tie up your bread machine that long.) Select the dough cycle and turn on for about 5 minutes to mix the ingredients. Use a small spatula to scrape excess flour from the corners into the wet flour mixture. Turn off or unplug the machine and let sit for 12-24 hours.
Step 2
If not using the biga within 24 hours, place the foamy mixture into the refrigerator. The flavor will only get better--up to 3-4 days. Allow the biga to come to room temperature before proceeding to the next step.
Step 3
In the order listed, add the water, milk, salt, flour, and yeast to the biga in your bread machine.
Step 4
Select the DOUGH cycle and push start. After 15-20 minutes, open the lid and check the dough. The dough should start to look shiny but will still be sticky. The dough will wind around the paddle(s). (See video.) If the dough is not sticking to the sides at all, add water 1 tablespoon at a time. If the dough looks more like a thick pancake batter, add extra flour 1 tablespoon at a time. If you have weighed your flour correctly, hopefully, no adjustments will be necessary.
Step 5
When kneading stops, remove the pan from the machine. Do not let the DOUGH cycle finish as you normally would.
Step 6
Lightly spray a 3-quart square or rectangular container. Use a brush or your hand to coat the inside of the container..
Step 7
Use a greased spatula to remove the sticky dough from the bread machine pan into a well-greased plastic container. Oil all surfaces of the dough by flipping the dough over with the spatula.
Step 8
Cover and allow the dough to rise at room temperature. Don't try to rush it. Let the dough rise until double. This make take an hour or longer if the room is cold.
Step 9
Using a greased spatula, slip it underneath the dough in the corners and lift each corner and each side up and to the middle. This is better seen on the video. Be careful not to squash any bubbles. Cover and let sit for 30 minutes.
Step 10
Repeat step Again, let the dough rest for 30 minutes. This helps to ensure a holey texture
Step 11
Empty dough by turning the container upside down onto a very liberally-floured (semolina flour and bread flour work well together if you have it) surface. (I use a silicone baking sheet since it's easy to throw into the dishwasher). The dough should be in the same general square or rectangular shape of the container it proofed in. DO NOT PUNCH THE DOUGH DOWN like you would normal bread dough.
Step 12
Spray or coat a bench scraper (or large knife) with olive oil. Use it to divide the rectangle of dough in half longways.
Step 13
Catch the long inner edges of each loaf with the oiled bench scraper and pull it up over the top about halfway and toward the outer edge. This leaves more room between each loaf. (This is quite challenging in the beginning, so don't expect perfection the first few times.)
Step 14
Now catch the outer edge of each loaf (the one that looks like it's about to fall off the tray at this point) with the bench scraper. Again, pull it up over the loaf about halfway in the direction of the middle of the tray. (See the video.)
Step 15
Straighten and clean up the shape with a bench knife. Use your well-greased or floured fingers (as if you were playing the piano) to dimple the surface of the dough.
Step 16
If you are using a silicone mat, transfer or pull the mat with the shaped loaves onto a rimless baking sheet. (See video)
Step 17
If you are not using a silicone mat, use liberally-floured hands to carefully transfer the two cylinders of dough to a prepared cookie sheet. (To prepare the baking sheet, cover the sheet with parchment paper. Or grease and sprinkle with flour and/or semolina or cornmeal.)
Step 18
Cover the loaves so the dough won't dry out and form a crust. You can also spray a large piece of plastic wrap with oil and cover the loaves with it.
Step 19
Preheat oven to 450˚F.
Step 20
Let loaves rest for about 30-45 minutes or until they get puffy.
Step 21
Spritz loaves with water using a spray bottle. Bake at 450˚ F for 18-20 minutes. Spray loaves one or two more times during the first 5 minutes of baking. Do it quickly so your oven won't lose too much heat.
Step 22
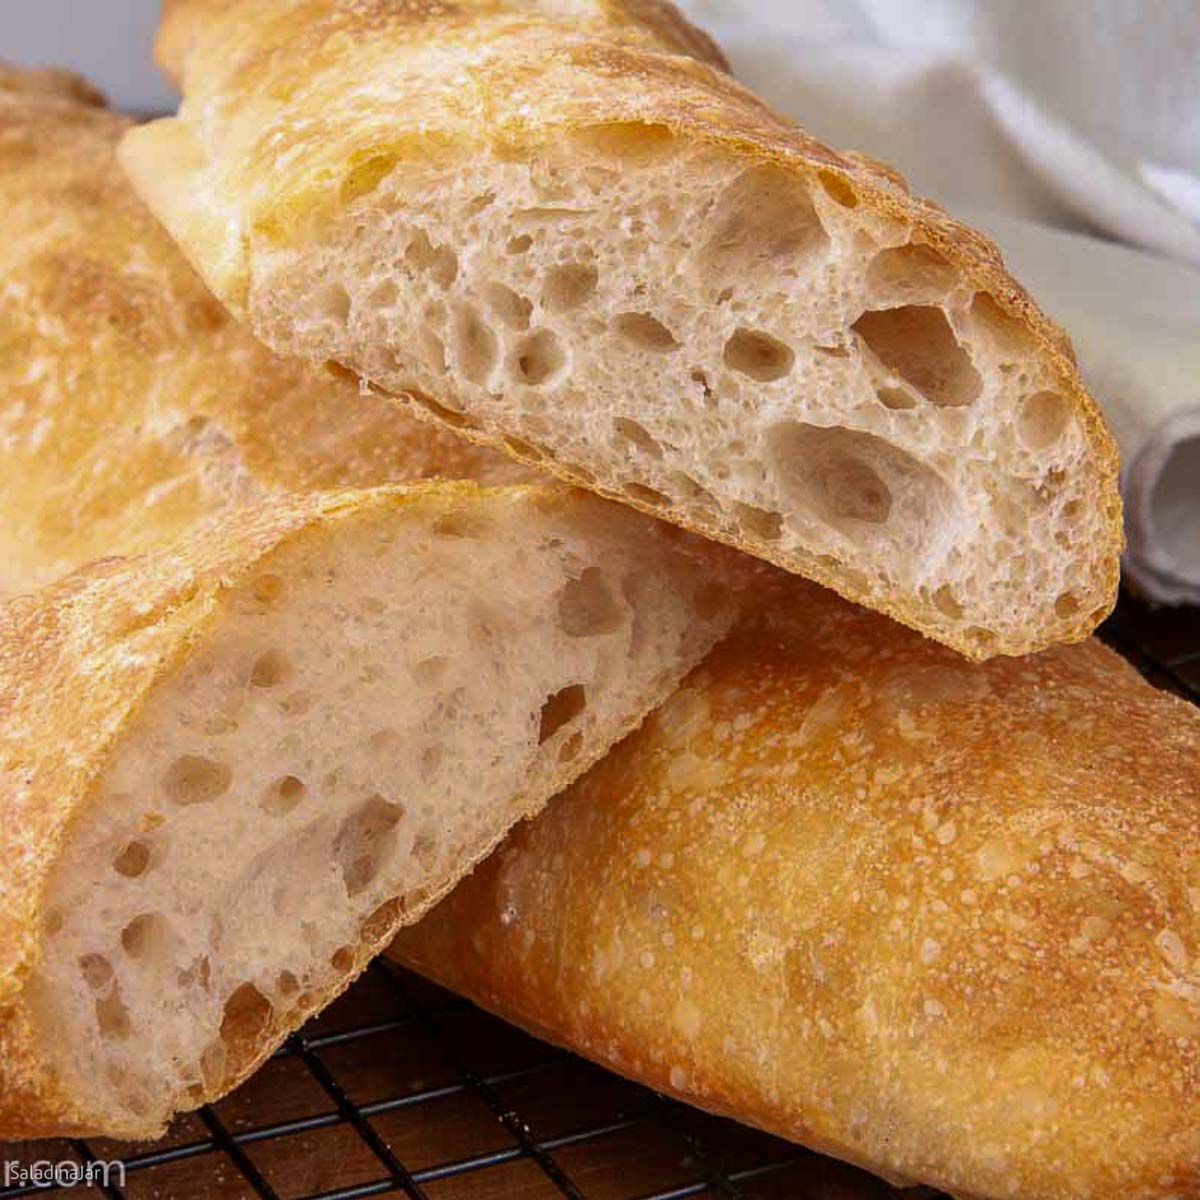
Loaves are done when the crust is golden brown and the internal temperature reaches 210˚F.
Step 23
Allow loaves to cool on a cooling rack for at least an hour before slicing.