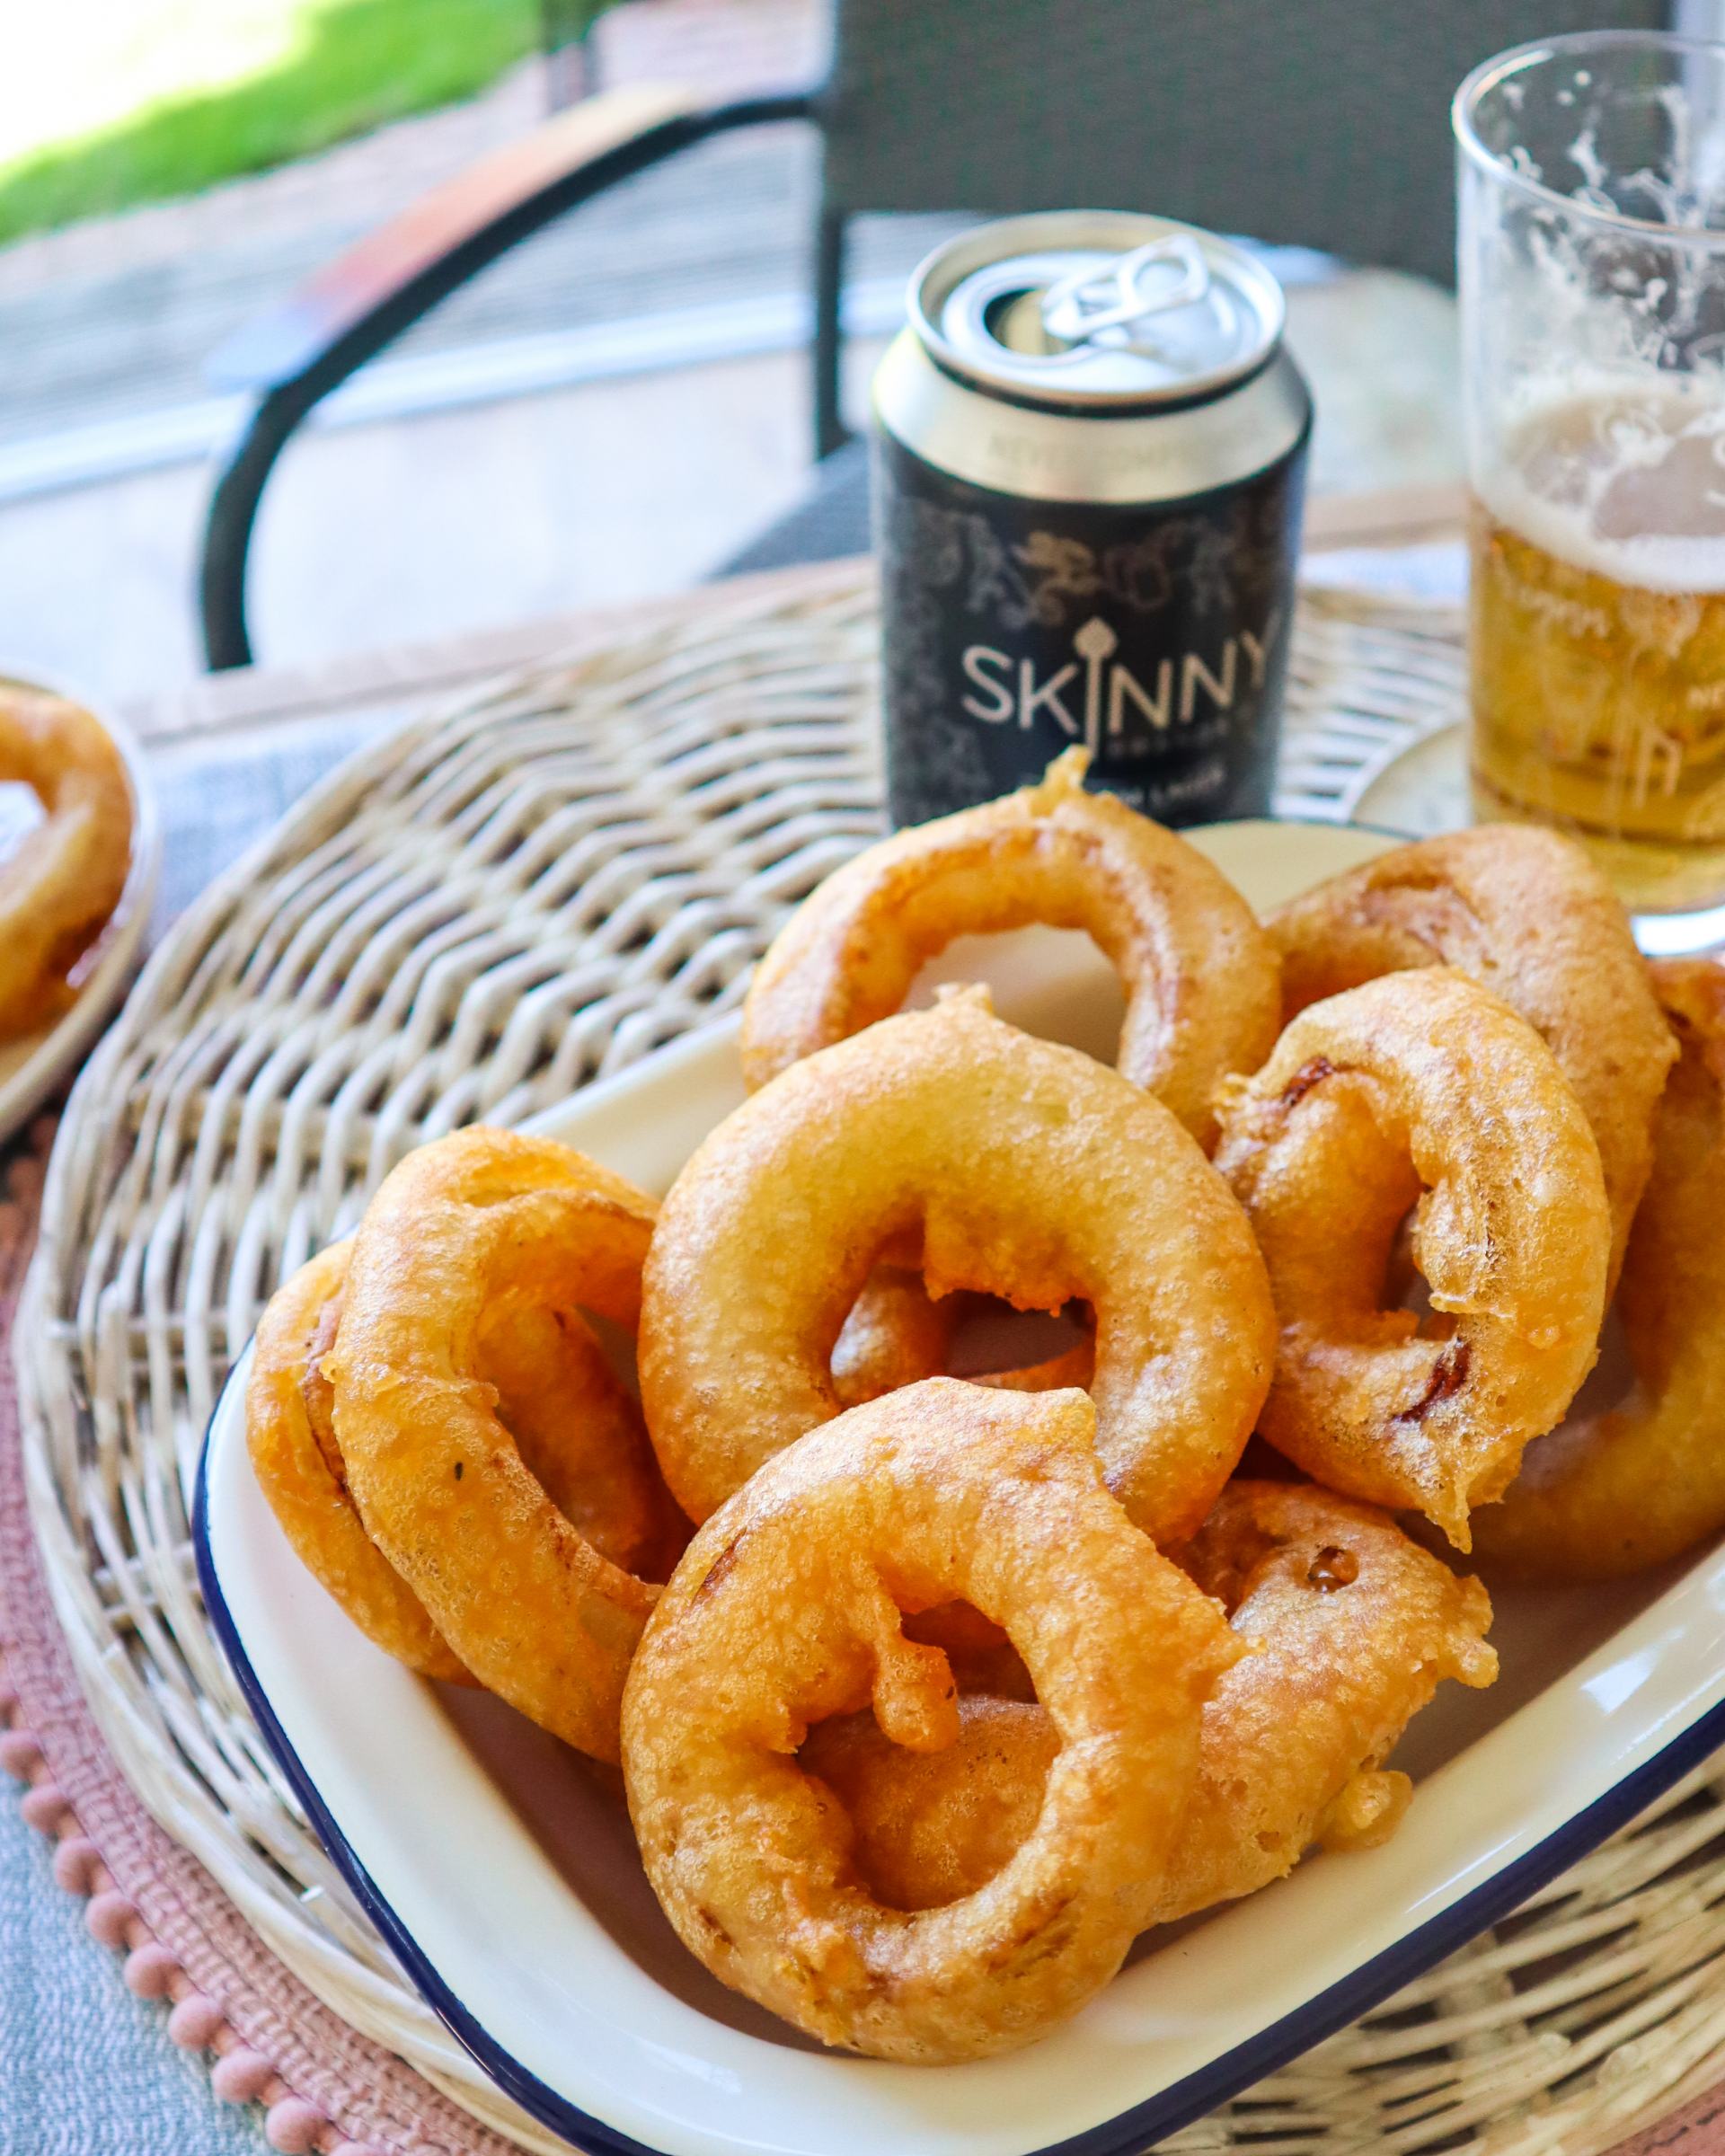
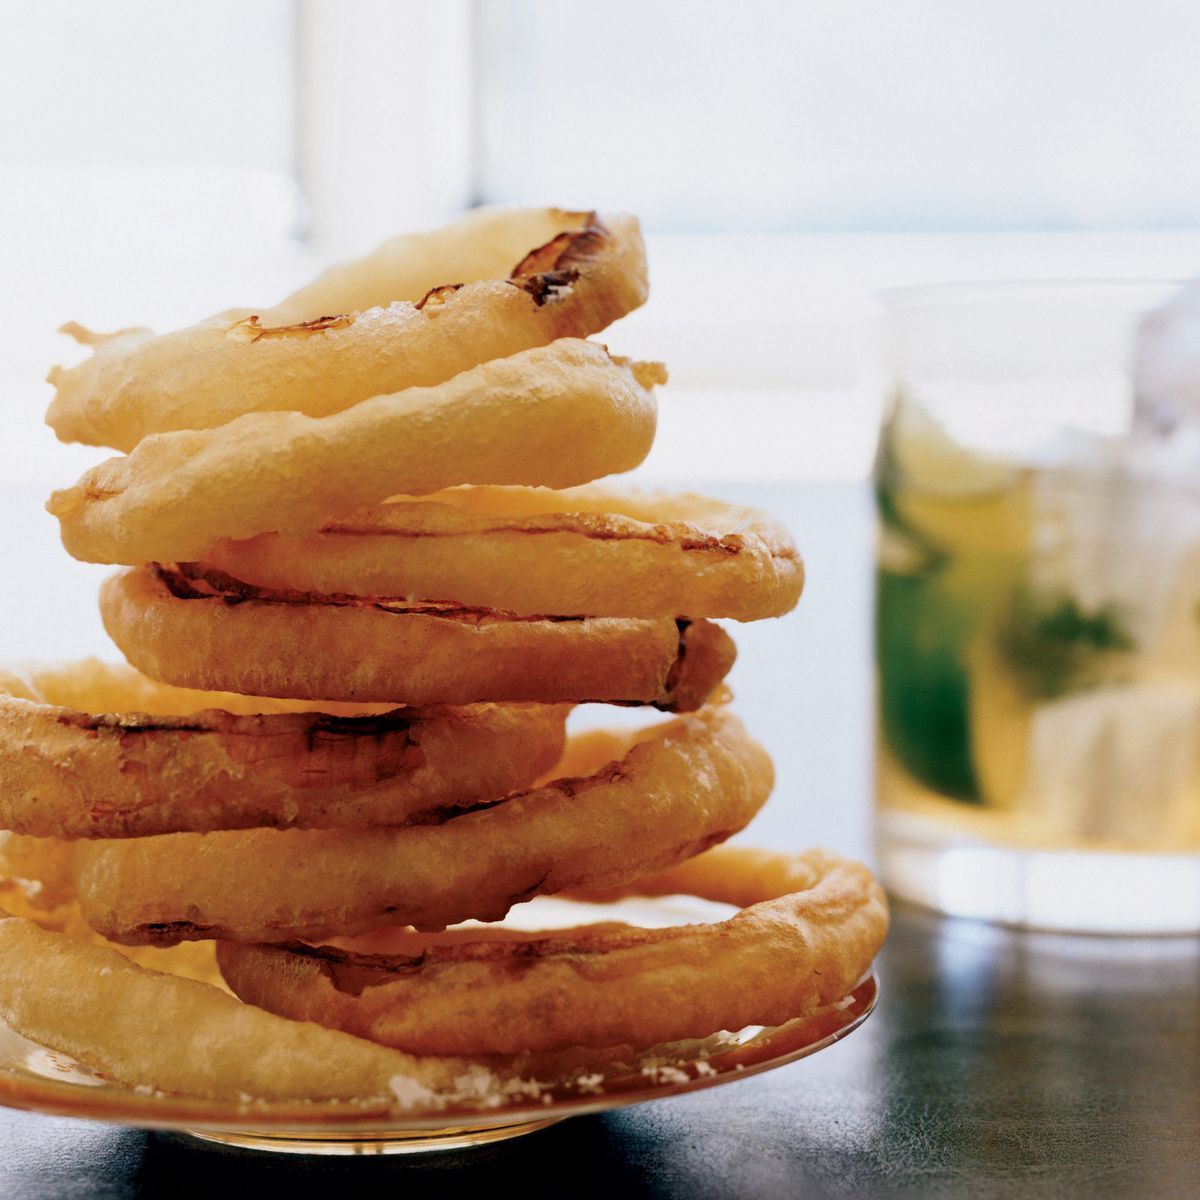
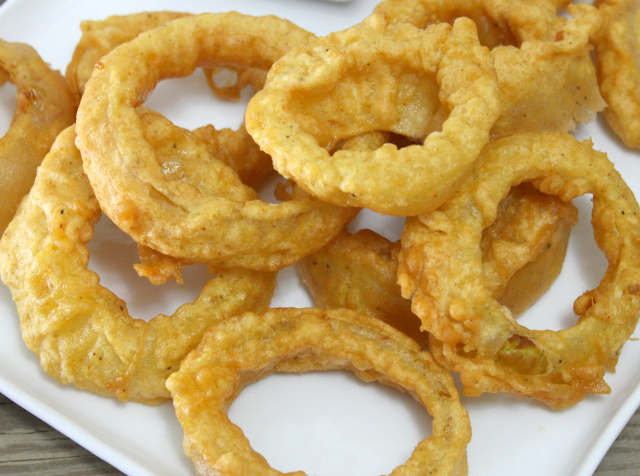
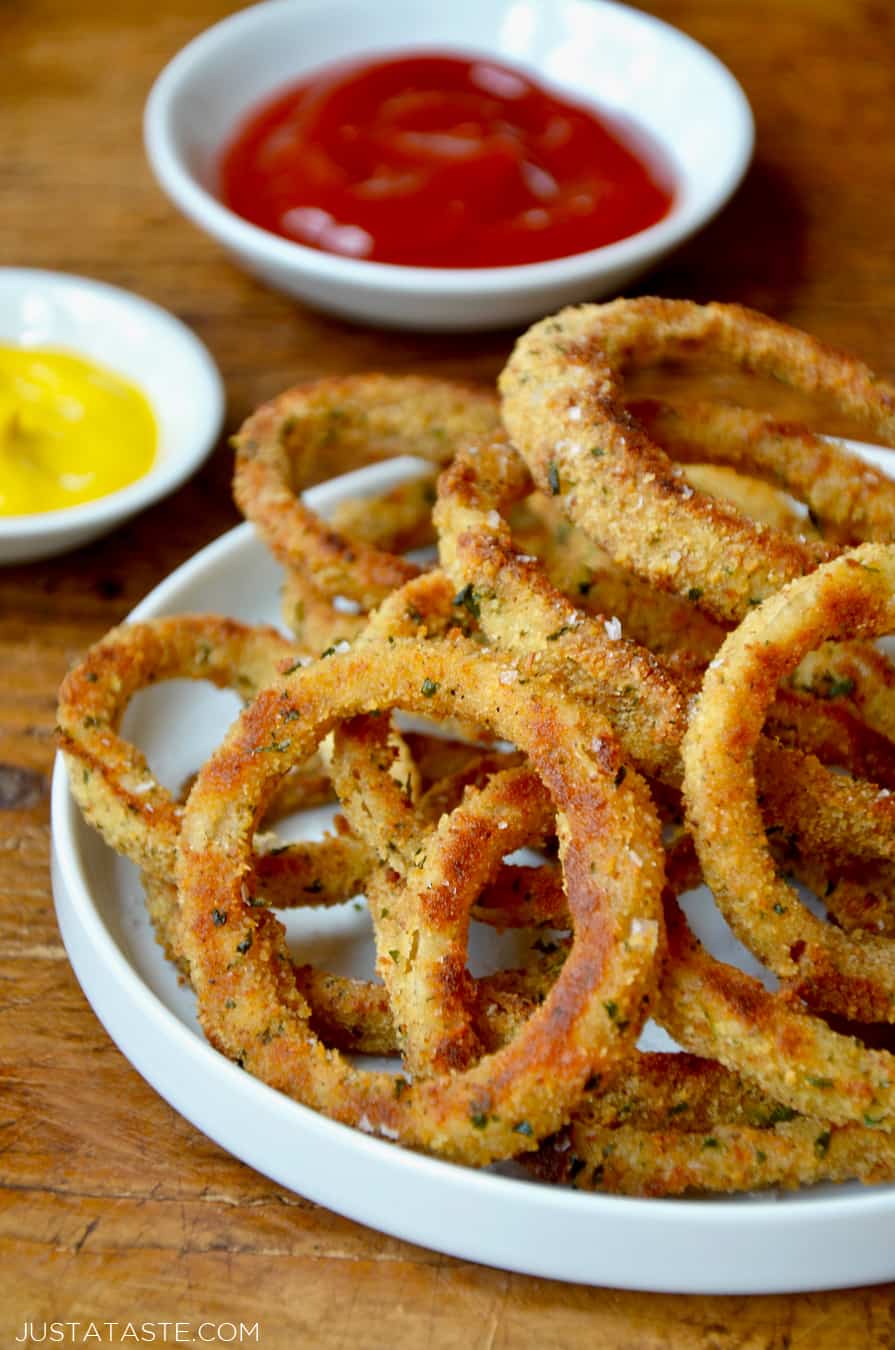
Crispy Gluten-Free Onion Rings
5.0
(6)
Your folders
Your folders
Prep Time: 10 minutes
Cook Time: 15 minutes
Total: 25 minutes
Servings: 4
Author : Olivia Parsons

Ingredients
Export 8 ingredients for grocery delivery
Instructions
Step 1
Pour the avocado oil into a medium size, heavy bottom pot. Turn the heat to medium and allow the oil to heat up while you prep. It should only be about 2 inches deep.
Step 2
Peel the onion and slice into thick rings, just over ½" wide. Separate all of the rings.
Step 3
In a medium-size bowl, mix together the dry ingredients: cornstarch, flour, baking powder, salt, and spices. Stir with a fork to mix evenly. One at a time, place each onion ring in the bowl and use the fork or your hands to ensure it is evenly coated on the inside and outside. This will absorb the natural moisture from the onion and help the batter adhere better. Place dusted onions on a plate.
Step 4
Once all of the onions are dusted, whisk the egg and milk into the dry ingredients. You should have a slightly thick and bubbly batter.
Step 5
To test that the oil is ready, drop a small amount of batter into the pot. It should bubble and brown over 30 seconds. If it does not bubble, the oil is not hot enough. If it instantly browns or even blackens, the oil is too hot. Lower the heat and move the pot to the side for a few minutes.
Step 6
One at a time, take a dusted onion ring and dip it into the wet batter, using a fork to flip and ensure all sides are coated. Let any excess drip off before gently placing in the hot oil. Repeat with as many onion rings as will fit in the surface area of your pot. They should brown on the bottom within about 30 seconds. Once brown and bubbled on the bottom, gently flip the onion rings using a fork or tongs. Allow to cook for another 30 seconds to 1 minute until the entire onion ring is nice and golden. Use a strainer or spider skimmer to remove the onion rings to a plate lined with paper towel.
Step 7
Repeat with the rest of the onion rings in as many batches as necessary. If the wet batter starts to thicken too much, add a splash of milk to thin it out as needed.
Step 8
Once finished, remove the oil from the heat. Allow to cool completely and discard, or strain and save in a closed container for future frying.
Step 9
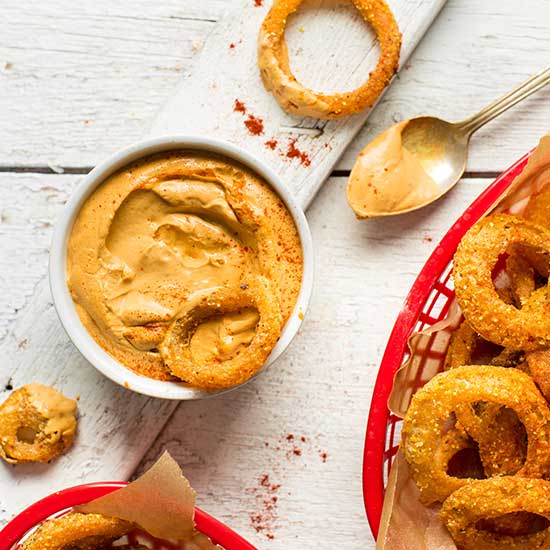
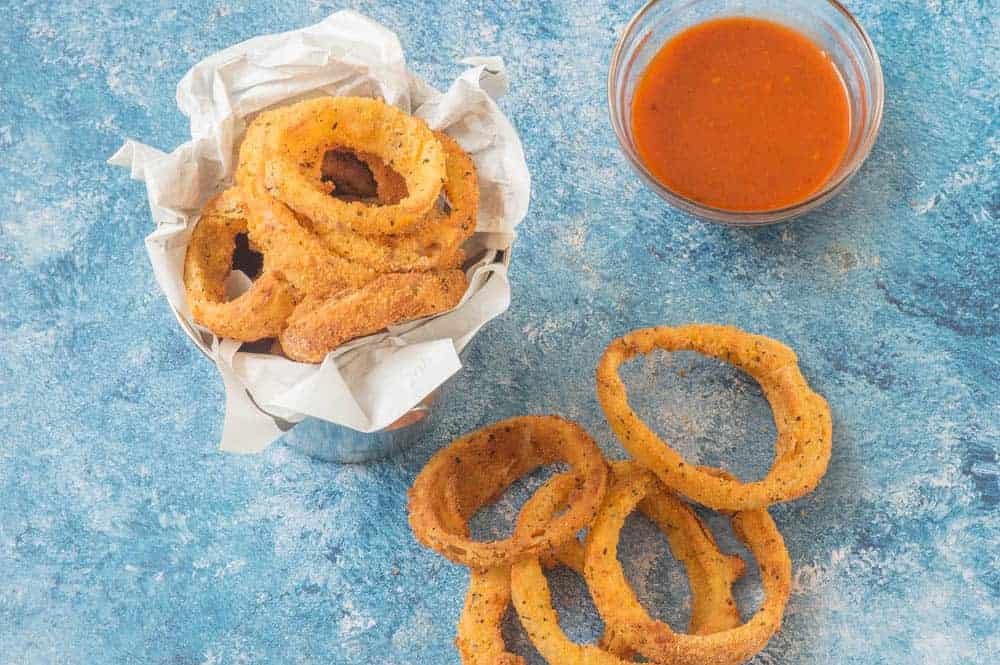
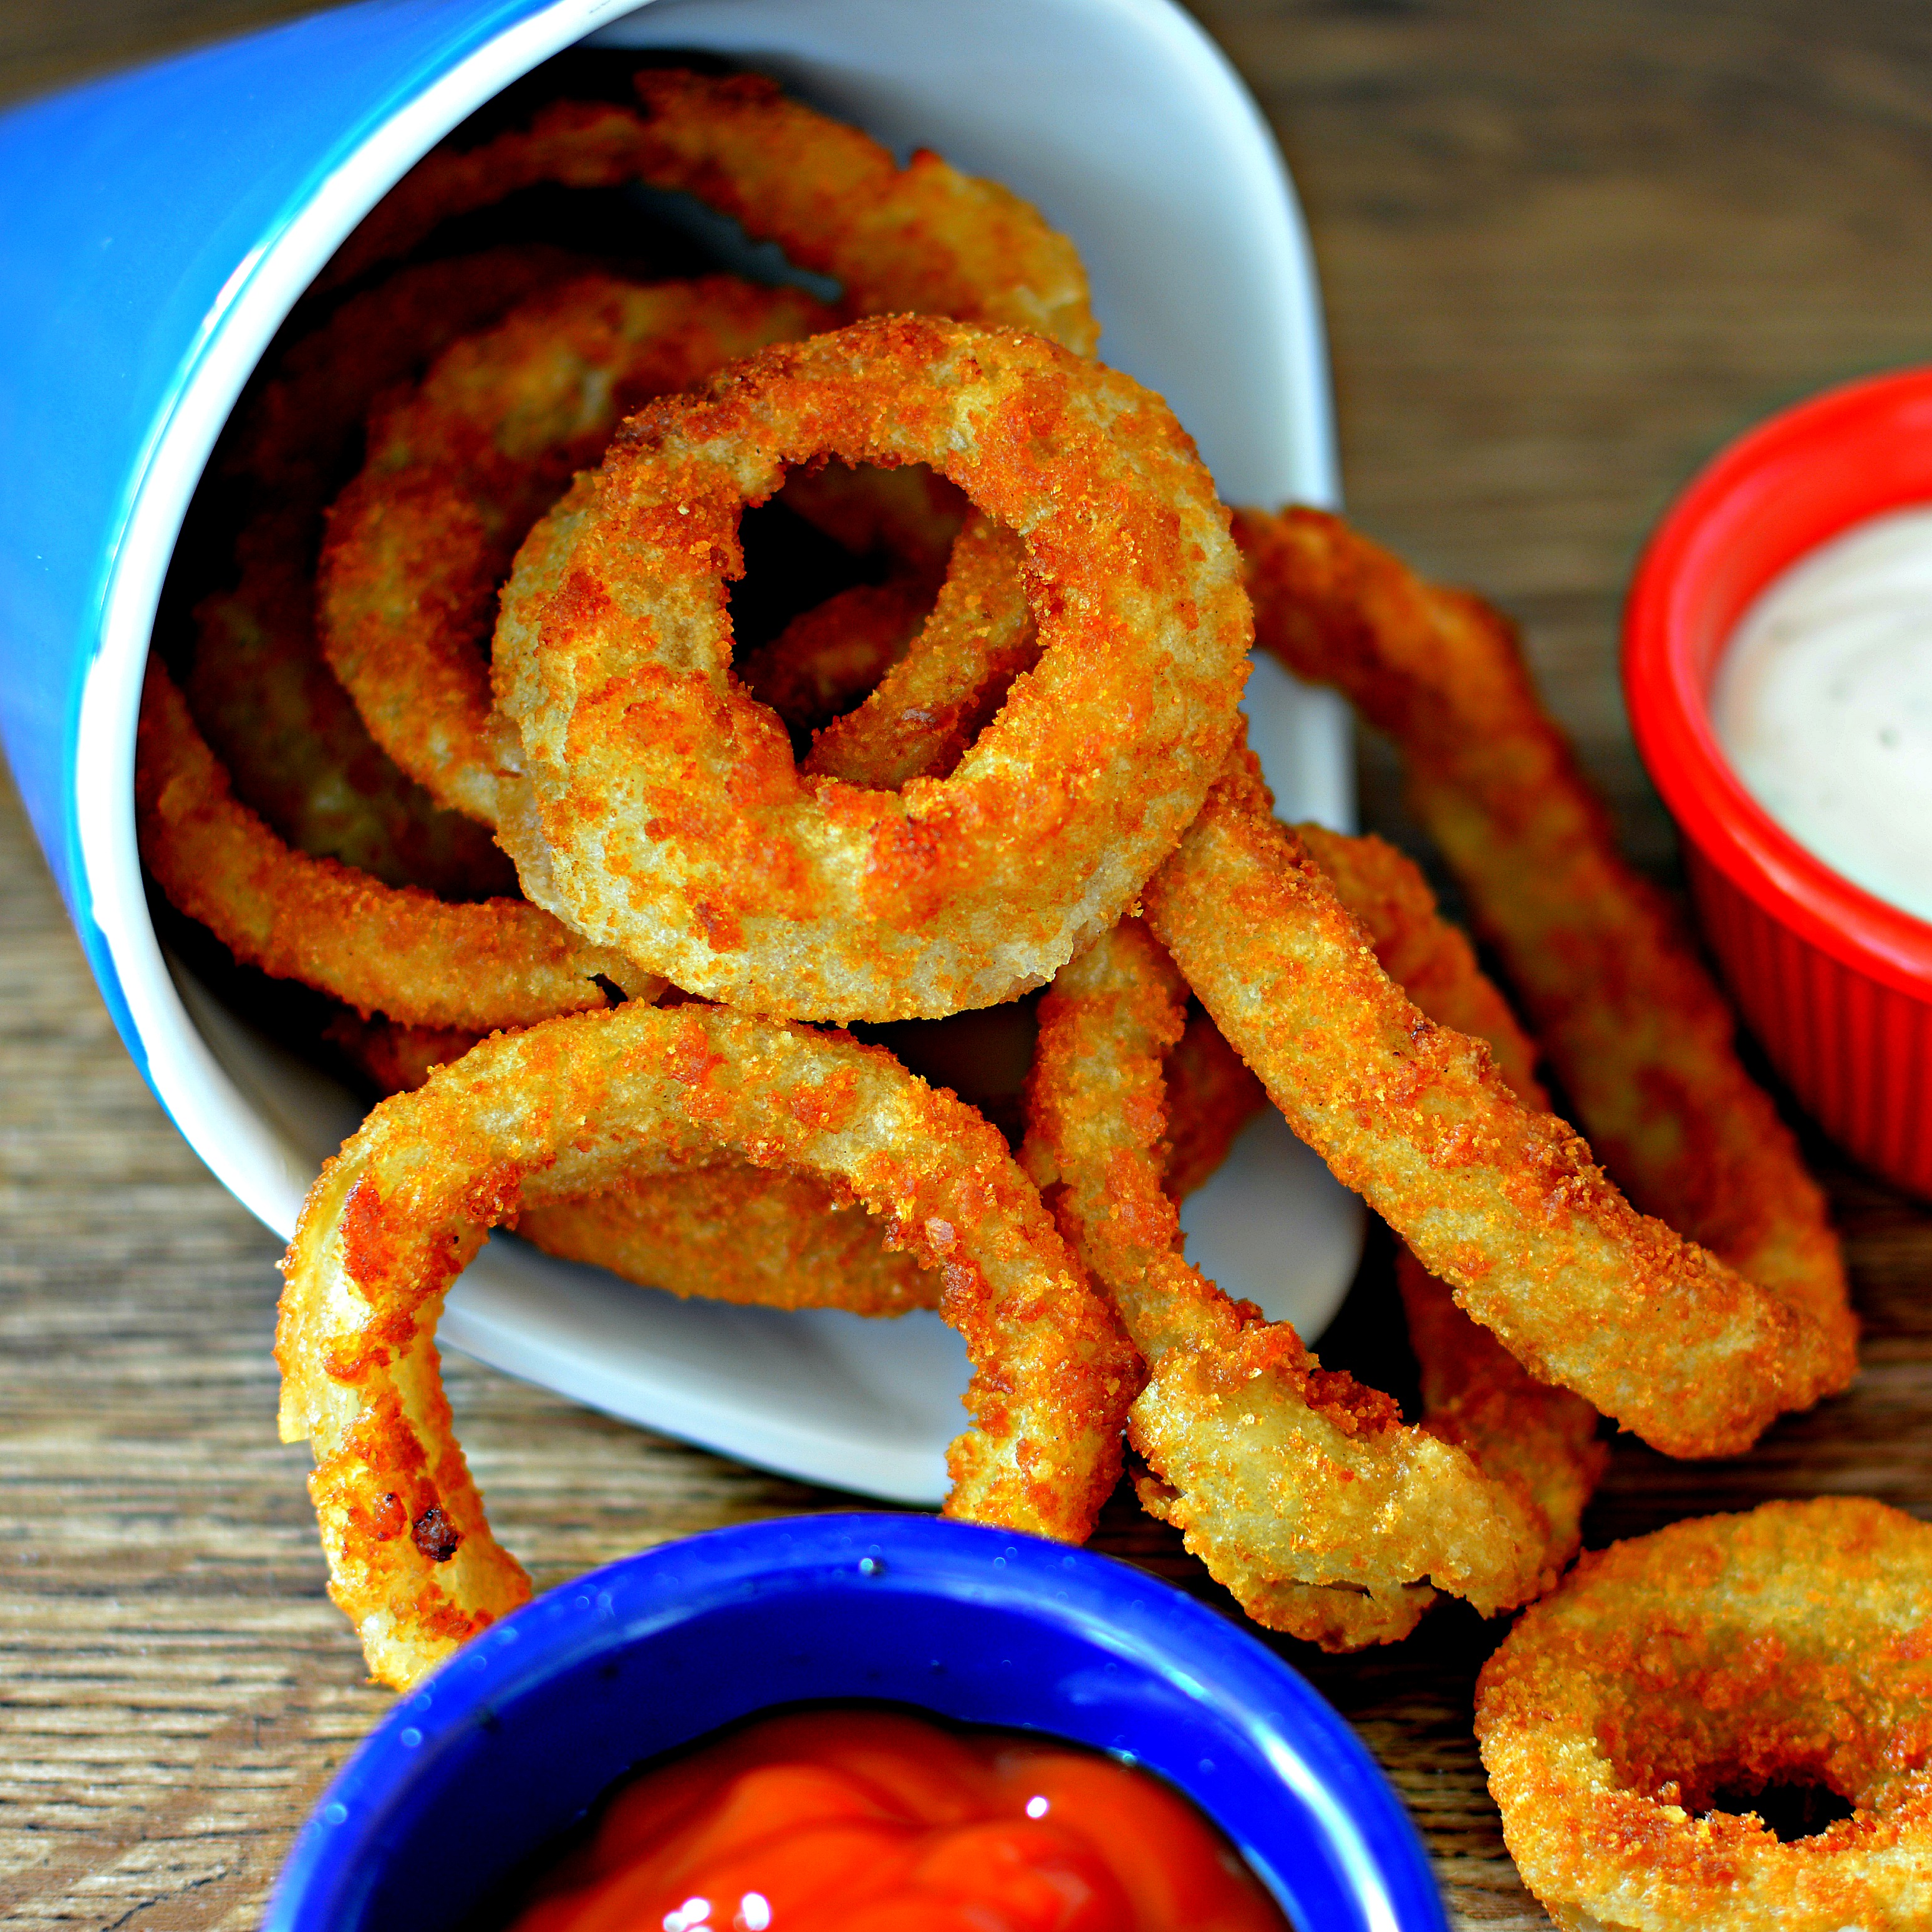
Serve onion rings warm with ketchup, chipotle mayonnaise, or your favourite sauce. See the notes section below for storage and freezer instructions. Enjoy!
Top similar recipes
Curated for youYour folders
 500 views
Crispy Gluten Free Onion Rings
faithfullyglutenfree.com
4.5
(42)
20 minutes
Your folders
 525 views
Gluten-Free Onion Rings
minimalistbaker.com
4.7
(9)
20 minutes
Your folders
 272 views
Gluten Free Onion Rings
faithfullyglutenfree.com
4.3
(7)
15 minutes
Your folders
 476 views
Gluten Free Onion Rings
jessicasglutenfreekitchen.com
5 minutes
Your folders
 197 views
Gluten Free Onion Rings
easyhealthyrecipes.com
5.0
(2)
15 minutes
Your folders
 270 views
Crispy Onion Rings
foodandwine.com
5.0
(2.0k)
Your folders
 324 views
Crispy Onion Rings
foodnetwork.com
4.0
(6)
20 minutes
Your folders
 459 views
Gluten Free Beer-Battered Onion Rin...
sizzlingmess.com
5.0
(9)
20 minutes
Your folders
 331 views
Gluten-Free Beer Battered Onion Rin...
injohnnaskitchen.com
5.0
(1)
Your folders
 200 views
Gluten Free Vegan Baked Onion Rings
simpleveganblog.com
5.0
(2)
20 minutes
Your folders
 162 views
Gluten free air fryer onion rings
thatgirlcookshealthy.com
4.6
(10)
10 minutes
Your folders
 163 views
Air Fried Gluten Free Onion Rings
mamashire.com
Your folders
 271 views
Making Crispy Onion Rings
allrecipes.com
4.7
(173)
20 minutes
Your folders
 399 views
Crispy Fried Onion Rings
tasteofhome.com
4.7
(20)
10 minutes
Your folders
 187 views
Crispy Baked Onion Rings
justataste.com
4.8
(65)
15 minutes
Your folders
 315 views
Crispy Baked Onion Rings
sallysbakingaddiction.com
5.0
(1)
30 minutes
Your folders
/onionrings102010-56e55e0d3df78c5ba0572c29.jpg) 368 views
368 viewsCrispy Deep-Fried Onion Rings
thespruceeats.com
Your folders
 411 views
Crispy Keto Onion Rings Recipe
icantbelieveitslowcarb.com
5.0
(2)
10 minutes
Your folders
 323 views
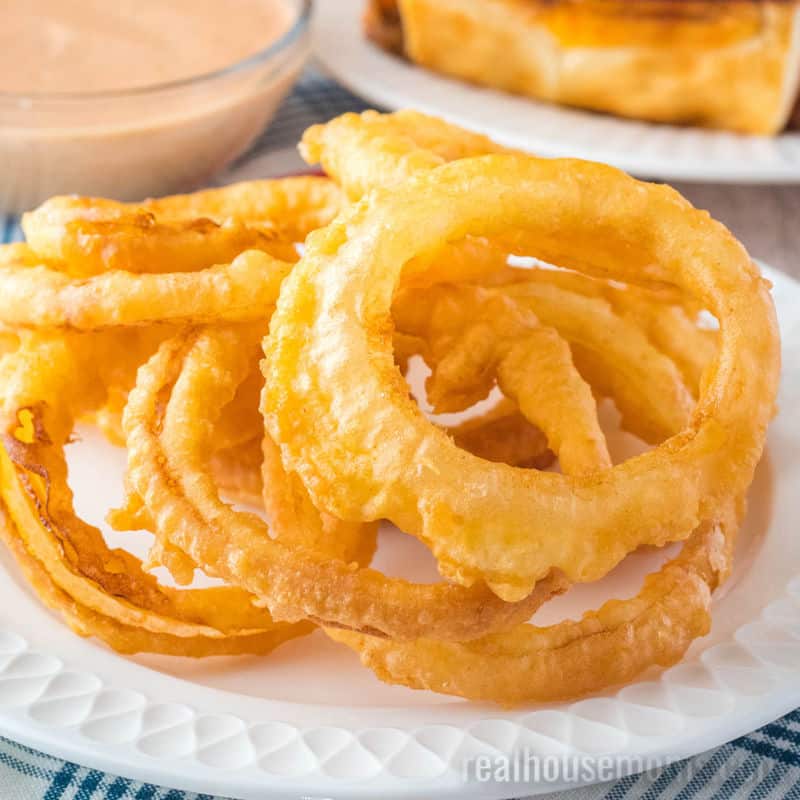
Crispy Homemade Onion Rings Recipe
realhousemoms.com
4.6
(38)
20 minutes