How to Add Iron-on to Baby SocksHow to Add Iron-on to Baby BibsCustom Dollar Store Baby BlanketsAdding Vinyl Decals on a Photo AlbumDollar Store Sign for BabyMatching Shirts for Mommy and BabyCricut Maker Engraving AcrylicProjects to Make with a Picture SVGDIY Baby Onesies with Iron-on
Your folders
Your folders
Total: 55
Ingredients
Export 16 ingredients for grocery delivery
Instructions
Step 1
Cut your iron-on into the design of your choice. Be sure to put the material shiny side down on the mat and mirror your design before cutting. You can see the basics of working with this material here.
Step 2
Weed away all of the excess from your design including around the outer edge as well as the centers of any letters.
Step 3
Lay the socks where the bottom is flat and face up. Press for a few seconds with your EasyPress then add your design to the right location.
Step 4
Then press at the recommended temperature for the time indicated. You will want to press from the front and the back if your iron-on product calls for that.
Step 5
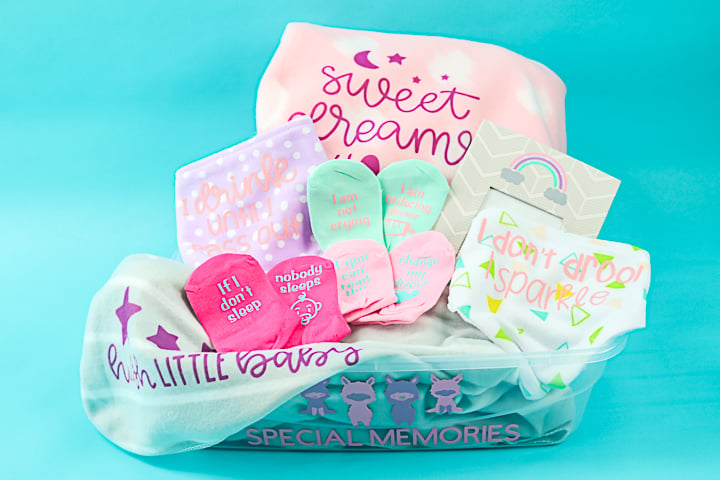
Allow the socks to cool and remove the carrier sheet. Please note that the product I am using is a cool peel. You will want to look at the instructions for the product you are using. I like to press once more on baby gifts after the carrier sheet is removed. Cover your area with a teflon sheet or parchment paper then press for about 1/2 the time at the same temperature. This makes sure your design is stuck before giving to a child.
Step 6
Again, you will follow the same basic instructions as for the baby socks above. Put your iron-on face down on your mat and mirror your cut. Once cut, weed away all of the excess from your design.
Step 7
Press the bib by itself for a few seconds. Then add your design and press at the recommended temperature for the time indicated. You will want to press from the front and the back if your material calls for it. Then allow to cool (if required) and remove the carrier sheet. Once again, I use a protective sheet and press once more after removing the carrier sheet to make sure everything is stuck.
Step 8
Cut your Infusible Ink sheet using your Cricut. Place your material ink side up on the mat and mirror your design. Then cut using the Infusible Ink Transfer Sheet setting.
Step 9
Weed away all of the excess on your design. Be sure to use tweezers if you need help lifting the pieces for this one as weeding tools can damage the ink. Preheat your blanket for a few minutes then lint roll it before adding your design into place.
Step 10
Put white cardstock on your EasyPress mat to protect it. Then add your blanket, your design, and cover with the butcher paper in the Infusible Ink packaging. Press at the recommended temperature for the full time. Then you can peel back your design while it is still warm. Your blanket is done and ready for your gift basket!
Step 11
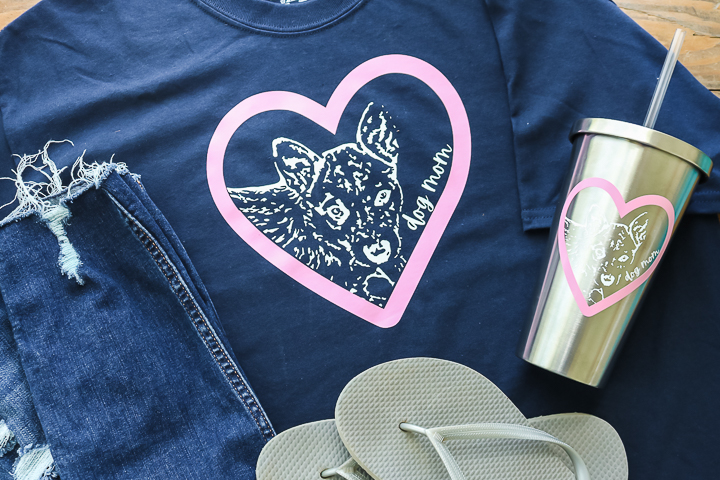
Cut your vinyl pieces with your Cricut machine out of whatever colors you would like.
Step 12
Weed each piece to remove any excess material.
Step 13
Add transfer tape to the front of each piece and burnish well.
Step 14
Peel away the backing leaving the vinyl on the transfer tape.
Step 15
If you have multiple layers, be sure to add them all to the same piece of transfer tape before putting on your project.
Step 16
Apply the vinyl to your photo album and burnish well.
Step 17
Then peel back transfer tape leaving your vinyl decal on your photo album. Repeat for as many decals as you would like. You can also see our vinyl basics post here.
Top similar recipes
Curated for youYour folders
 68 views
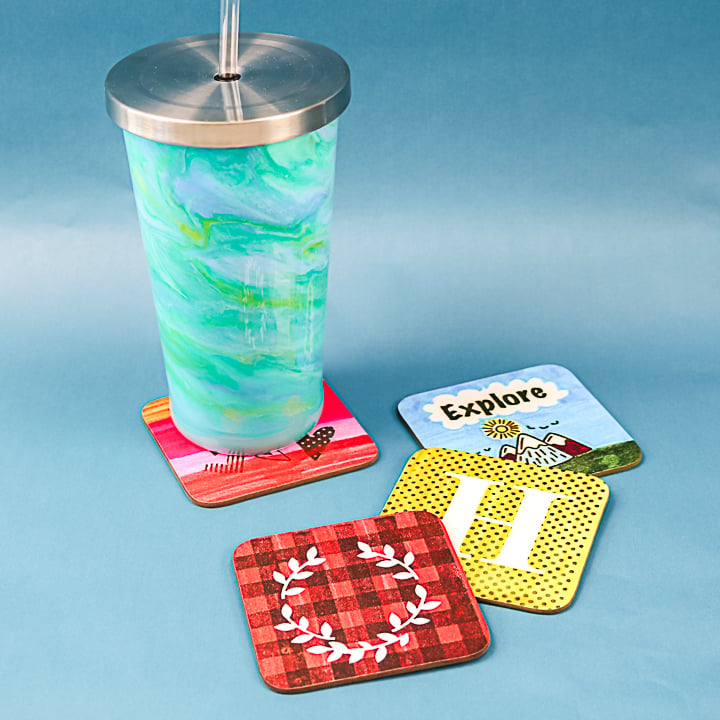
Sublimation Stamped Ink Coaster wit...
thecountrychiccottage.net
Your folders
 265 views
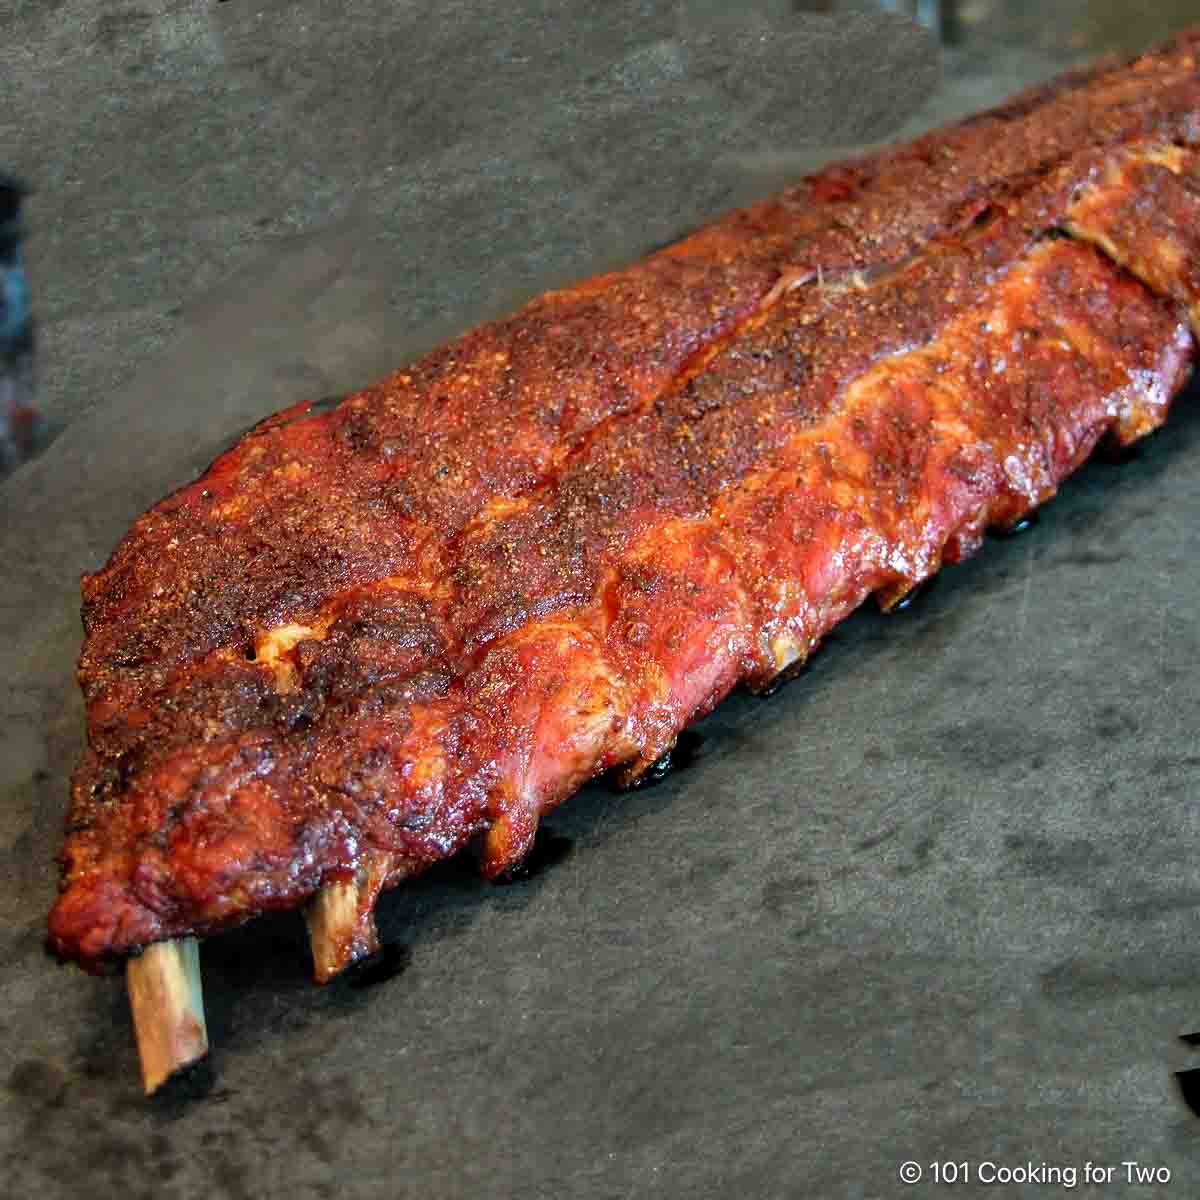
How to Grill Baby Back Ribs on a Ga...
101cookingfortwo.com
4.3
(149)
180 minutes
Your folders
 56 views
Projects to Make with a Picture SVG...
thecountrychiccottage.net
Your folders
 224 views
SPRINKLE IRON ON SHOESSPRINKLE IRON...
heyletsmakestuff.com
Your folders
 237 views
Baby Meatballs for Baby Led Weaning...
abbeyskitchen.com
5.0
(56)
20 minutes
Your folders
 39 views
How to Do Sublimation on Mugs in an...
thecountrychiccottage.net
Your folders
 857 views
How To Make a Dutch Baby Pancake
thekitchn.com
4.5
(44)
Your folders
 202 views
How to Crochet a Baby Hat
blog.treasurie.com
Your folders
 265 views
How to Introduce Nuts to Baby
babyfoode.com
5.0
(1)
Your folders
 194 views
How to make bolognese on a budget
kidspot.com.au
60 minutes
Your folders
 182 views
Mashed Skin-On Baby Potatoes
rachaelraymag.com
Your folders
 449 views
How to Smoke a Turkey on a Traeger
goodlifeeats.com
4.6
(88)
9 hours
Your folders
 429 views
How to smoke a turkey on a traeger
bootsandhooveshomestead.com
4.5
(22)
420 minutes
Your folders
 353 views
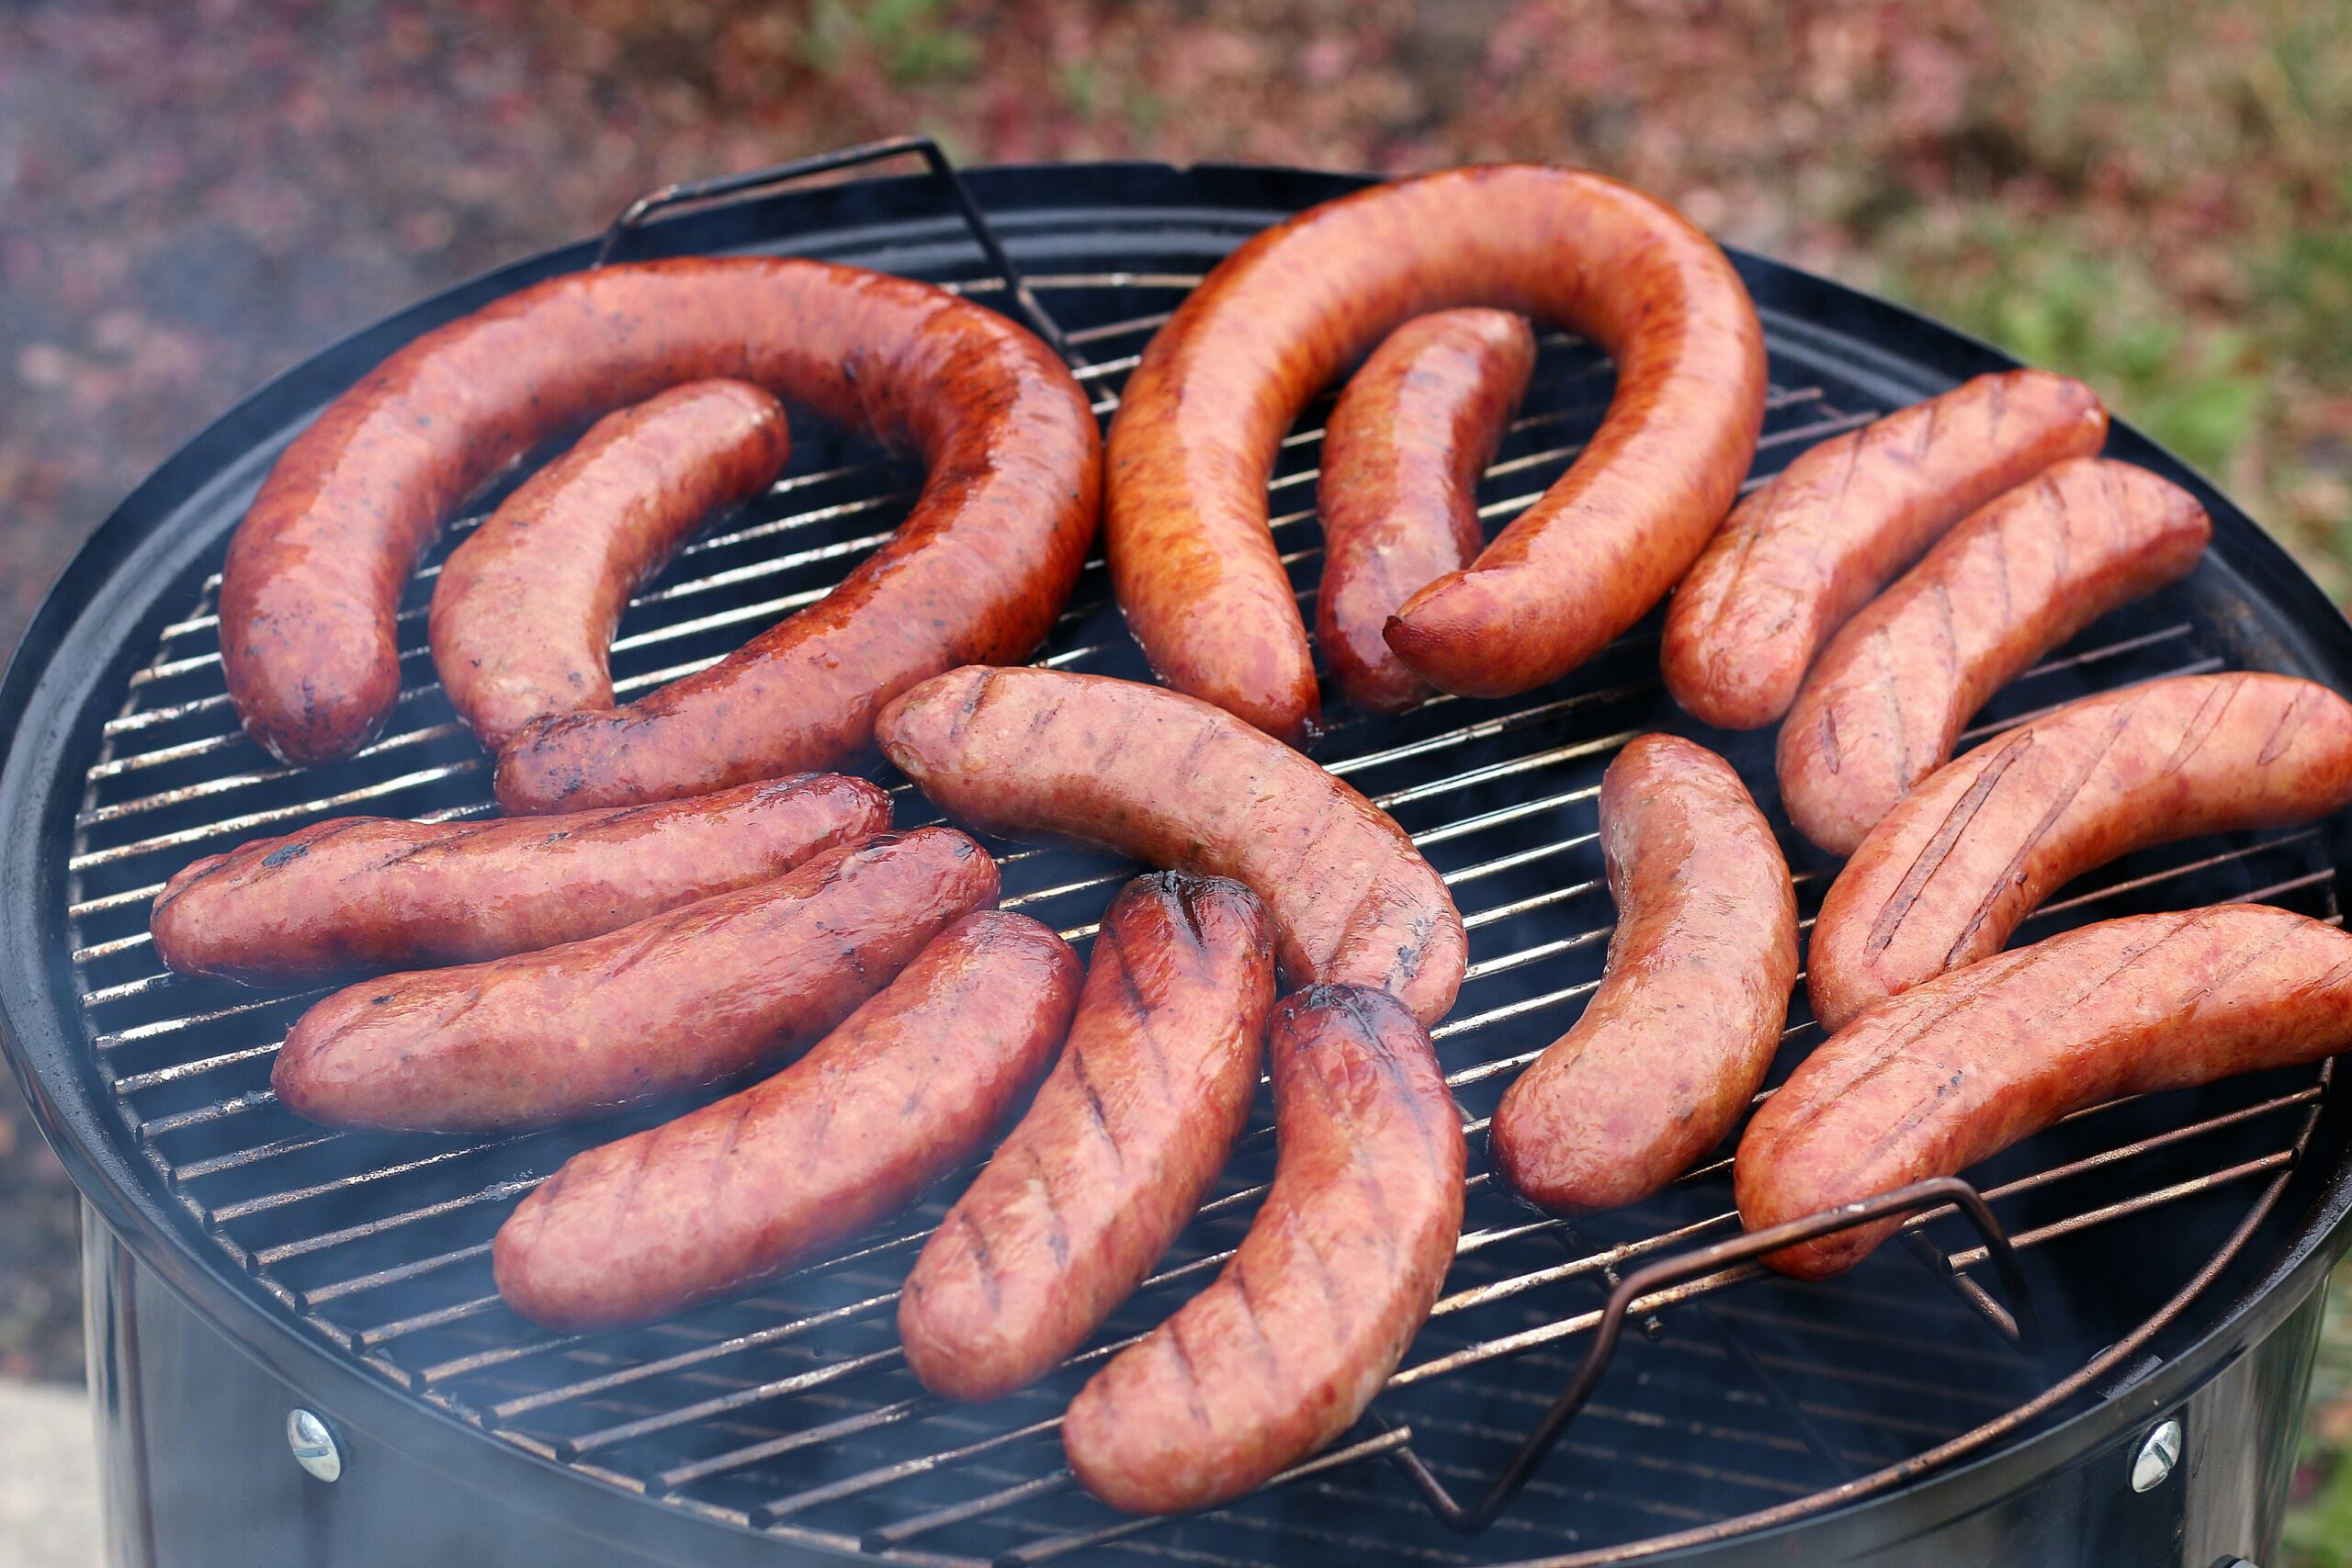
How to Smoke Sausage on a Smoker
recipesfordads.com
5.0
(4)
240 minutes
Your folders
 614 views
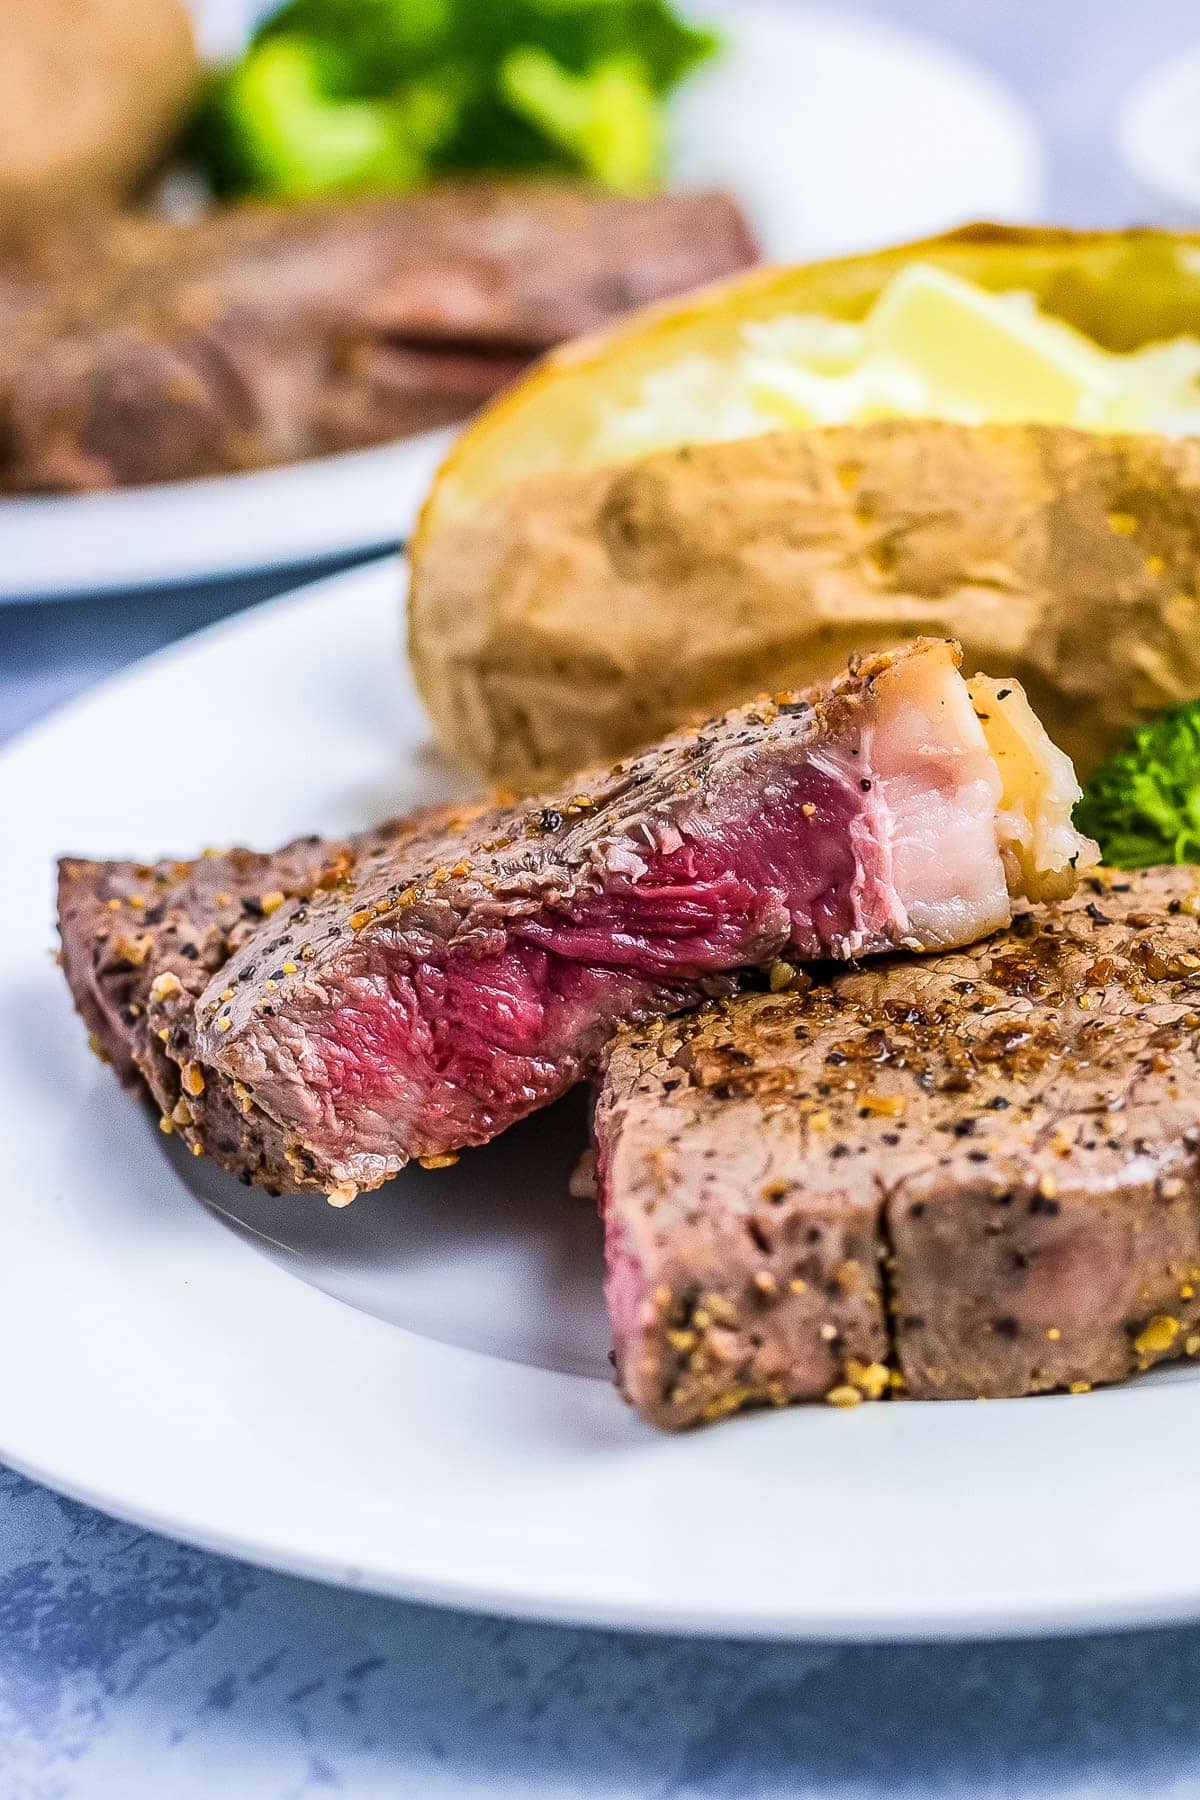
How to Cook Steak on a Griddle
julieseatsandtreats.com
5.0
(4)
15 minutes
Your folders
 51 views
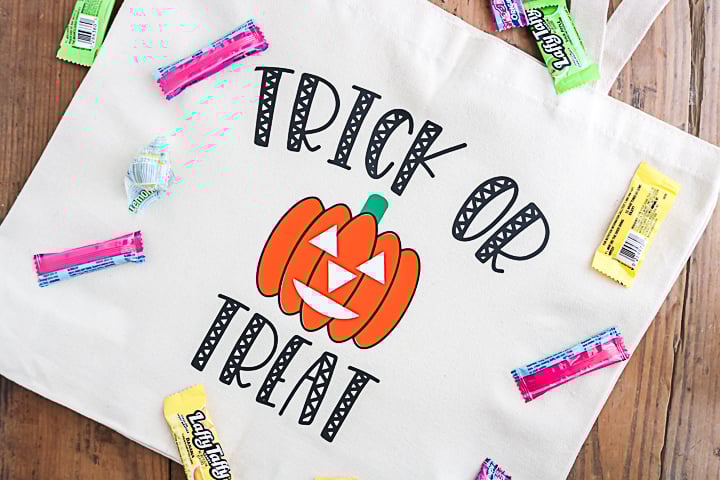
Glow in the Dark Trick or Treat Bag...
thecountrychiccottage.net
Your folders
 76 views
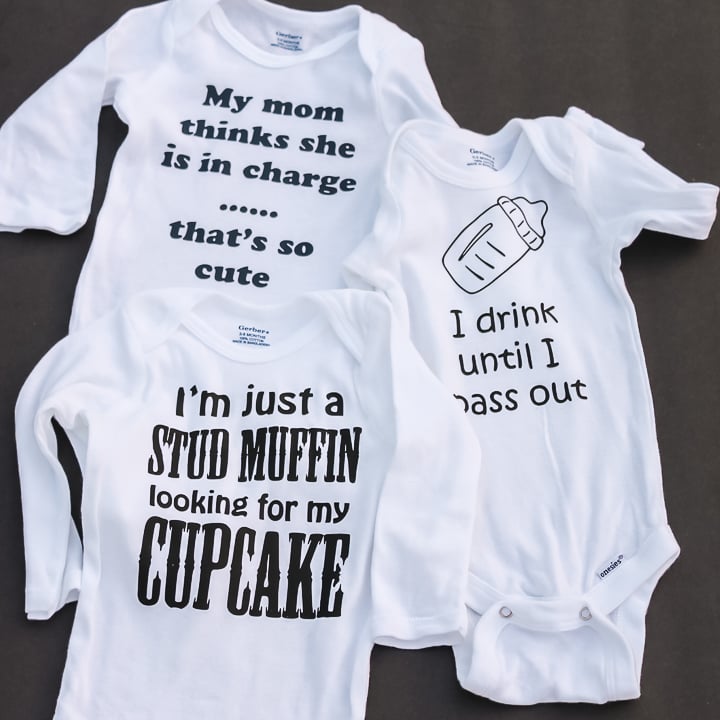
DIY Baby Onesies with Iron-onRepair...
thecountrychiccottage.net
Your folders
 48 views
Fall Leaf Mason JarFall Place Setti...
thecountrychiccottage.net
Your folders
 249 views
How to Decoupage on Wood
firstdayofhome.com