How to Make Walnut Milk
5.0
(18)
Your folders
Your folders
Prep Time: 2 minutes
Cook Time: 3 minutes
Total: 5 minutes
Servings: 3
Author : Samira
Ingredients
Export 1 ingredients for grocery delivery
Instructions
Step 1
Add the walnuts to a large bowl, cover with cold/room temperature water, and add ½ tsp salt. Leave to soak for at least 6 hours, up to 12 hours. I like to do this overnight (8-9 hrs).When simply soaking nuts, I usually don't use any salt. However, salt is used when activating nuts to help to neutralize the enzyme inhibitors.
Step 2
Drain the nuts and rinse them once more. Activated nuts then generally go through a dehydrating process. However, we want the nuts soaked when making walnut milk so you can skip that step entirely.If you didn't add any salt to the soaking water, it could be saved to use to water plants (your plants will love it, as it will contain higher levels of carbon dioxide). However, if salted, discard the water. Do not drink either version, as it will contain all the phytic acid and other nasties that we've specifically tried to remove.
Step 3
Transfer the soaked walnuts to your high-speed blender and blend into a rough crumb consistency. Be careful not to over blend, or you'll start to make walnut butter,
Step 4
Add the filtered water and allow the machine to blend for around two minutes until the liquid is creamy and milky-looking.
Step 5
I use a Nutra Milk processor, which automatically strains the nut milk, using a spout to drain the nut milk, leaving any leftover nut pulp in the jug. However, when using a regular blender/food processor, you'll need to strain the milk manually. To do so:Use either a nut milk bag, coffee filter, or several layers of cheesecloth over a bowl (if using cheesecloth, it's easiest to lay it in a sieve – otherwise, you’ll need a second person to hold the cloth while you pour).Pour the walnut milk through the nut milk bag. Then squeeze the bag to strain as much liquid as possible from the leftover pulp. You may also use a fine-mesh sieve and press the walnut pulp to drain the liquid.Due to walnuts being such a soft, buttery nut, you may find that you don't get much pulp at all. You could even decide not to strain the milk – it's up to you. Don’t discard any leftover walnut pulp, though! Check the FAQs for how to use this and avoid waste!
Step 6
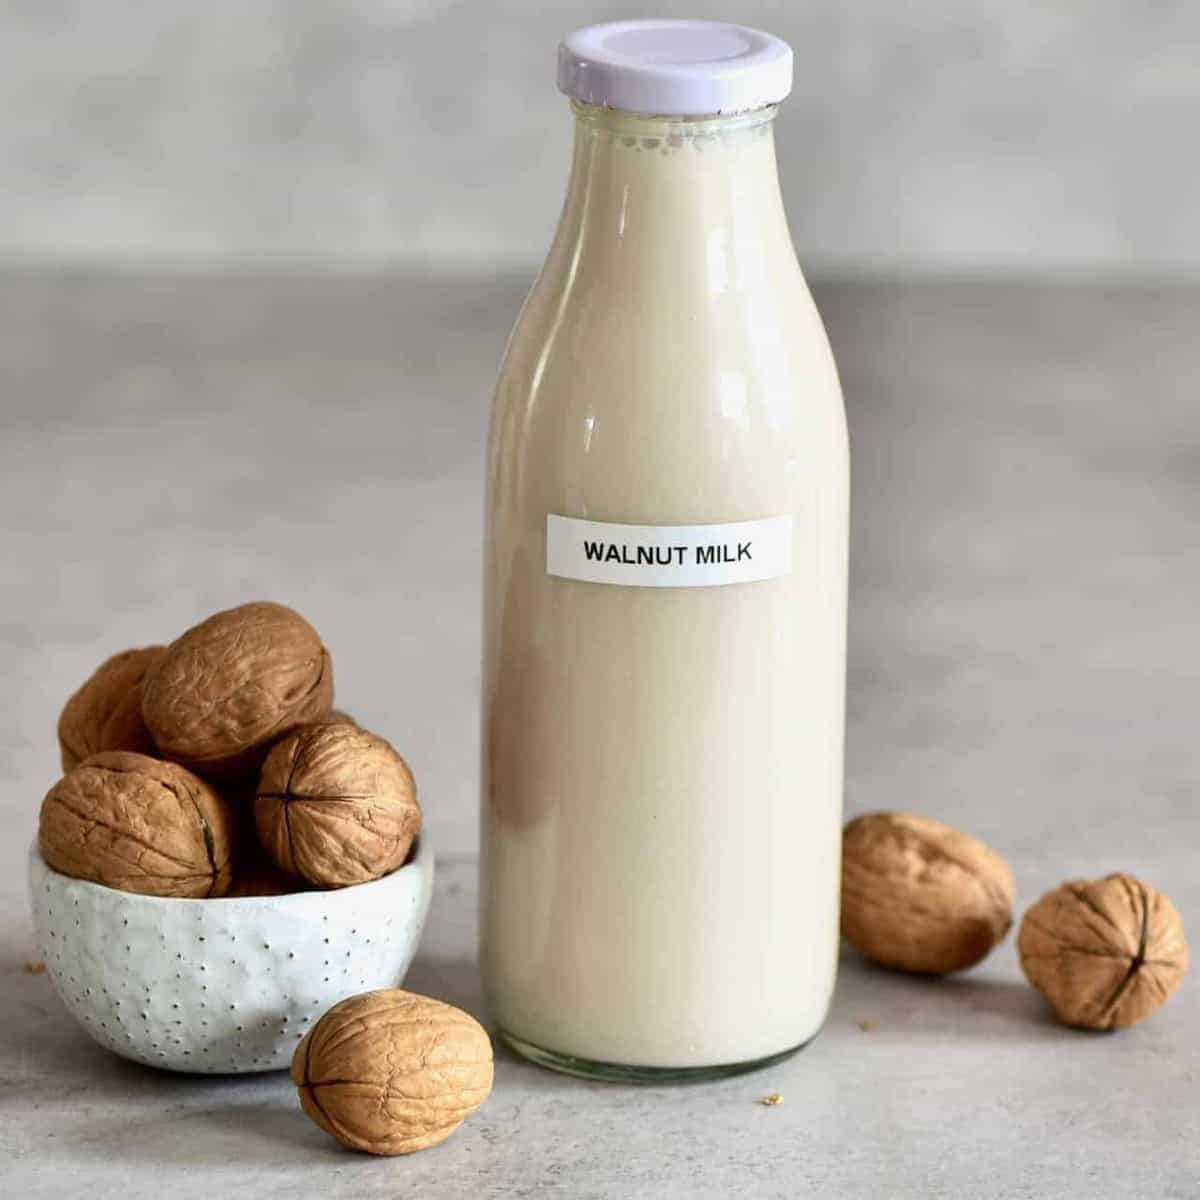
Enjoy the walnut milk immediately or transfer it to a bottle (easiest using a funnel) and store it in the fridge.
Step 7
Store: store the walnut milk in an airtight bottle in the fridge for between 3-5 days.It's natural for the walnut milk to separate as it sits in the fridge, as it contains no stabilizers. Just give it a good shake before using it each time. The walnut milk will begin to smell bitter/off when it's past its best.Freeze: I don't often freeze this homemade walnut milk. However, if you want to try, you could freeze the walnut milk either in a freezer-safe container or an ice-cube tray, ready to pop out as needed.