How To Make Milk Kefir
4.4
(9)
Your folders
Your folders
Servings: 1
Cost: $5.29 /serving
Author : Emma Christensen

Ingredients
Export 2 ingredients for grocery delivery
Instructions
Step 1
Combine the milk and the grains in a jar: Pour the milk into a clean glass jar (not metal) and stir in the kefir grains. The milk can be cold or room temperature, either is fine.Note: Avoid prolonged contact between the kefir and metal both during and after brewing. This can affect the flavor of your kefir and weaken the grains over time.
Step 2
Cover the jar: Cover the jar with cheesecloth, a paper towel, or a clean napkin and secure it with a rubber band. Do not screw a lid onto the jar as the build up of carbon dioxide from the fermenting grains can cause pressure to build in the jar, and in extreme cases, cause the jar to burst.
Step 3
Ferment for 12 to 48 hours: Store the jar at room temperature (ideally around 70°F) away from direct sunlight. Check the jar every few hours. When the milk has thickened and tastes tangy, it's ready. This will usually take about 24 hours at average room temperatures; the milk will ferment faster at warmer temperatures and slower at cool temperatures. If your milk hasn't fermented after 48 hours, strain out the grains and try again in a fresh batch (this sometimes happens when using new kefir grains, when refreshing dried kefir grains, or when using grains that have been refrigerated).
Step 4
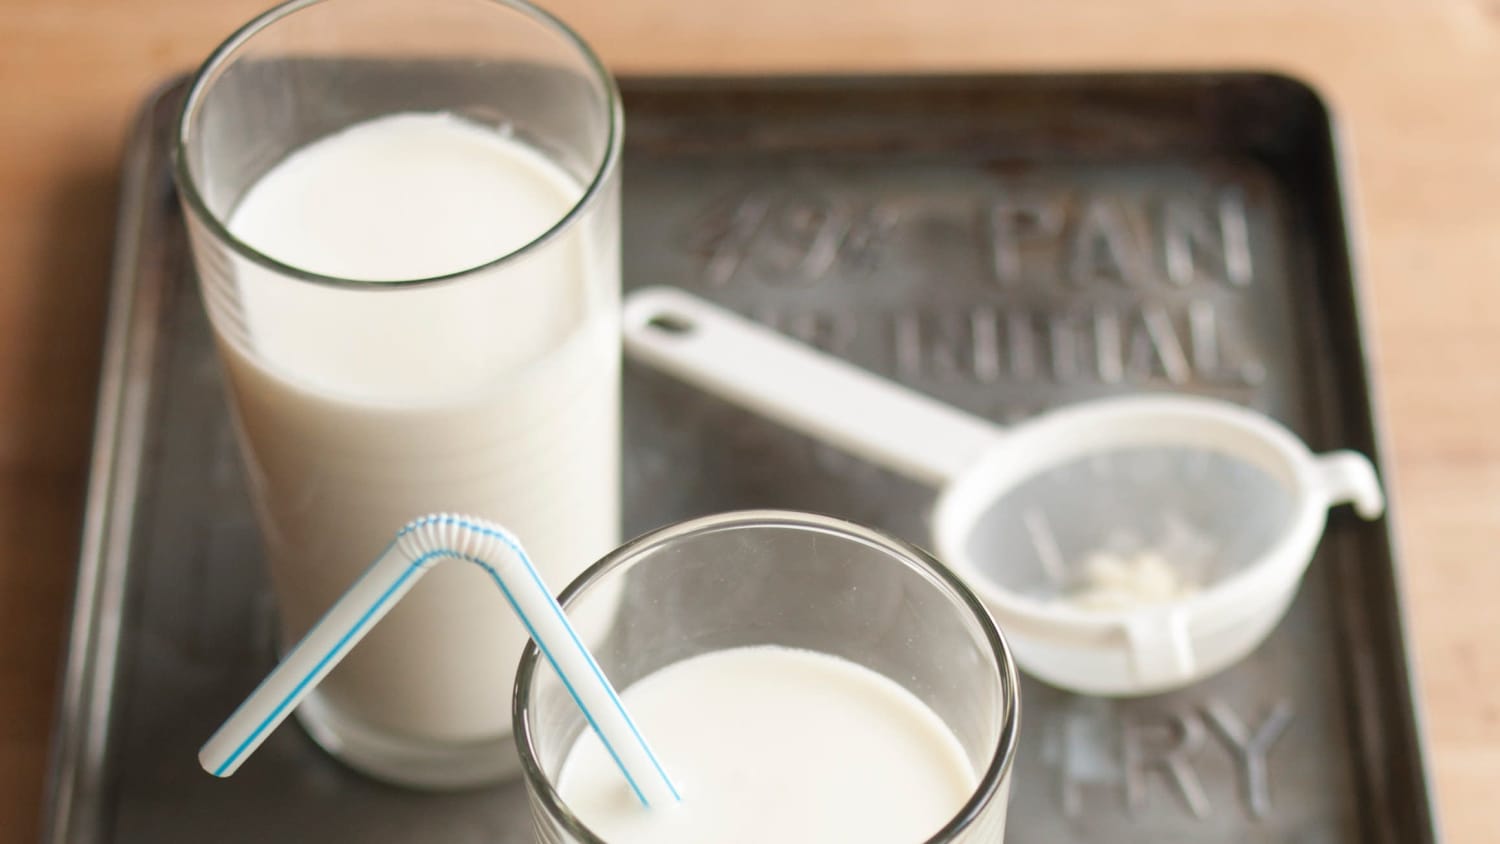
Strain out the kefir grains: Place a small strainer over the container you'll use to store the kefir. Strain the kefir into the container, catching the grains in the strainer.
Step 5
Transfer the grains to fresh milk: Stir the grains into a fresh batch of milk and allow to ferment again. This way, you can make a fresh batch of kefir roughly every 24 hours. To take a break from making kefir, place the grains in fresh milk, cover tightly, and refrigerate.
Step 6
Drink or refrigerate the milk kefir: The prepared milk kefir can be used or drunk immediately, or covered tightly and stored in the refrigerator for up to a week.