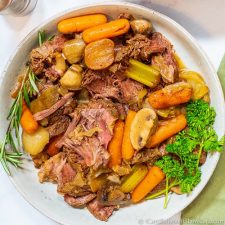
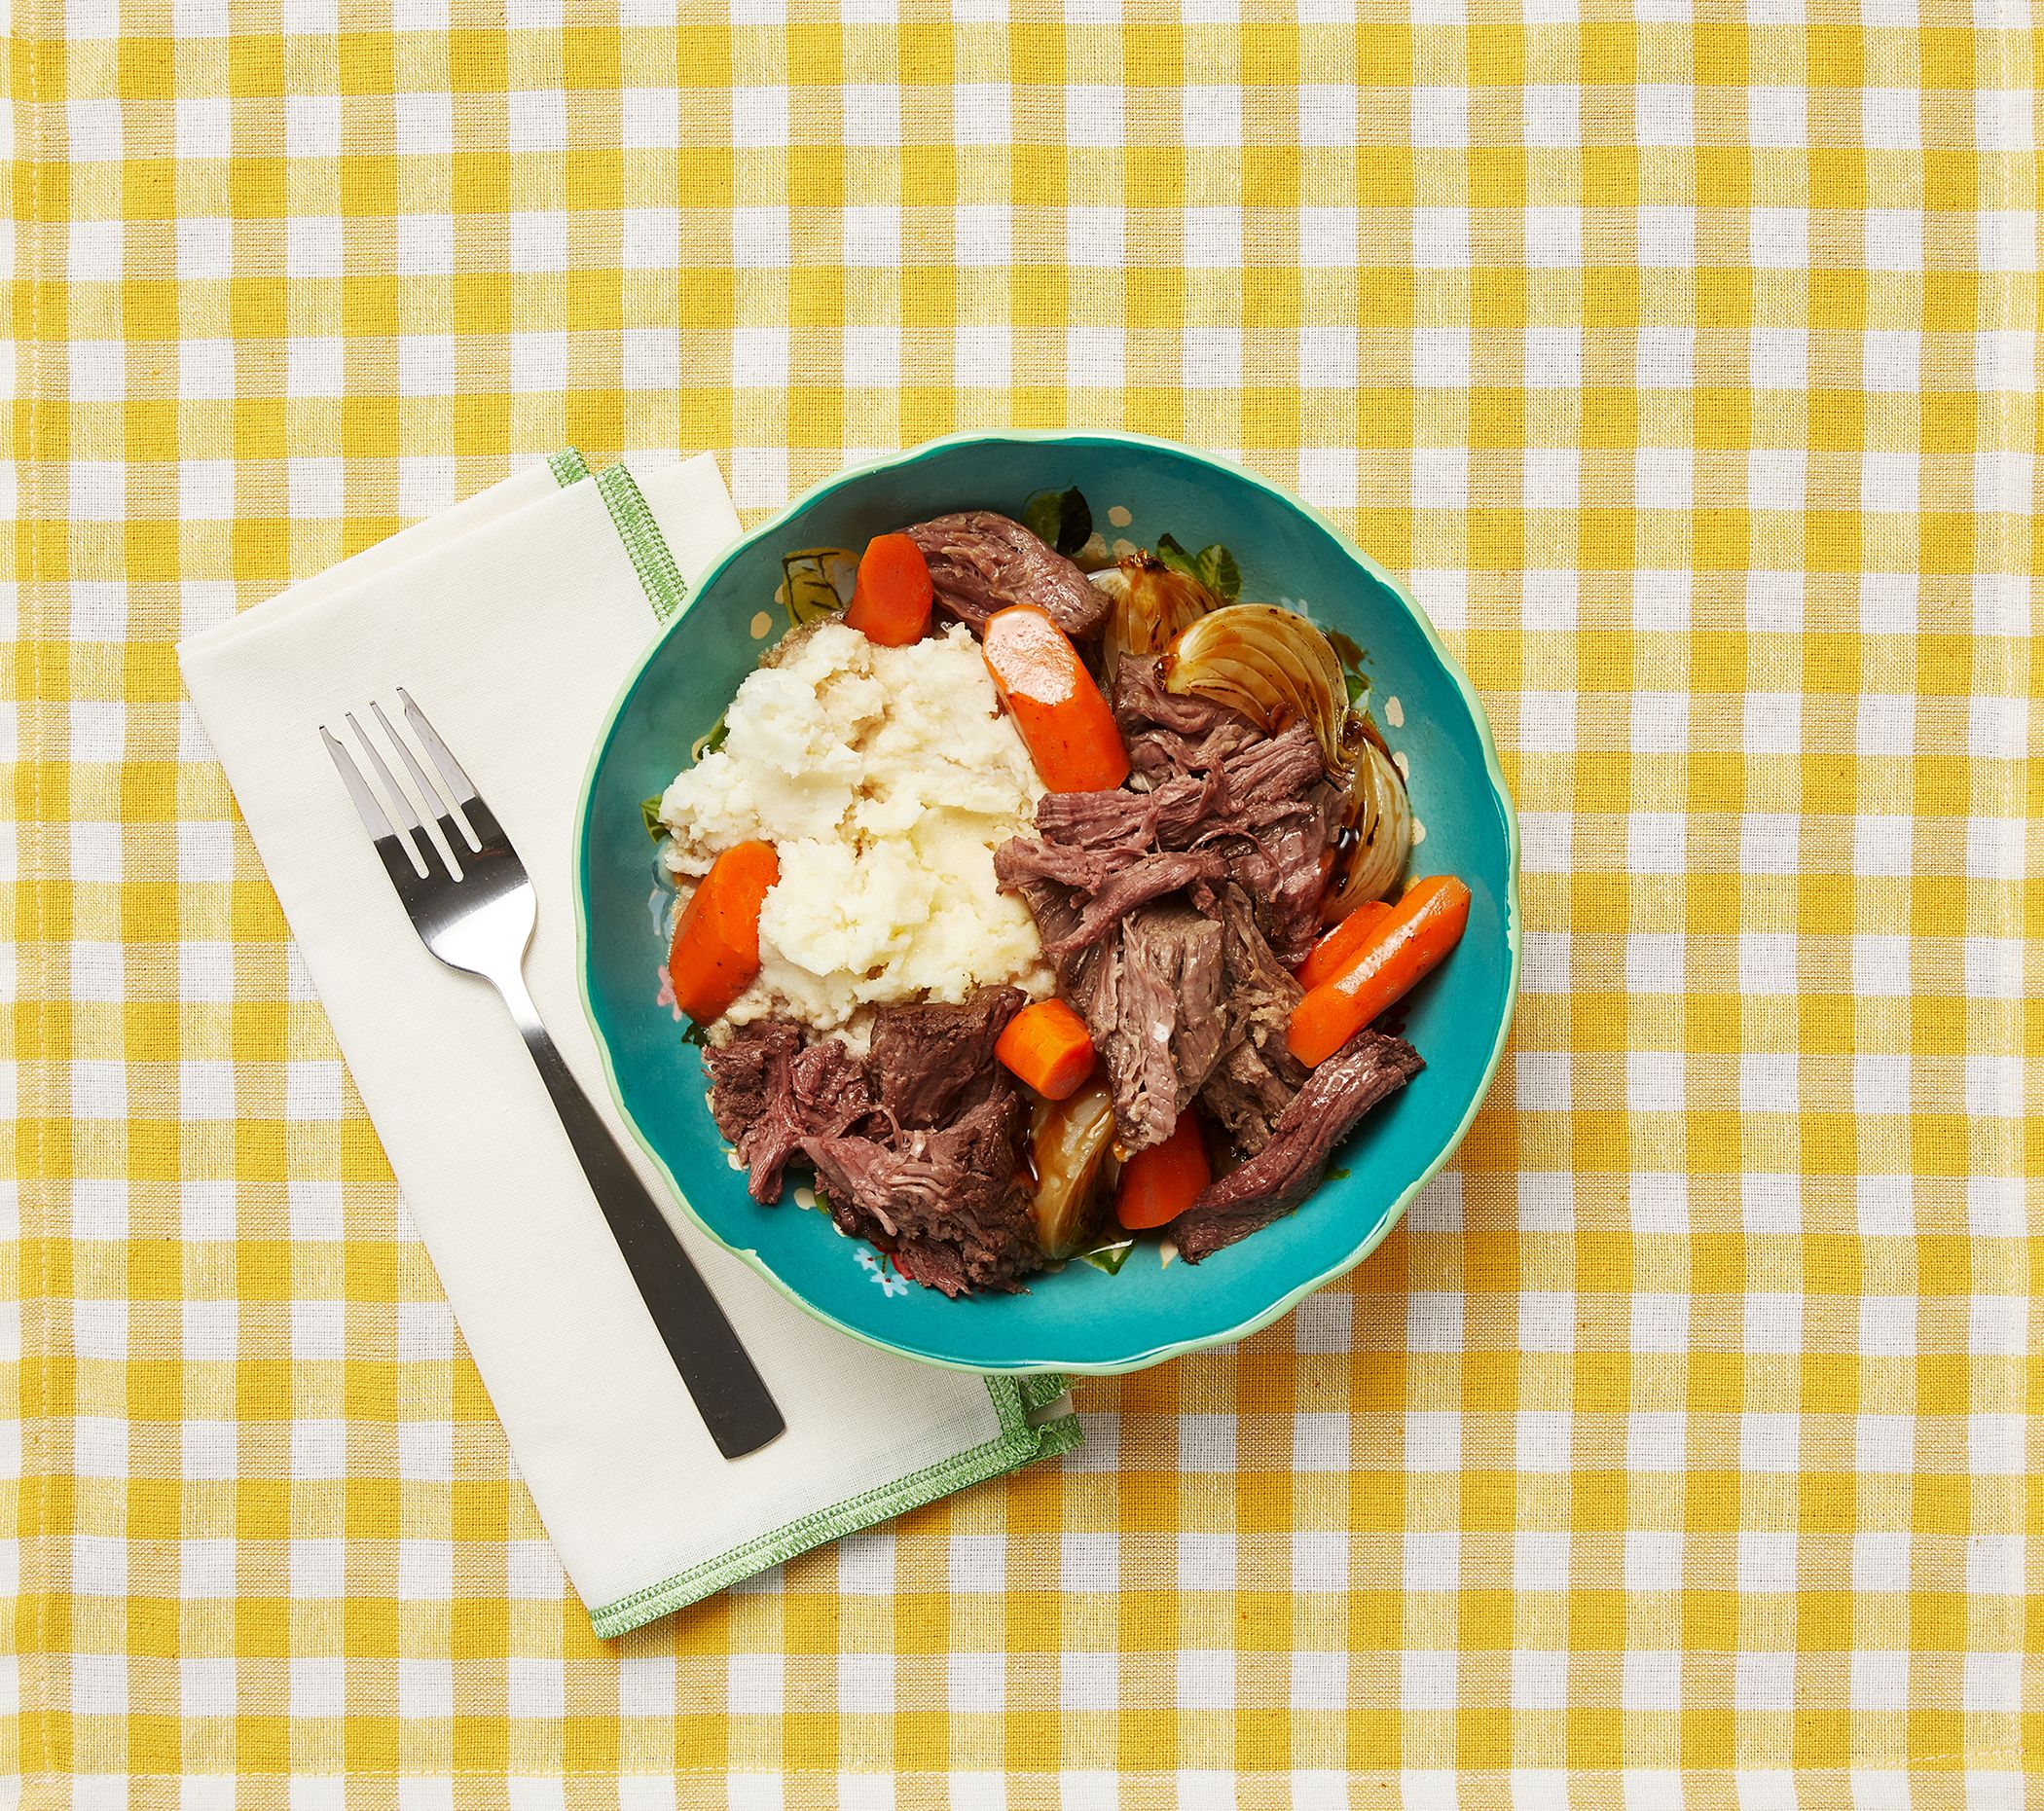
Perfect Keto Pot Roast - Low Carb Chuck Roast
Your folders
Your folders
Prep Time: 15 minutes
Cook Time: 4 hours
Servings: 8
Author : Leigh Oskwarek
Ingredients
Export 8 ingredients for grocery delivery
Instructions
Step 1
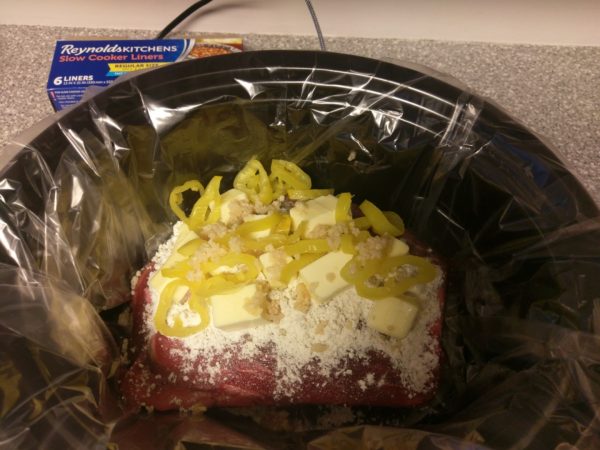
Season your meat with salt, pepper, and garlic powder, to taste on both sides of the meat, and let it sit for 30 minutes.
Step 2
This next step is to poke holes in your meat with a fork to help tenderize it.
Step 3
While the meat is soaking in the spices, it’s time to prepare your vegetables. Wash them. Cut up the ones that need cutting.
Step 4
The meat is ready to brown. Put some olive oil in the bottom of the dutch oven and turn the burner on high to heat up the oil.
Step 5
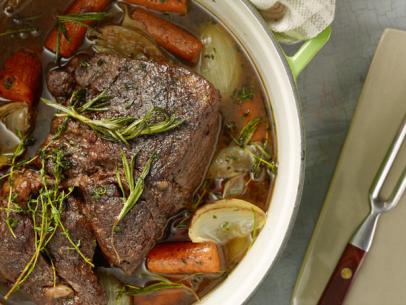
Brown up the meat on both sides, usually about 2-3 minutes on each side. You want it to brown but not burn. If your burner is too high then turn it down a bit.
Step 6
Once the meat is browned up then pour the beef broth over the top of the meat, put the lid on, and bake it in the oven at 300-325 degrees, that also depends on how hot your oven runs. You want it to cook low and slow.
Step 7
The next step is to add the veggies. It will only take an hour or even less to cook, so keep that in mind to add the veggies in the last hour of cooking the keto pot roast. When you lift off the lid, be sure to baste the meat juices over the meat and then add the veggies. Place the lid on and continue to cook.
Step 8
You will know when the keto pot roast is done because when you put a fork in it, the meat should fall apart, which is called “fork-tender.” If it doesn’t fall apart then it’s not done yet, so cook it longer until it falls apart easily.
Step 9
When it’s done baste the meat with the juice and serve.
Top similar recipes
Curated for youYour folders
 644 views
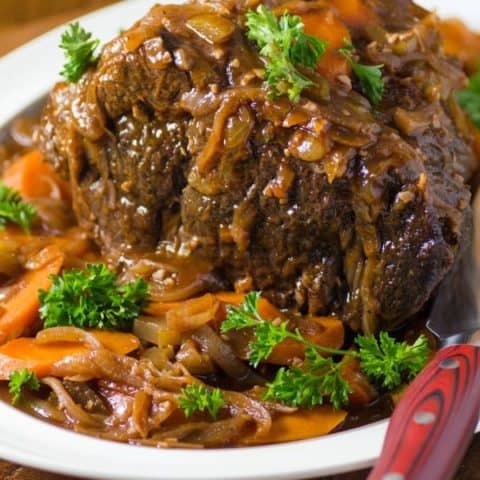
Keto Pot Roast {low carb}
kaseytrenum.com
4.8
(54)
240 minutes
Your folders
 205 views
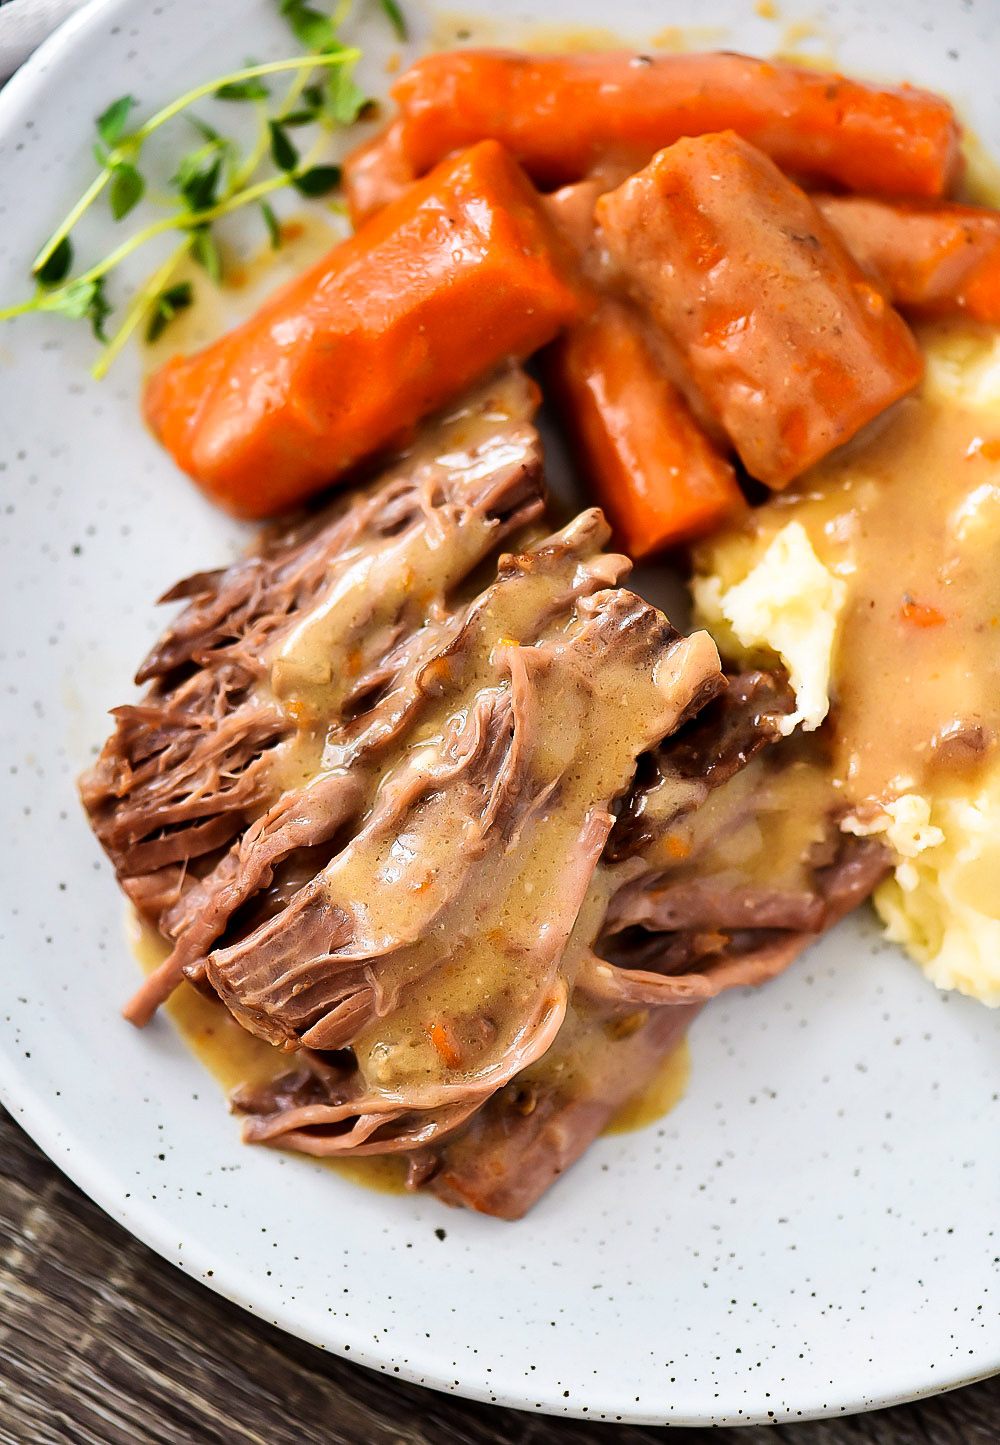
Crock-Pot Low Carb Keto Pot Roast
thefrugaler.com
Your folders
 26 views
Crock-Pot Low Carb Keto Pot Roast
thefrugaler.com
Your folders
 202 views
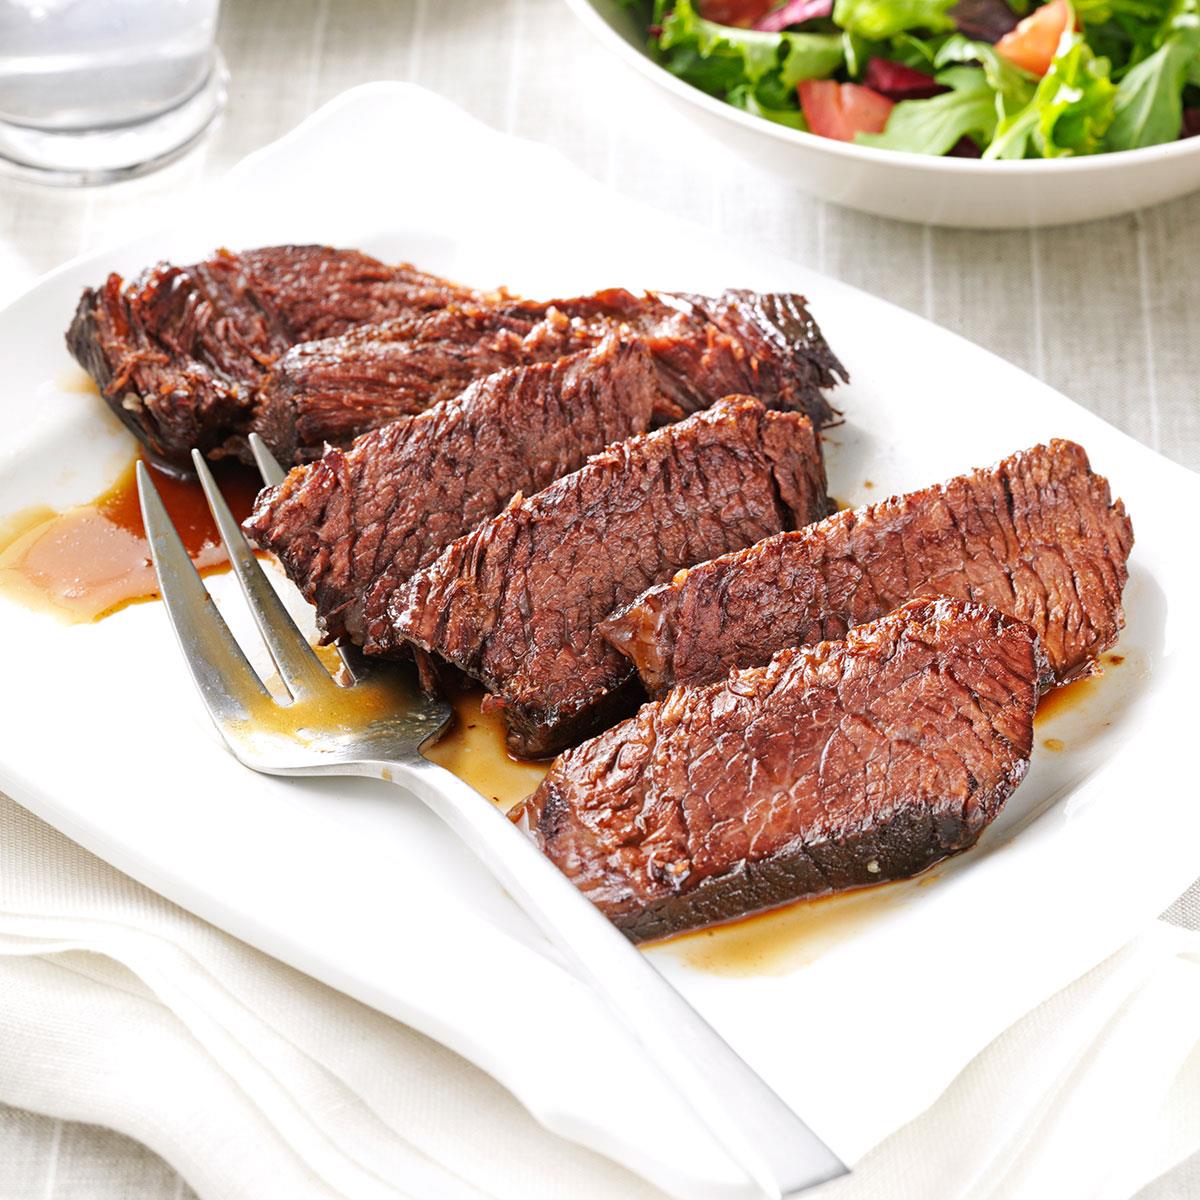
Chuck Roast
oven.anovaculinary.com
4.3
(7)
1620 minutes
Your folders
 136 views
Instant Pot Chuck Roast
leitesculinaria.com
4.7
(3)
75 minutes
Your folders
35 viewsInstant Pot Chuck Roast
leitesculinaria.com
Your folders
 814 views
Perfect Pot Roast
foodnetwork.com
4.8
(922)
4 hours, 15 minutes
Your folders
 642 views
Perfect Pot Roast
spendwithpennies.com
5.0
(5)
250 minutes
Your folders
 521 views
Perfect Pot Roast
thepioneerwoman.com
4.2
(5)
4 hours
Your folders
 322 views
Perfect Pot Roast
noshingwiththenolands.com
5.0
(1)
3 hours, 30 minutes
Your folders
 147 views
Perfect Pot Roast
damndelicious.net
5.0
(19)
240 minutes
Your folders
 181 views
Perfect Pot Roast
life-in-the-lofthouse.com
5.0
(2)
600 minutes
Your folders
307 viewsSlow Cooker Low Carb Pot Roast
kaseytrenum.com
Your folders
 190 views
Oven Braised Chuck Pot Roast
sweetteaandthyme.com
4.7
(30)
3 hours, 10 minutes
Your folders
 153 views
Easy Crock Pot Chuck Roast
deliciouslyseasoned.com
5.0
(4)
360 minutes
Your folders
 194 views
Marinated Chuck Roast
tasteofhome.com
4.5
(22)
3 hours
Your folders
 479 views
Smoked Chuck Roast
theonlinegrill.com
3.9
(12)
480 minutes
Your folders
 473 views
Smoked Chuck Roast
pitboss-grills.com
5.0
(4)
540 minutes
Your folders
 744 views
Smoked Chuck Roast
themountainkitchen.com
4.8
(40)
300 minutes