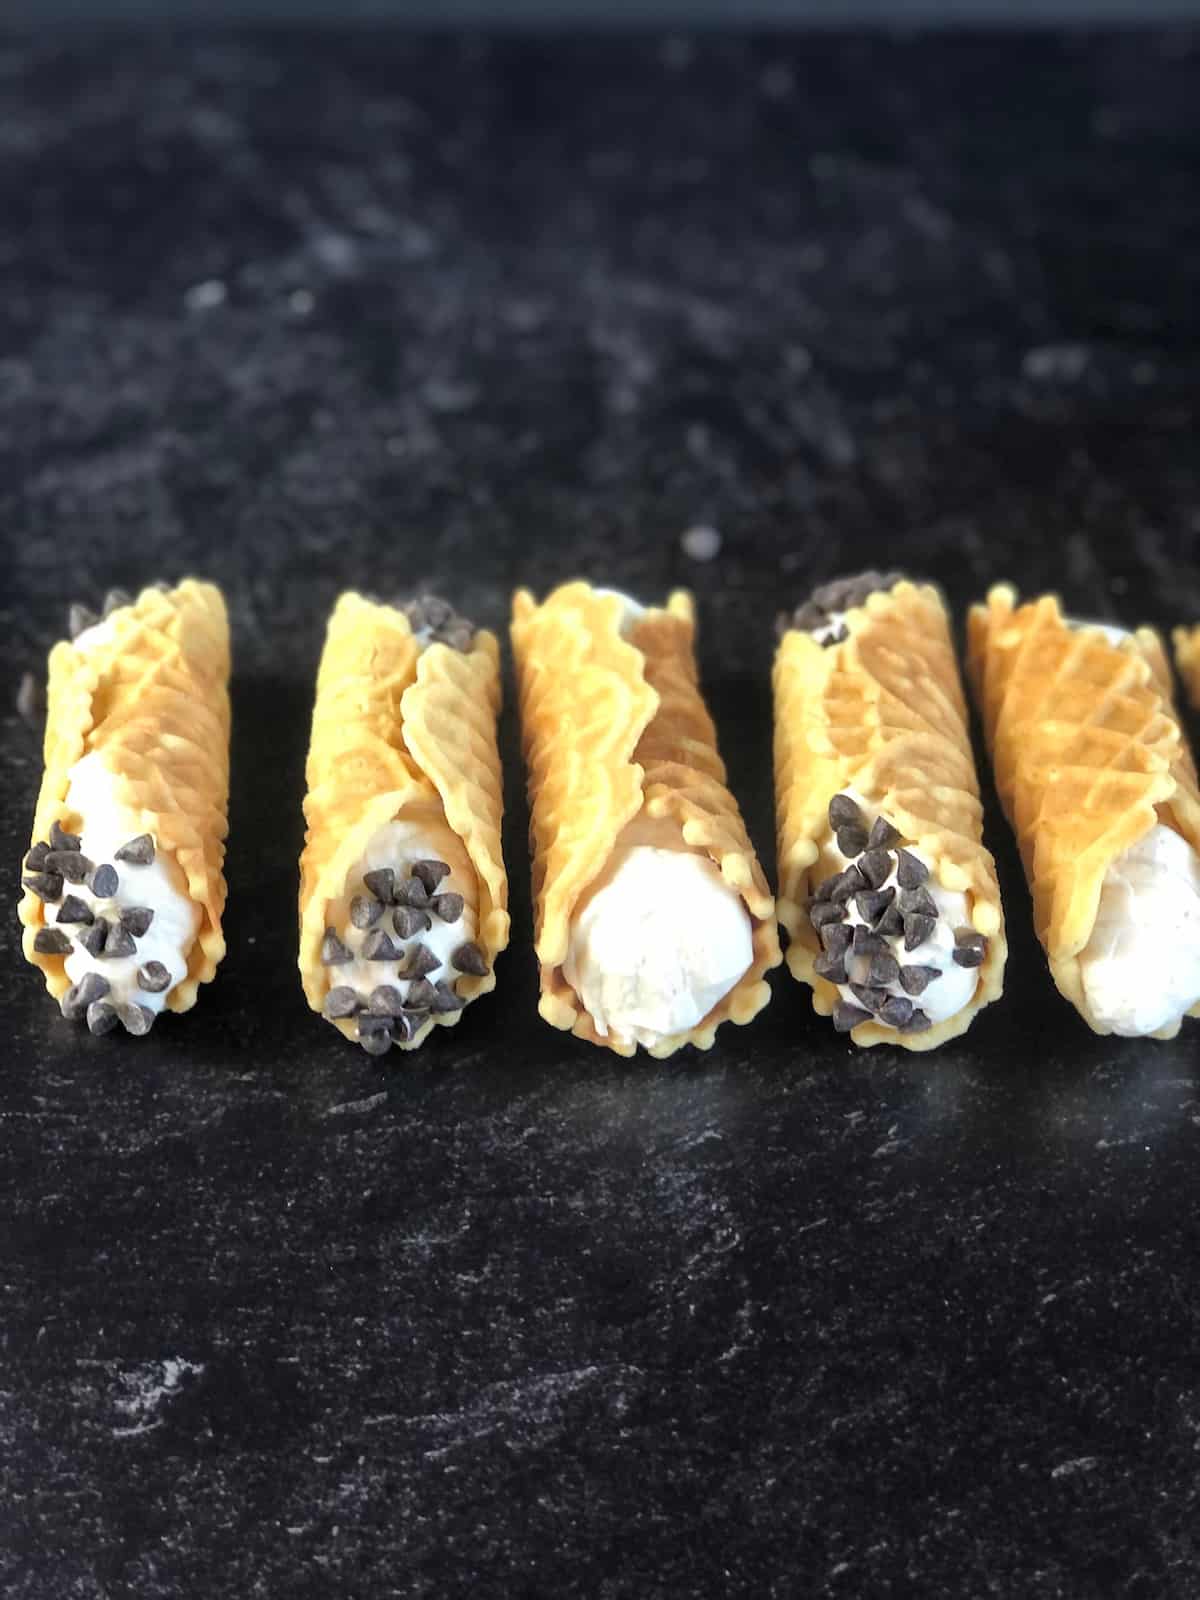
Pizzelle Cannoli
5.0
(17)
Your folders
Your folders
Prep Time: 15 minutes
Cook Time: 10 minutes
Total: 30 minutes
Servings: 25
Ingredients
Export 9 ingredients for grocery delivery
Instructions
Step 1
Place the ricotta into a sieve over a bowl and press down to help the ricotta release dome of its liquids.
Step 2
Cover the ricotta and place in the fridge for at least 2 hours but up to 24 hours. This step I like to do the day before making my pizzelle cannolis :)
Step 3
After the ricotta has had time to drain, place the ricotta into a medium bowl.
Step 4
Now add the mascarpone, powdered sugar and vanilla.
Step 5
Fold the powdered sugar into the cheese mixture so it doesn't fly around when you start the electric mixer.
Step 6
Now with a hand held or stand mixer, mix the filling on medium speed for 3 minutes until it is light and fluffy.
Step 7
Once it is fluffy, place a piping bag or ziploc bag into a tall glass with the edges of the bag folded over the sides of the glass.
Step 8
Place the cannoli cream inside the bag then twist the top and seal with a clip or rubber band.
Step 9
Place in the fridge for about 1-2 hours to chill or until ready to use.
Step 10
Whisk together your eggs, sugar, vanilla and anise (see how to measure anise above) in a medium bowl.
Step 11
Now add your flour, salt and baking powder and mix it well until there are no lumps and it looks smooth.
Step 12
Now add your melted butter and mix that in to your mixture.
Step 13
Pre-heat your pizzelle maker. They are all a little different so follow the manufacturers instructions for this.
Step 14
While the pizzelle maker is heating, get your cannoli form ready to shape the pizzelle when they come off the pizzelle maker. See notes above for ideas.
Step 15
Once it is heated, add a heaping tablespoon of your thick dough to the middle of each of your pizzelle areas on the iron.
Step 16
Close and cook for about 30-45 seconds until it is a light golden color. If the pizzelle is too light in color you can just close the pizzelle maker and cook the pizzelle for a few more seconds.
Step 17
Once they are cooked, remove the pizzelles from the iron (they will still be soft and pliable at this point) roll them around the cannoli form.
Step 18
Place the pizzelle cannoli seam side down while it cools so it will hold its shape.
Step 19
Keep doing this until all of the batter is used up!
Step 20
Once all of your pizzelle cannoli shells are fully cooled, place them in an air tight container side by side (not stacked).
Step 21
Once you are ready to eat the cannoli, that is when you fill them!
Step 22
Grab the cannoli cream from the fridge and snip the and of your piping bag (or corner of your Ziploc bag).
Step 23
Grab the cannoli shell and squeeze cannoli cream into one end of the cannoli shell. Then squeeze cannoli cream on the other end of the cannoli shell.
Step 24
To decorate with mini chocolate chips, hold the cannoli vertically and sprinkle the chocolate chips on to the cream ends.
Step 25
Serve immediately.