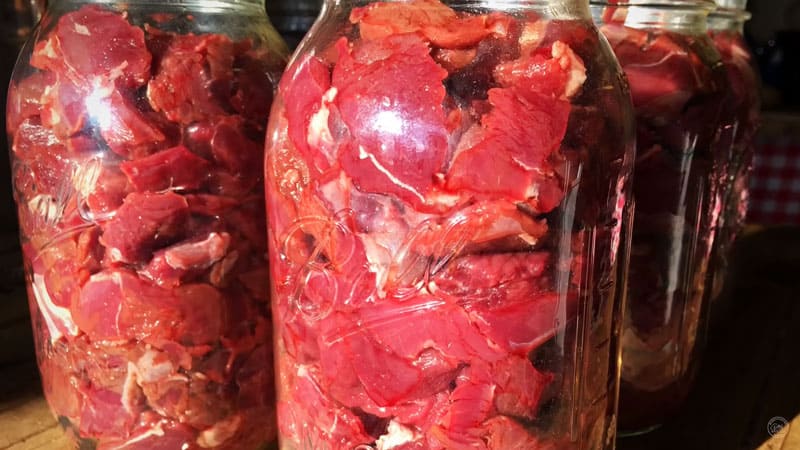
Canned Meat Recipe (Raw-Pack Method)
4.3
(48)
Your folders
Your folders
Prep Time: 60 minutes
Cook Time: 120 minutes
Total: 180 minutes
Author : Carolyn Thomas

Ingredients
Export 1 ingredients for grocery delivery
Instructions
Step 1
Get water boiling in your pressure canner.
Step 2
With clean hands, pack the meat into the jars filling the jars to the shoulder (leave about an inch of headspace). Don’t pack the meat too tightly, you want the liquid to be able to move around the meat.
Step 3
Add salt to each jar if desired.
Step 4
Add a couple of inches of boiling water to each jar.
Step 5
Wipe rim clean with a damp rag, then dry the rims.
Step 6
Run a clean finger around the top of the jar to check for salt particles or knicks in the jar. Any disturbance on the rim will prevent sealing.
Step 7
Add lid and rings then place into your pressure canner.
Step 8
Place jars into the canner ON A RACK so they’re off the bottom of the pressure canner (this prevents the jars from jumping around and possibly breaking).
Step 9
Bring pressure canner up to pressure with the weighted gauge off (or jiggler, or rocker, etc.).
Step 10
Allow pressure to build up until steam is pouring out the vent. Allow steam to vent for 10 minutes before adding your weight and starting your time.
Step 11
After steam has vented for 10 minutes, add your weight (or jiggler, or rocker, etc.) and allow pressure to come up until dial gauge reads 10 pounds (at sea level, adjust accordingly for higher elevations).
Step 12
Once pressure is reached, keep pressure for 90 minutes.
Step 13
Once 90 minutes of full pressure has passed, allow the pressure to release naturally. Once pressure is released, remove jars and allow them to cool completely on the counter for 16-24 hours.
Step 14
Remove the rings and clean jars up as needed.