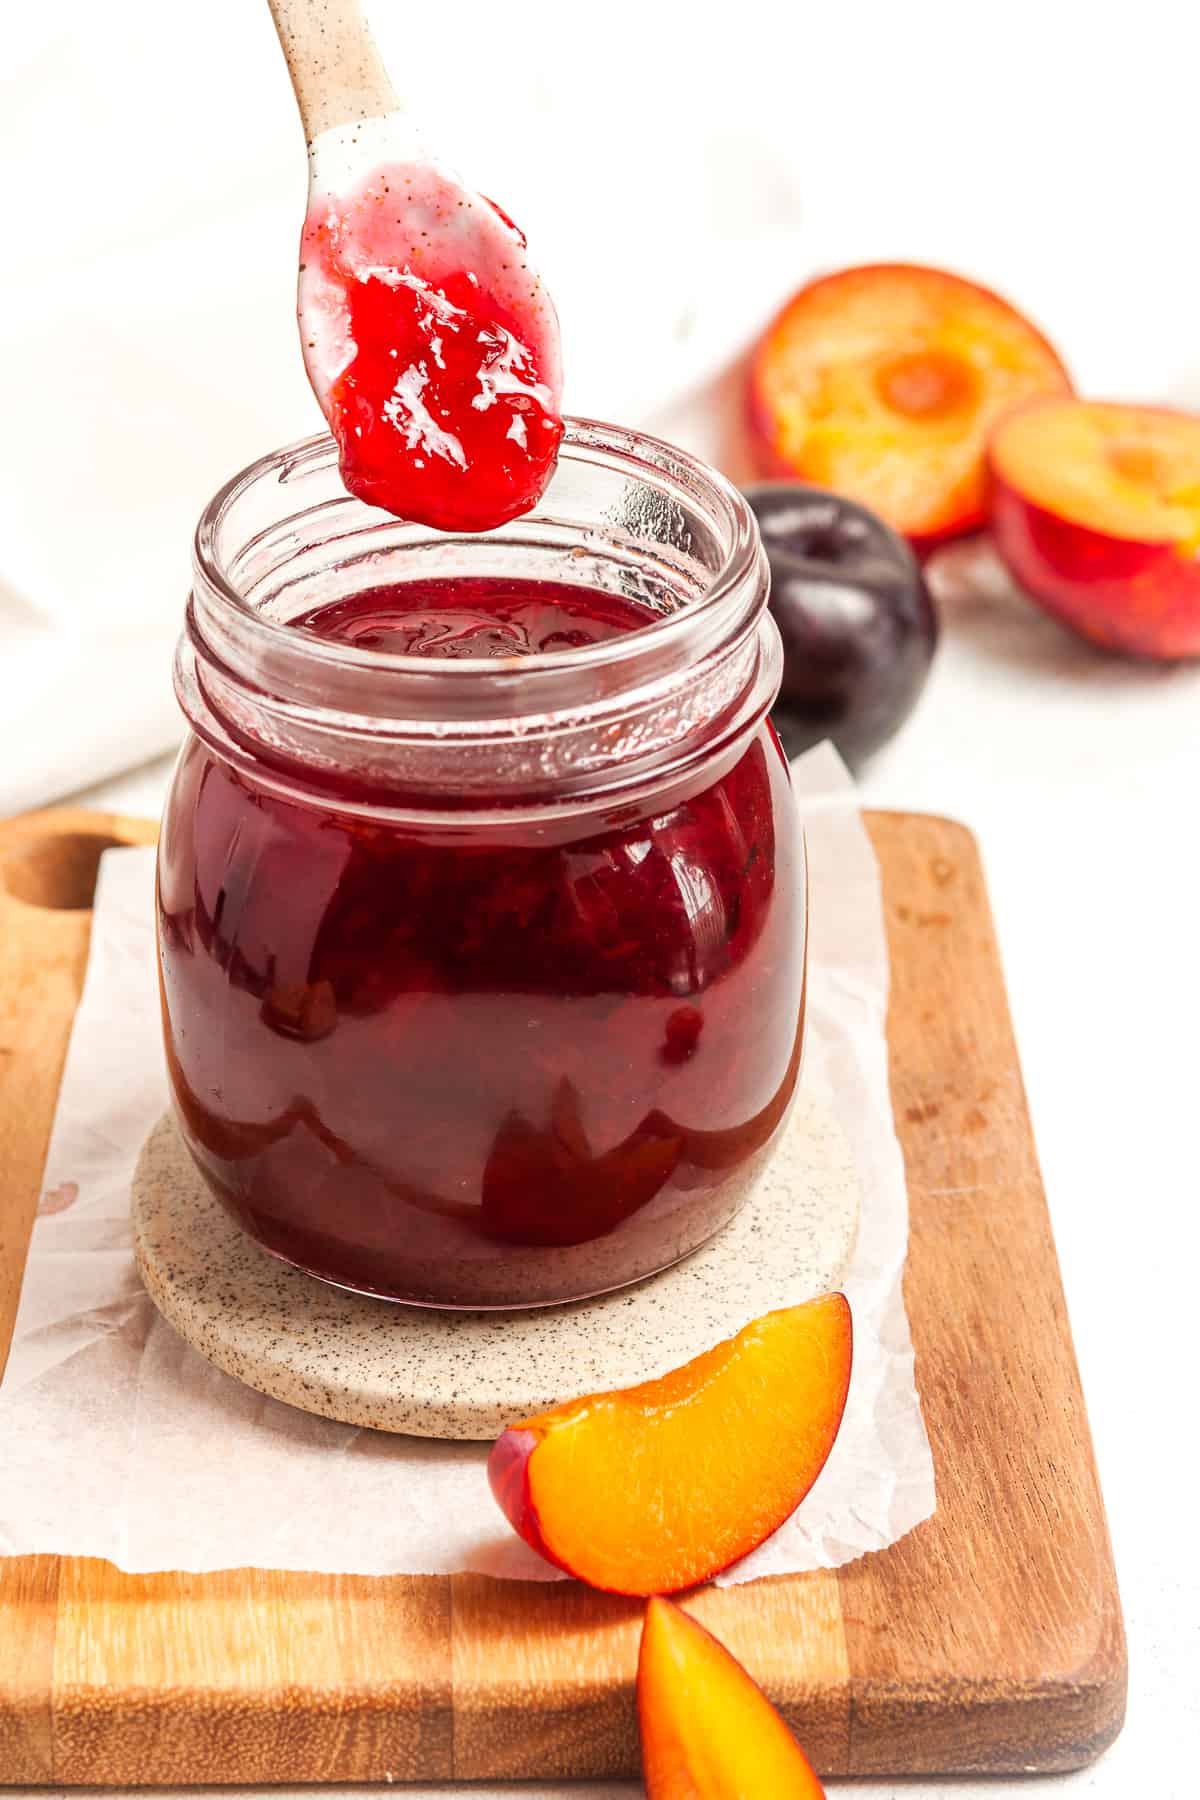
Easy Plum Jam
4.8
(529)
Your folders
Your folders
Prep Time: 30 minutes
Cook Time: 40 minutes
Total: 70 minutes
Servings: 11

Ingredients
Export 2 ingredients for grocery delivery
Instructions
Step 1
Preheat the oven to 130 Degrees C (270F).Use glass jars, either new or recycled, with an airtight, metal lid. If recycling jars, ensure that the jars do not have cracks or chips and the lids are in good condition. Discard any lids that are pitted or rusted. Ensure your lids are oven safe or see our notes if they are not. (See Note 6.)Wash the jars and lids. If washing by hand, use hot, soapy water and then rinse them well. Alternatively, wash them in the dishwasher.Place jars and lids on a baking tray. Heat in the oven for at least 20 minutes. The jars and lids should be completely dry and remain very hot.
Step 2
Place 2 small plates or saucers in the freezer to chill – see Note 7.
Step 3
Wash the plums and remove any blemishes. To halve the plums, start at the stem end and run a sharp knife around the plum, following the naturally occurring marking. Use the tip of the knife to remove the stones.Cut the halves in half again. If you don’t want your jam to have chunks of fruit, cut the plums into eighths.
Step 4
Place the plums and water in a large, wide saucepan. See Note 8.
Step 5
Bring the plums to a simmer over low-medium heat. Stir occasionally using a long-handled wooden spoon. See Note 9.
Step 6
Cover the pot and cook, stirring occasionally, until the plums are soft, 15-20 minutes. At this stage, if you prefer less chunky jam, you could blend it using a hand-held stick blender. Take off the heat to do this.
Step 7
Add the sugar and lemon juice. Stir frequently, with the saucepan uncovered, until the sugar dissolves.
Step 8
Increase the heat and bring to a rolling boil for 5-15 minutes. You need to be vigilant at this point. Stir frequently to avoid the jam catching and burning on the bottom of the pan. Boiling time will vary depending on the size of your saucepan and the heat that you apply.
Step 9
After about 5 minutes rapid boiling, turn the heat off under the jam. Spoon a small amount of jam onto a chilled plate or saucer to check if it is starting to set. I use the wrinkle test. When the jam has cooled, push it gently with your fingertip. If it wrinkles, even slightly, it is ready. If it remains liquid, put the jam back on the heat for a further 5 minutes and check again. See Note 10.
Step 10
You can also use a thermometer to check for setting point. To use this method, you will need a sugar thermometer. Clip the thermometer to the side of your pan. When the thermometer reads 104C (220F) the jam is ready.
Step 11
When the jam reaches setting point, remove the pan from the heat. If there is any scum on the surface of the jam, add a teaspoon of butter and stir well. It will dissolve the scum.
Step 12
Let the jam stand for about 10 minutes to allow the fruit to settle. This will ensure that any pieces of fruit will be evenly distributed throughout the jam. Without standing, the fruit will rise to the top of the jar.
Step 13
The jam will still be liquid when you ladle it into your jars. It can take up to 48 hours to completely set.
Step 14
Stir the jam and carefully ladle it into the heated, sterilised jars. You need to be very careful. A splash or spill from hot jam would result in a serious burn. I recommend that you wear clothing with long sleeves. Additionally, this is not the occasion to have children nearby.Immediately seal the jars tightly with sterilised lids.
Step 15
When cool, remove any spills from the jars and label with the date and name. Store the jam in a cool, dark place. When using the jam, always use a clean, dry spoon to avoid contamination. After opening a jar, as a further precaution, store it in the refrigerator.