Smoked Cheese Recipe
5.0
(1)
Your folders
Your folders
Prep Time: 10 minutes
Cook Time: 120 minutes
Servings: 1
Cost: $1.99 /serving
Author : Maria

Ingredients
Export 1 ingredients for grocery delivery
Instructions
Step 1
The first tip is to plan to look at the weather.
Step 2
You want to smoke cheese on a day that will not reach higher than 60ºF.
Step 3
Warm temperatures can increase the chances of your cheese going from a smoke to a melt.
Step 4
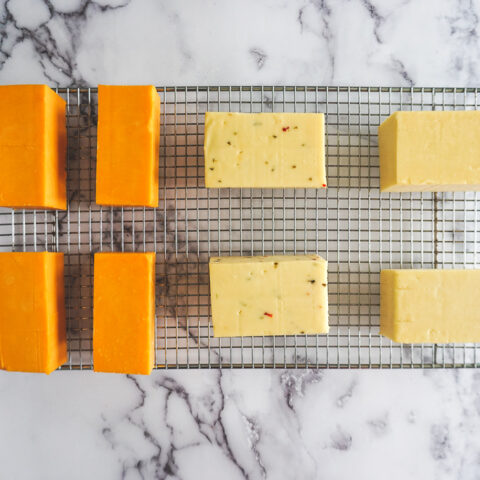
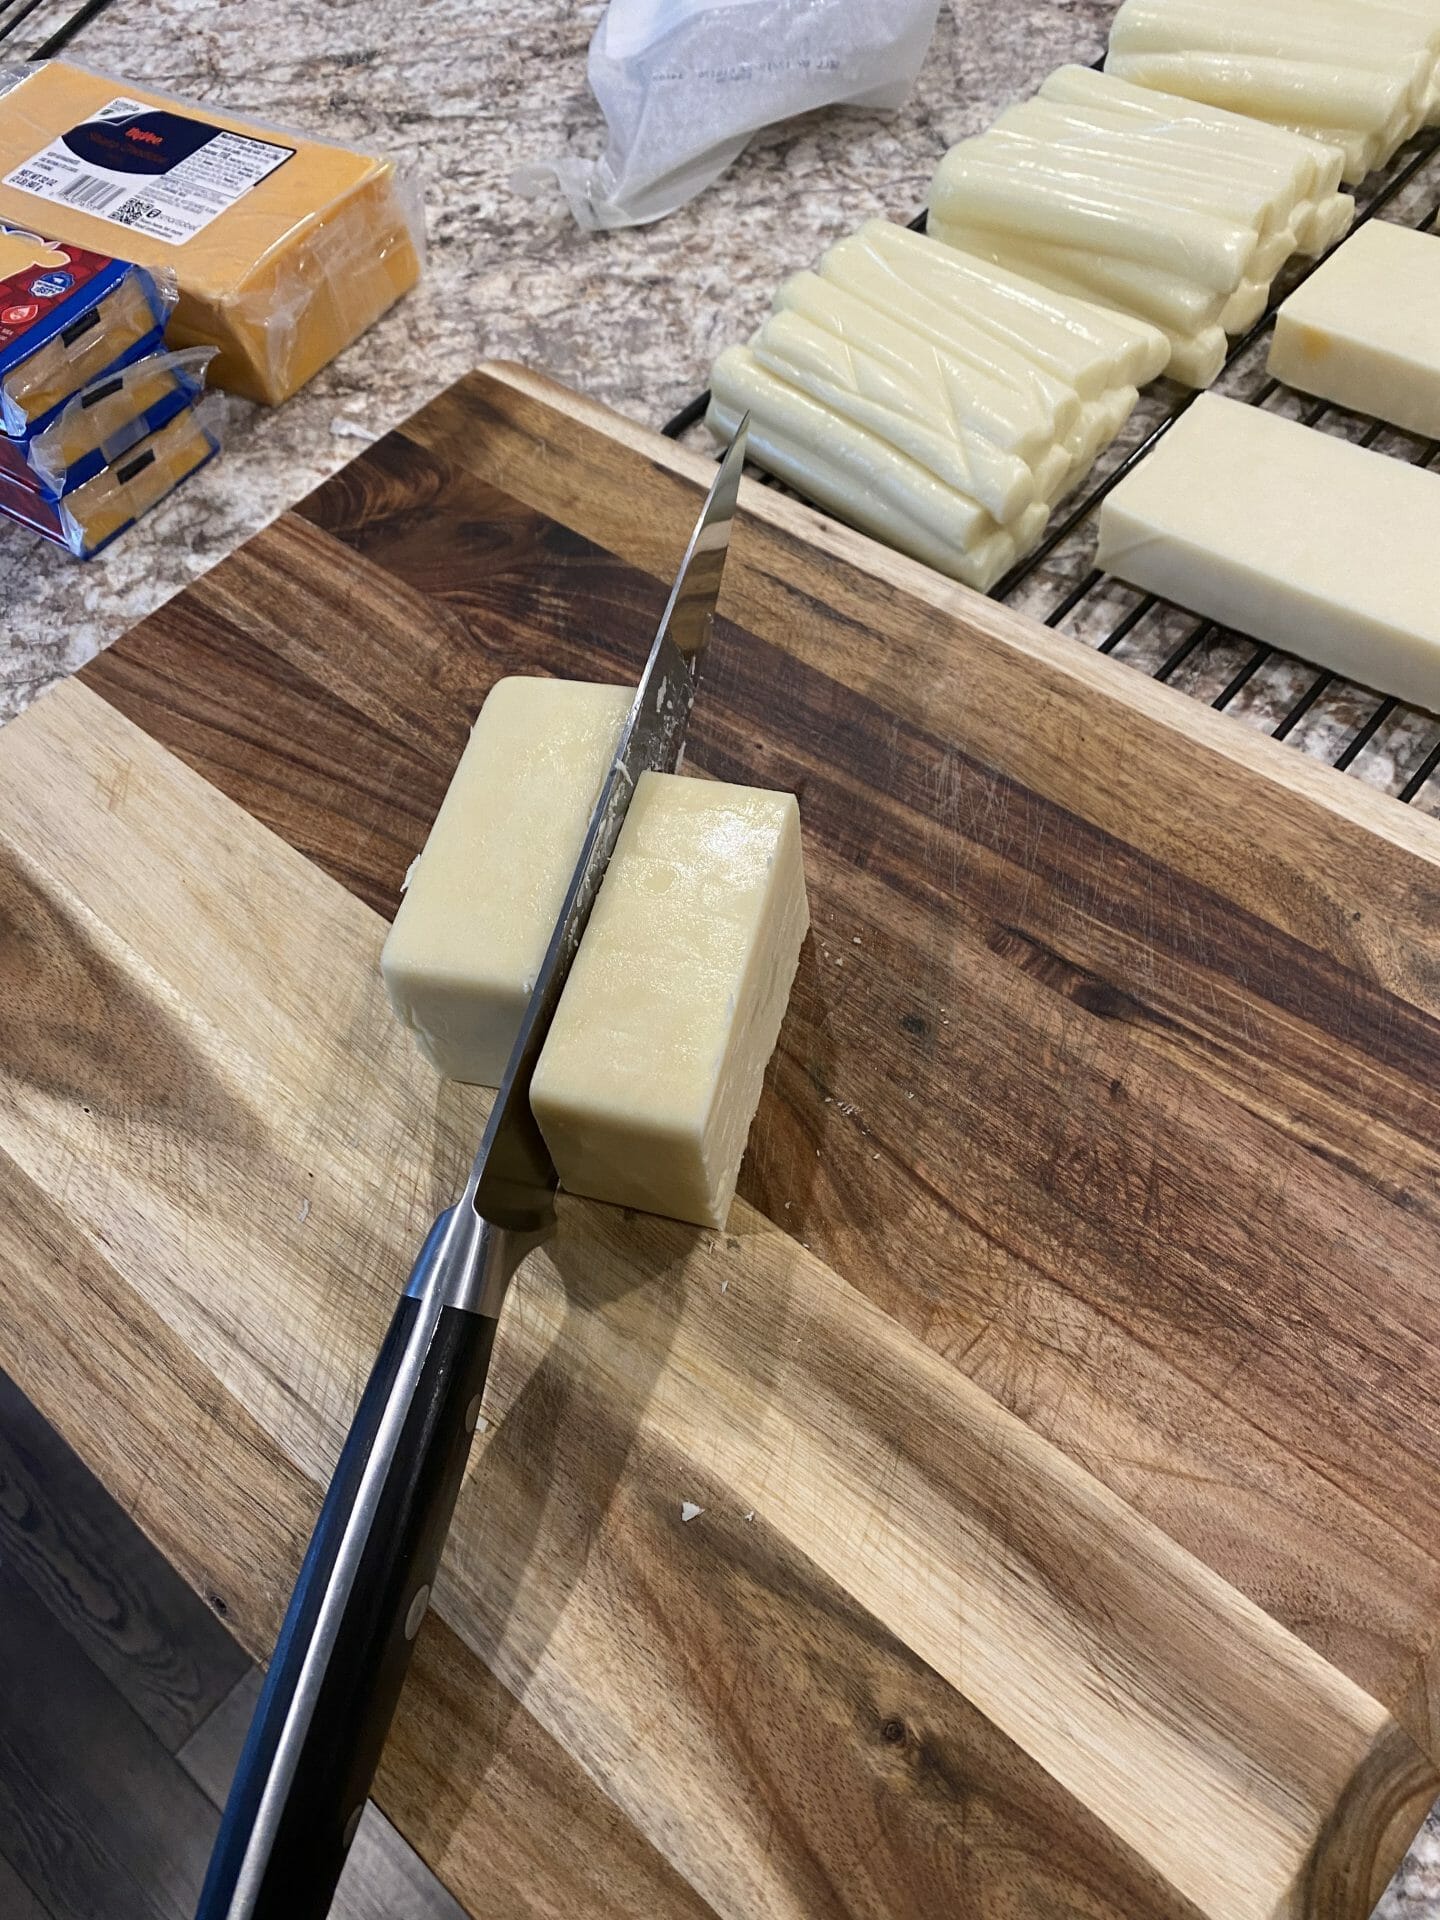
Cut the rind away from whatever cheese you plan to smoke and then chop it into small wedges and 2″x4″ blocks.
Step 5
If you prefer soft interiors and smokey skin, then break up your cheese into larger sizes.
Step 6
If your cheese happens to have been chilled, bring it up to a room temperature while wicking away any moisture that results from the thawing dried cheese yields better skin.
Step 7
You will be using a tube smoker for this process, roughly a foot tall.
Step 8
If you lack a tube smoker, you can use a large can like what you might have after emptying the contents of a can of pineapple slices.
Step 9
Load the smoker with your ideal wood for the cheese you intend to smoke.
Step 10
Light the smoker as its instructions say, or do a quick search for this detail if going with the improvised approach and place the tube smoker into your grill.
Step 11
Make sure that its flame is put out and the smoke is light yet continual in output.
Step 12
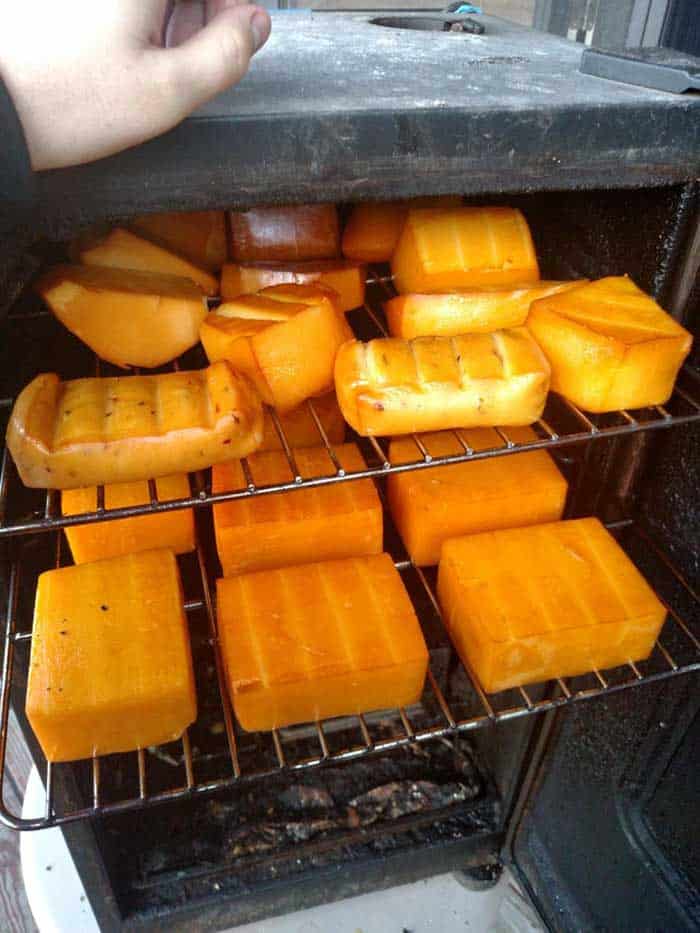
Place your bricked and wedged cheeses onto your grill’s grates, making sure to keep them away from touching the sides and exposed to air flow.
Step 13
Close the lid and allow the wood smoke to go to town on the cheese.
Step 14
Two hours is a good waiting time, too much smoke and the cheese can develop an overwhelming level of smokiness.
Step 15
If you only want a mild smokiness to your cheese, give it one hour.
Step 16
It is also worth mentioning that softer cheeses require less time than hard ones to reach an appropriate level of smokiness; if most of what you have on the grill is on the soft side, consider veering closer to 1 hour and change than a full 2 hours.
Step 17
It is crucial that the smoker never gets above 90ºF.
Step 18
You want to smoke the cheese, not melt it.
Step 19
While 1-2 hours is recommended for a complete smoke, it is also important that your cheeses become fully exposed to that smoke.
Step 20
Do your best to rotate the cheese every 15 to 30 minutes.
Step 21
This will ensure that no one side becomes more smoky than the others.
Step 22
If you want to check to see if the cheese has been sufficiently smoked, remove a piece from the grill and give it a smell; if what your nose detects smells downright satisfyingly smokey and delicious, the cheese is done smoking.
Step 23
It’s also worth noting that the presence of moisture on cheese will cause smoke to cling to it far more than dried cheese, to the detriment of that cheese’s initial flavor.
Step 24
When time’s up on the smoking process, remove the cheeses from the grill and wrap them up in paper, either parchment or untreated butcher’s paper; these are materials that allow them to breathe.
Step 25
Place the wrapped cheese into your refrigerator for one to two days.
Step 26
When time is up on the fridge, take the cheese out and vacuum seal it.
Step 27
If you lack a vacuum sealer, you can use a resealable freezer bag and simply push out all of the air within the bag.
Step 28
One trick to removing the air from such a bag is to submerge all but its zipper in water, push up to expel the air, then zip up the bag.
Step 29
Feel free to take a bite as you bag up your cheeses for long storage, you’ve earned it.
Step 30
Take a marker or something else that can leave a mark in your sealing bags and label each bag with the type of cheese it contains and also feel free to write down the date of the original smoking.
Step 31
Put the bagged cheeses back into your refrigerator and give them a fortnight, that’s two full weeks, 14 days.
Step 32
Managing to stop yourself from indulging in your cheese before this time elapses will provide enough time for even the most initially-acrid of cheeses to have its smokiness more evenly distributed throughout the entirety of the cheese, resulting in a different, yet still-mellow flavor.
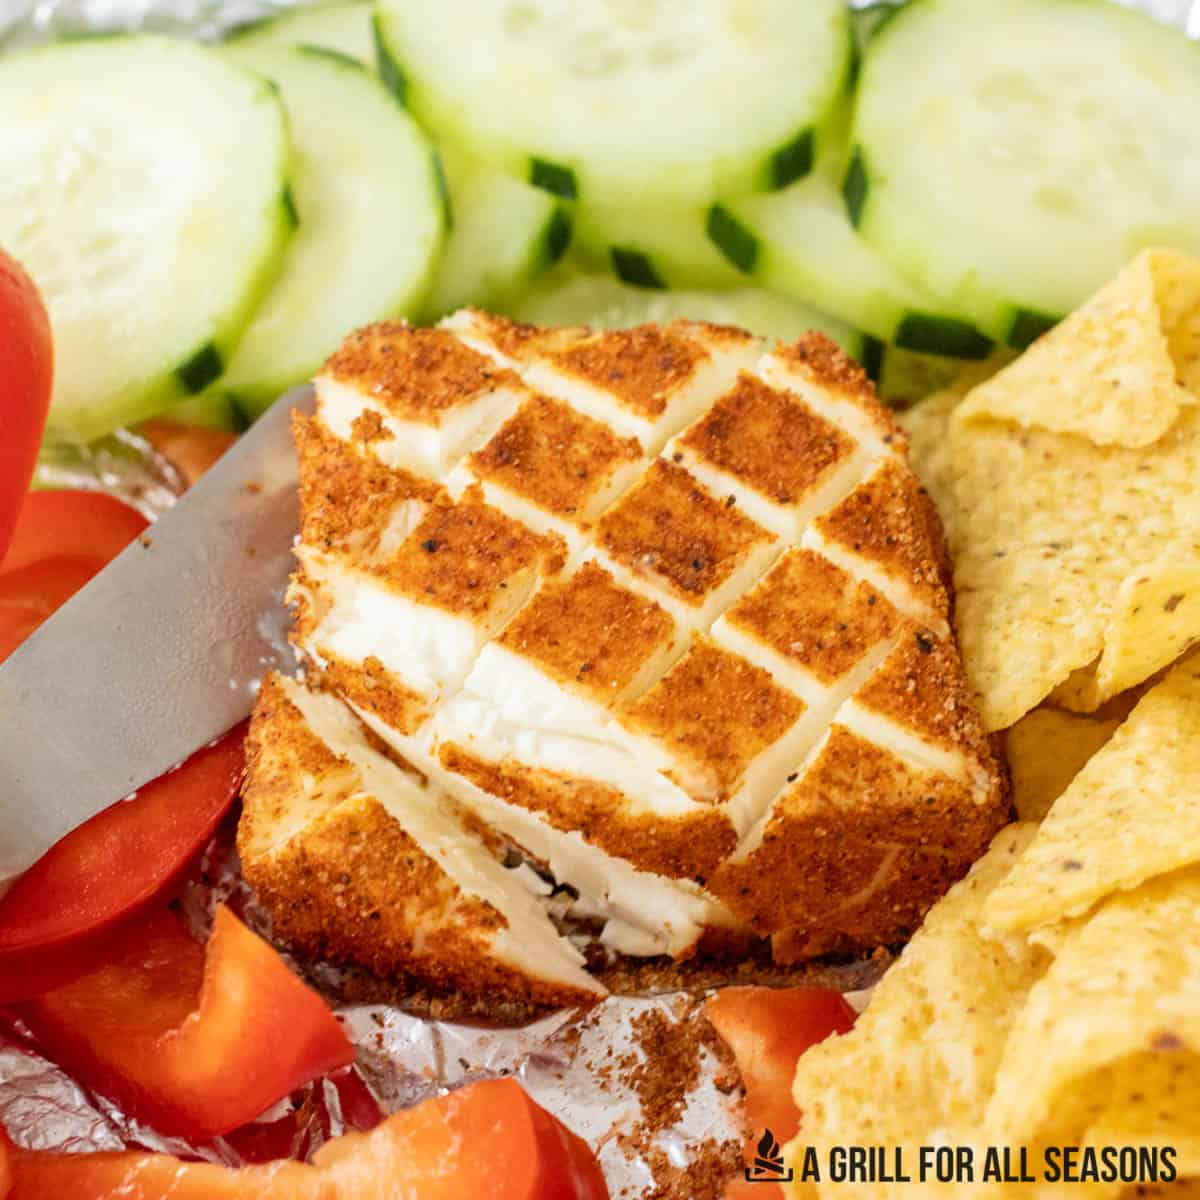
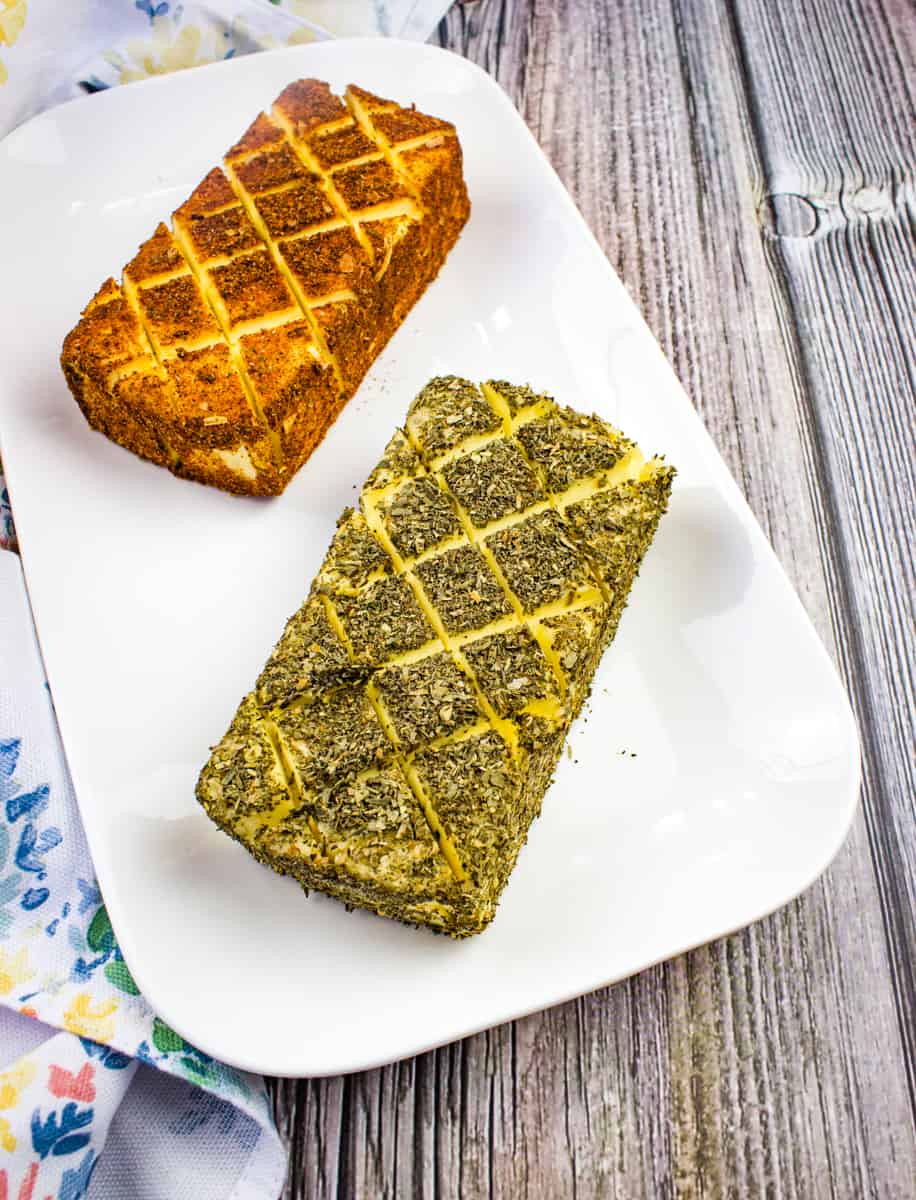
Step 33
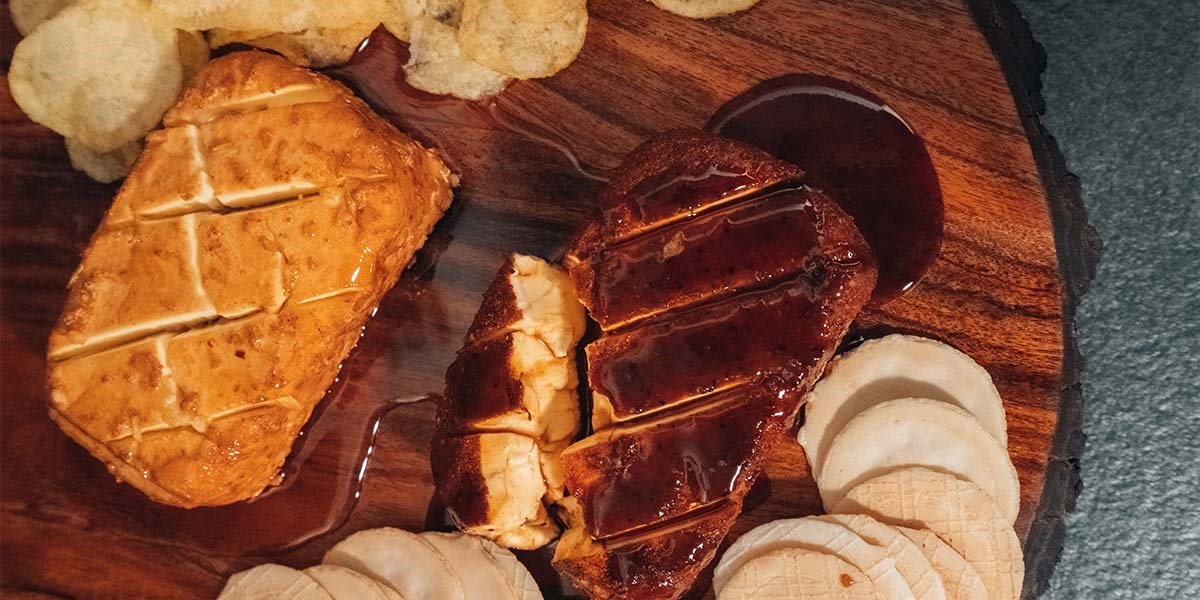
Serve your smoked cheese however you want: sliced up for sandwiches, crumbled up for salads, paired with crackers, the list of options goes on and on.
Top similar recipes
Curated for youYour folders

 226 views
Smoked Cheese
heygrillhey.com
5.0
(6)
120 minutes
Your folders
 265 views
Smoked Cheese
cravethegood.com
4.5
(4)
2 hours
Your folders
 424 views
Smoked Mac and Cheese Recipe
amazingribs.com
4.1
(97)
40 minutes
Your folders
 242 views
Smoked Cream Cheese
agrillforallseasons.com
5.0
(13)
60 minutes
Your folders
 384 views
Smoked Cream Cheese
cookwhatyoulove.com
3.3
(76)
120 minutes
Your folders
 224 views
Smoked Cream Cheese
midwestfoodieblog.com
5.0
(3)
2 hours
Your folders
 314 views
Smoked Cream Cheese
charmate.co.nz
1 hours
Your folders
 24 views
Smoked Mozarella Cheese
simplymeatsmoking.com
120 minutes
Your folders
 118 views
Smoked Cream Cheese
craftycookbook.com
4.9
(22)
90 minutes
Your folders
 44 views
Smoked Gouda Mac And Cheese Recipe
savorythoughts.com
5.0
(15)
90 minutes
Your folders
 520 views
Smoked Macaroni and Cheese
recipesworthrepeating.com
5.0
(15)
90 minutes
Your folders
 609 views
Smoked Mac and Cheese
heygrillhey.com
4.7
(18)
60 minutes
Your folders
 260 views
Smoked Mac and Cheese
mybackyardlife.com
5.0
(1)
45 minutes
Your folders
 277 views
Smoked Mac and Cheese
jerkyholic.com
5.0
(37)
75 minutes
Your folders
 292 views
Easy Cold Smoked Cheese
theonlinegrill.com
3.9
(20)
120 minutes
Your folders
 246 views
Smoked Mac and Cheese
cutsandcrumbles.com
4.6
(12)
Your folders
 230 views
Smoked Macaroni and Cheese
smokedbbqsource.com
Your folders
 347 views
Smoked Gouda Pimiento Cheese
foodnetwork.com
5.0
(10)
20 minutes
Your folders
 218 views
Traeger Smoked Cream Cheese
orwhateveryoudo.com
4.6
(36)
2 hours