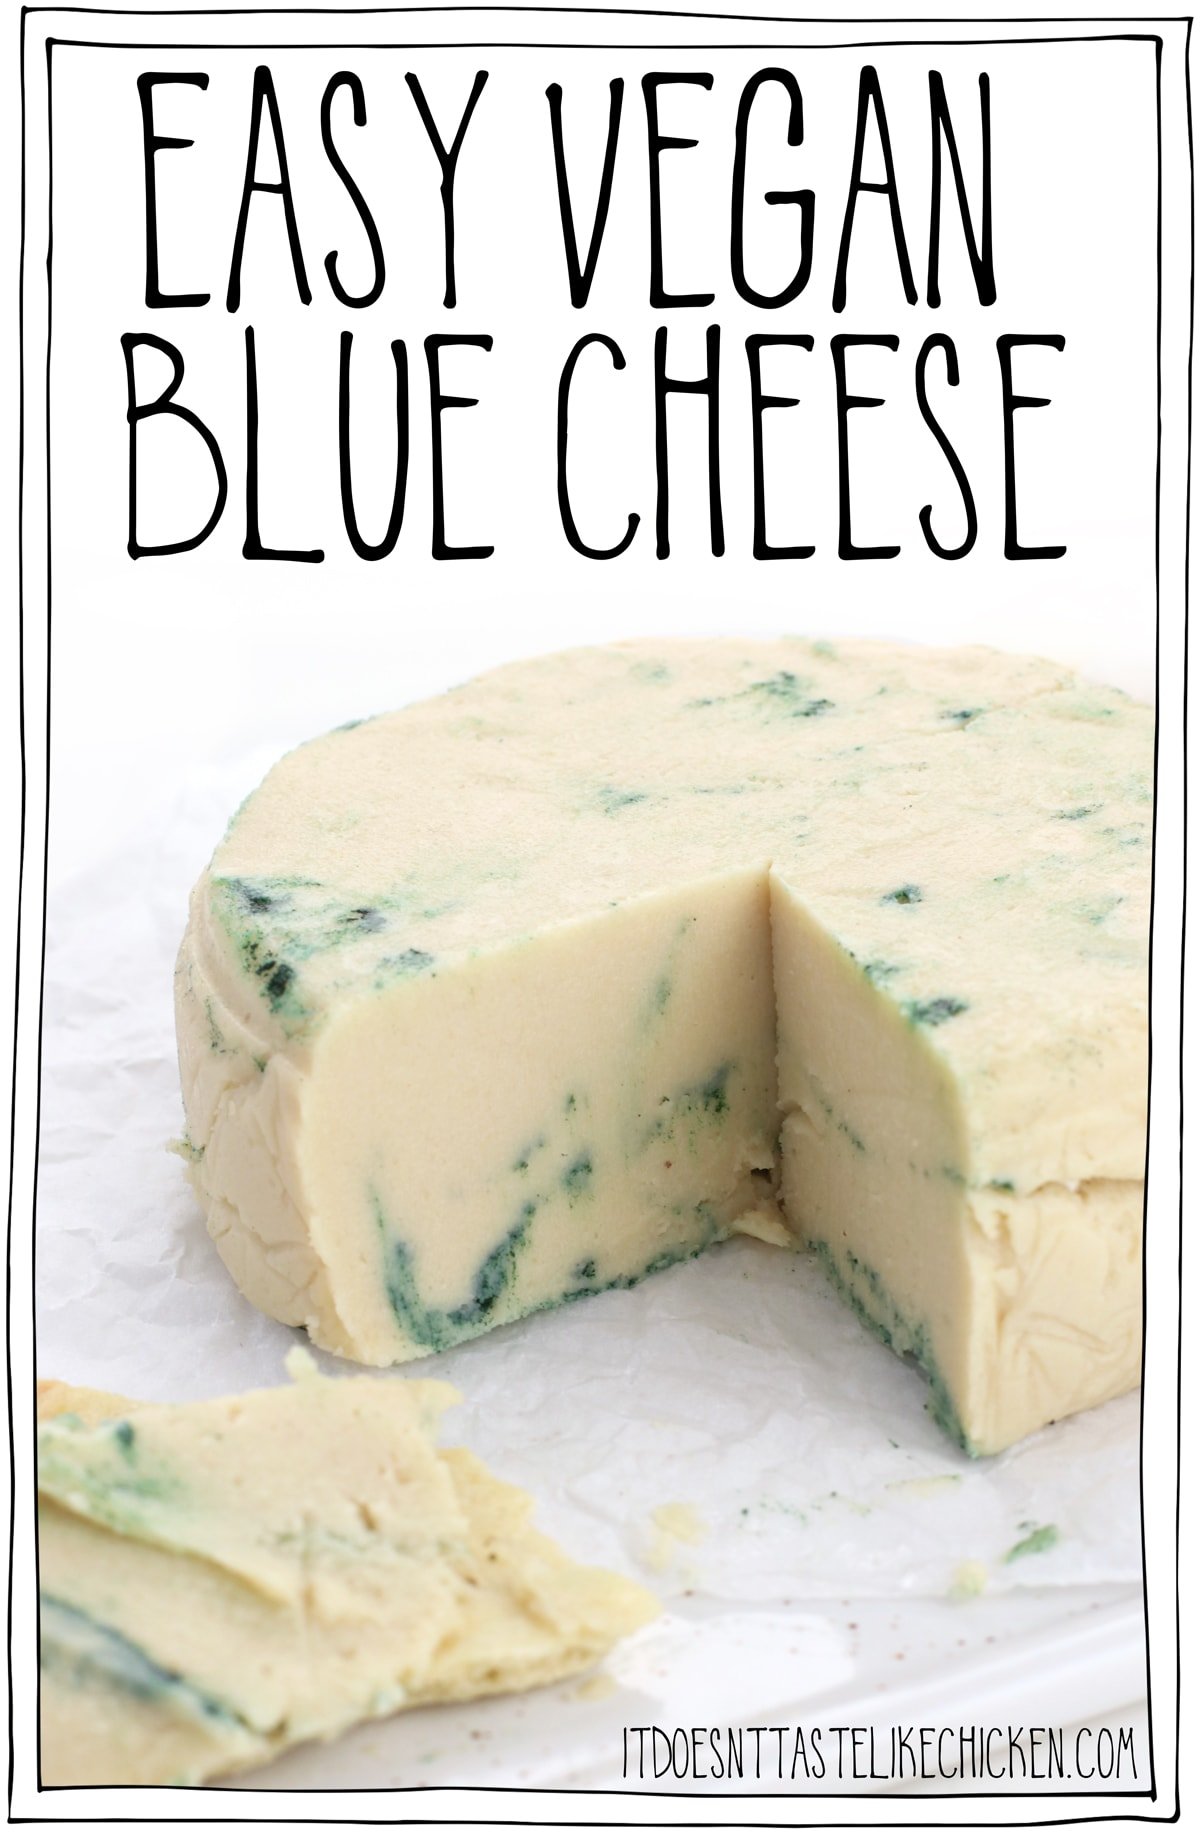
Vegan Blue Cheese
4.8
(249)
Your folders
Your folders
Prep Time: 50 minutes
Total: 50450 minutes
Servings: 4

Ingredients
Export 4 ingredients for grocery delivery
Instructions
Step 1
Soak the cashews in filtered water for at least 5 hours or overnight.
Step 2
Drain the cashews and place them in a large glass bowl. Bring a large pot of water to a boil. Once boiling, pour the water directly onto the cashews. Let sit 1-2 minutes, and drain the cashews again. This step will help kill possible bacteria.
Step 3
Transfer the cashews to the bowl of a blender or food processor. Add the coconut oil and 5 tablespoons of filtered water. Blend on high speed, scraping down the sides from time to time, this step might take about 10 minutes, depending on your blender. You should get a smooth, thick mixture.
Step 4
Open the probiotic capsules and add the powder to the blender.
Step 5
Add the penicillium roqueforti. If your penicillium roqueforti is in powdered form it works the same way as the liquid one. Blend for another 10-15 seconds.
Step 6
The mixture should be smooth but thick. If needed, add 1 tablespoon of water at a time until smooth. Do not add too much water otherwise the mixture will be too liquid, you want a thick consistency.
Step 7
Transfer to a clean bowl, cover with plastic film, and let sit at room temperature in a dark place for about 24h. This step is important to let the cheese ferment.
Step 8
The following day, place the bowl in the refrigerator for about 4 hours to make the mixture easier to work with.
Step 9
After that, line a baking sheet or flat plate with parchment paper. Place 4 small springform pans on top (I used two 3-inch cookie cutter rounds for each cheese, stacked).
Step 10
Cut strips of parchment paper and lay them in 4 small springform pans. You want to cover the bottom and sides of the pan. You can also use plastic film if you prefer. The goal is to prevent the cashew mixture from touching the metal. Fill each pan with the cashew mixture and press it down using plastic film, so it doesn't stick to your hands.
Step 11
Place a container upside down on the plate where the cheeses sit. This step is essential to keep some humidity inside. It's important for good mold growth. Place the cheeses in your refrigerator (you will age the cheeses covered in your refrigerator during the whole aging process).
Step 12
After 2 days, sprinkle salt over the top of the cheeses, and lightly rub with clean hands. Carefully flip the cheeses using a small plate lined with parchment paper, and remove the springform pan. Sprinkle salt on top and the sides, rubbing gently. You will only salt once. The cheeses will still be very soft, but they will be easier to work with after a few days.
Step 13
Flip the cheeses every day, always using clean hands. You can use gloves or work with a plastic film to make sure you are not touching the cheeses.
Step 14
Blue mold should start to appear after about 7 days. The mold will be slightly darker or lighter, depending on the humidity and temperature of your fridge.
Step 15
After 2 weeks, scramble the cheese into little pieces (just like when you scramble tofu) in a clean bowl. The cashew mixture will still be quite soft, so try to make small pieces. For this step, I highly recommend wearing latex gloves.
Step 16
Lay strips of parchment paper into springform pans and fill each pan with the scrambled cheese without pressing too much. This step is important to create holes inside the cheese as the mold needs to be in contact with air to grow. You can remove the cheeses from the springform pans right after shaping them. Place the cheeses on the baking sheet or plate, cover them with a plastic box or container, and place them back in the refrigerator.
Step 17
Continue to flip the cheeses every day for the next 3 weeks, always using clean hands or gloves. This step only takes a few seconds every day.
Step 18
After a total of 5 weeks, the inside and the outside of your cheeses will be covered with blue mold. They will be ready to eat soon!
Step 19
Wrap each cheese in cheese paper or aluminum foil and wait another 3-7 days. The longer you let them age in the refrigerator, the stronger the taste.
Step 20
The cheese will keep for about one month in the refrigerator and will become firmer and sharper.
Top similar recipes
Curated for youYour folders
 620 views
Easy Vegan Blue Cheese Recipe
itdoesnttastelikechicken.com
5.0
(12)
10 minutes
Your folders
 78 views
Easy Vegan Blue Cheese Recipe
itdoesnttastelikechicken.com
Your folders
 407 views
Easy Vegan Blue Cheese Dressing
itdoesnttastelikechicken.com
4.9
(15)
Your folders
 366 views
Vegan Blue Cheese Dressing and Crum...
thehiddenveggies.com
5.0
(3)
Your folders
 353 views
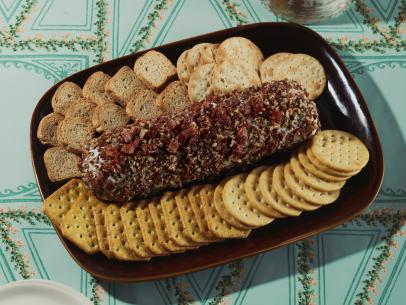
Blue Cheese Cheese Log
foodnetwork.com
45 minutes
Your folders
 384 views
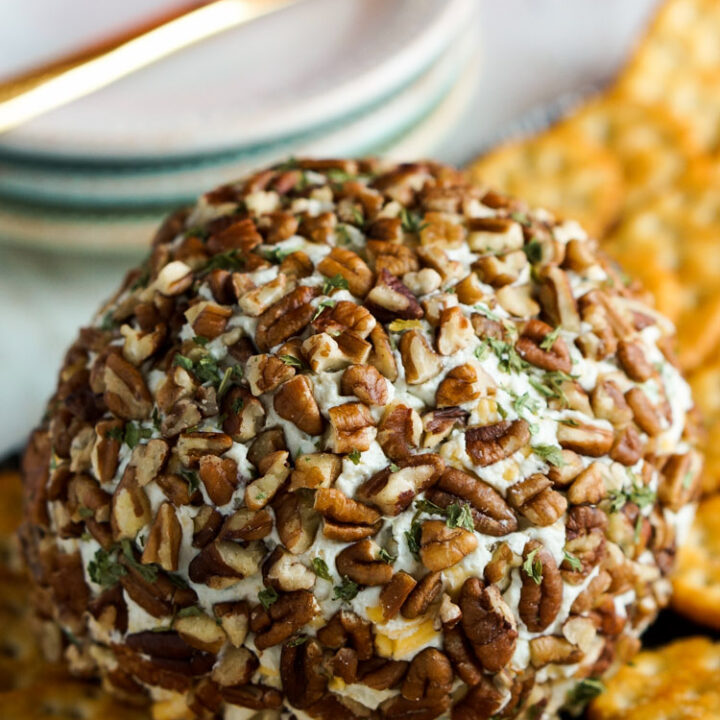
Blue Cheese Cheese Ball
accidentalhappybaker.com
4.1
(27)
Your folders
284 viewsBlue Cheese Dressing
altonbrown.com
Your folders
 316 views
Blue Cheese Dressing
foodnetwork.com
4.6
(40)
Your folders
 351 views
Blue Cheese Popovers
allrecipes.com
30 minutes
Your folders
 599 views
Blue Cheese Sauce
simplyrecipes.com
5.0
(9)
Your folders
 467 views
Blue Cheese Burgers
simplyrecipes.com
4.9
(44)
10 minutes
Your folders
 664 views
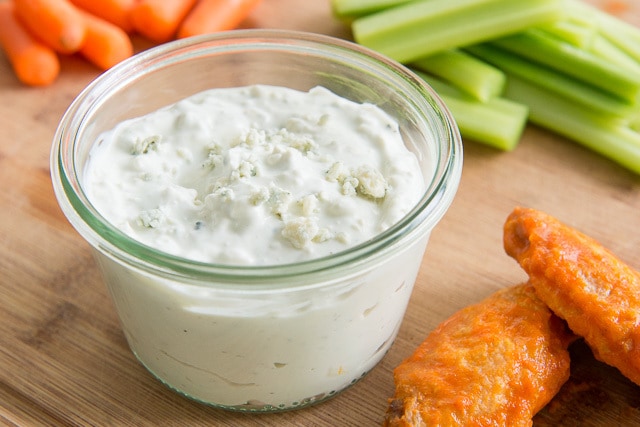
Blue Cheese Dip
fifteenspatulas.com
5.0
(15)
Your folders
105 viewsBlue Cheese Dip
fifteenspatulas.com
Your folders
 222 views
Blue Cheese Dressing
chefsavvy.com
4.8
(6)
Your folders
 252 views
Blue Cheese Burger
food52.com
5.0
(7)
5 minutes
Your folders
 219 views
Blue Cheese Dip
ricardocuisine.com
5.0
(14)
Your folders
 180 views
Blue Cheese Dressing
josieandnina.com
5.0
(6)
Your folders
 269 views
Blue Cheese Vinaigrette
marthastewart.com
3.0
(170)
Your folders
 219 views
Blue Cheese Chicken
allrecipes.com
4.1
(8)
20 minutes