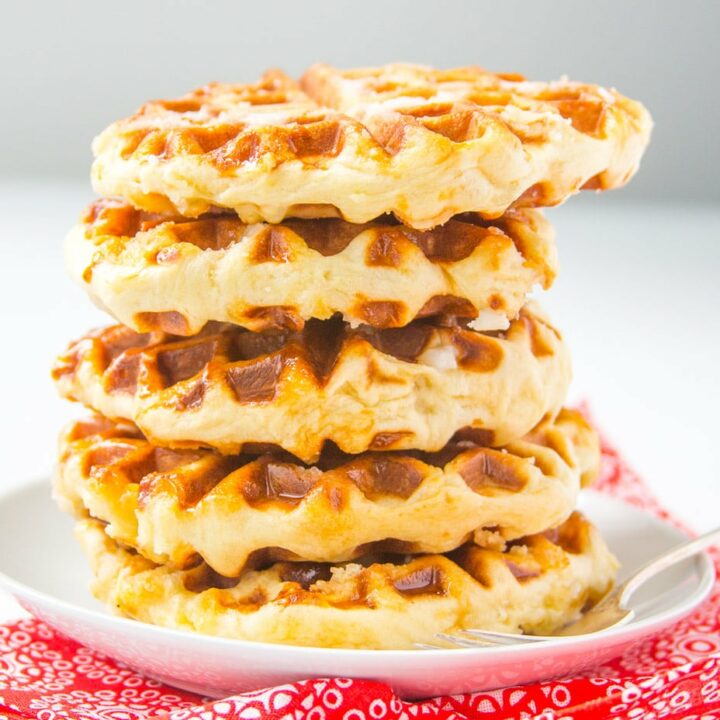
Belgian Liege Waffles
4.5
(278)
Your folders
Your folders
Prep Time: 1 hours, 10 minutes
Cook Time: 15 minutes
Total: 1 hours, 25 minutes
Servings: 12
Author : Bettie

Ingredients
Export 4 ingredients for grocery delivery
Instructions
Step 1
HYDRATE THE YEAST: Warm the milk to 110-115 F (43-46 C). This can be done on the stove top or in the microwave. It should take about 30-45 seconds in the microwave. Make sure the milk is not too hot or it will kill the yeast. Sprinkle the yeast over the milk and stir together.
Step 2
COMBINE THE BUTTER, SUGAR, SALT, & EGGS: In a large mixing bowl or the bowl of a stand mixer, stir together the cooled butter, sugar, and salt with a spoon or a rubber spatula.
Step 3
ADD THE MILK/YEAST: Stir in the milk/yeast mixture.
Step 4
ADD THE FLOUR: Stir in the flour until it is hydrated. The dough will be shaggy at this point.
Step 5
KNEAD: This dough can be kneaded by hand or with the dough hook of a stand mixer. If kneading by hand, lightly flour a work surface and knead the dough for about 8 minutes, until it is smooth and elastic. The dough will be very sticky to start, but will become less sticky as it is kneaded. If kneading in the stand mixer, knead at medium/high speed for about 6 minutes, stopping about halfway through to scrape the bottom of the bowl.
Step 6
FERMENT: Transfer the dough to a clean bowl. Lightly spray the dough with oil and cover the bowl with a towel or plastic wrap. Let the dough ferment at room temperature until double in size. This will take about 30-45 minutes if you used quick rise yeast and 1-2 hours if active dry yeast was used. A warm spot will speed up the fermentation time.
Step 7
PUNCHING: Deflate the air out of the dough by pressing down on it in the center and bringing the edges of the dough over the top.
Step 8
ADD THE PEARL SUGAR: Flatten the dough out on a lightly floured work surface and add the pearl sugar. Knead the pearl sugar into the dough until evenly distrubted. Alternatively, you can knead the sugar into the dough in a stand mixer with a dough hook.
Step 9
DIVIDE AND REST THE DOUGH: Divide the dough into roughly 12 pieces and cover with a piece of plastic wrap. Let the dough rest for 10 minutes while the waffle iron heats up.
Step 10
COOK THE WAFFLES: All waffle irons are different so start your iron on a low temperature. Increase the temperature a little at a time to find the setting that will caramelize your sugar. Spray the iron with non-stick spray and put a piece of dough in the center of the waffle iron and close it. The waffle will puff up as it cooks. Cook until golden brown.
Step 11
MAKE AHEAD: You can keep the waffles warm in a 200 F (95 C) oven. Uneaten waffles can be stored in the freezer in a ziplock bag for up to 3 months. Rewarm in a 250 F (120 C) oven until warmed through.