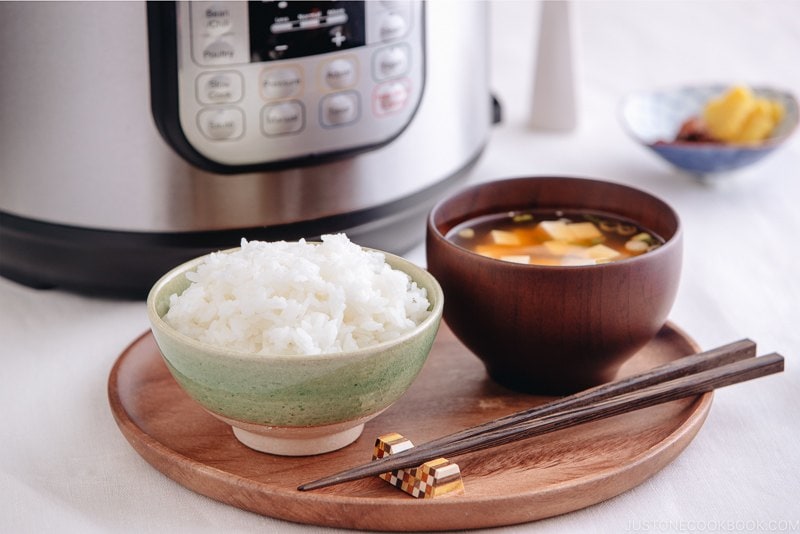
Instant Pot Rice
4.6
(50)
Your folders
Your folders
Prep Time: 5 minutes
Cook Time: 17 minutes
Total: 42 minutes
Servings: 4
Cost: $1.20 /serving
Author : Namiko Chen

Ingredients
Export 1 ingredients for grocery delivery
Instructions
Step 1
Measure the rice, submerge the rice in water, stir the rice around with your hands, and drain quickly. The first water should be drained as fast as possible since the dry rice would quickly absorb moisture. The first water is not clean and should not be absorbed.
Step 2
Rinse the rice under cold water, by gently rubbing the rice with your fingertips in a circling motion. Submerge the rice in water and pour out the starchy water.
Step 3
Rinse and repeat until the water becomes clear. Soak rice in water for 20-30 minutes. It's a must!
Step 4
Here's how the rice looks before and after soaking for 20 minutes.
Step 5
Drain water completely. Set aside for 10 minutes. If you don’t have time to wait, then shake off the excess water the best you can.
Step 6
Transfer drained rice and measured the amount of water in the inner pot of the Instant Pot.
Step 7
Make sure the rice is evenly distributed and flat. Close the lid.
Step 8
Set HIGH pressure for 2 minutes. Make sure the steam release handle points at “sealing” and not “venting.” The float valve goes up when pressurized (it takes roughly 5 minutes to pressurize). When it’s finished cooking, the Instant Pot will switch automatically to the “Keep Warm” mode. Let the pressure release naturally for 10 minutes and then proceed with quick release (DO NOT EXCEED MORE THAN 10 MINS. I recommend setting a timer.) by turning the steam release handle to the “venting” position to let steam out until the float valve drops down. Hold a kitchen towel and do not place your hand or face over steam release valve. The steam should be left only a little bit after 10 minutes of natural release.
Step 9
Fluff the rice with a rice scooper and serve warm.
Step 10
The best way to store Japanese rice is to freeze, even if you use it the following day. Read this post.