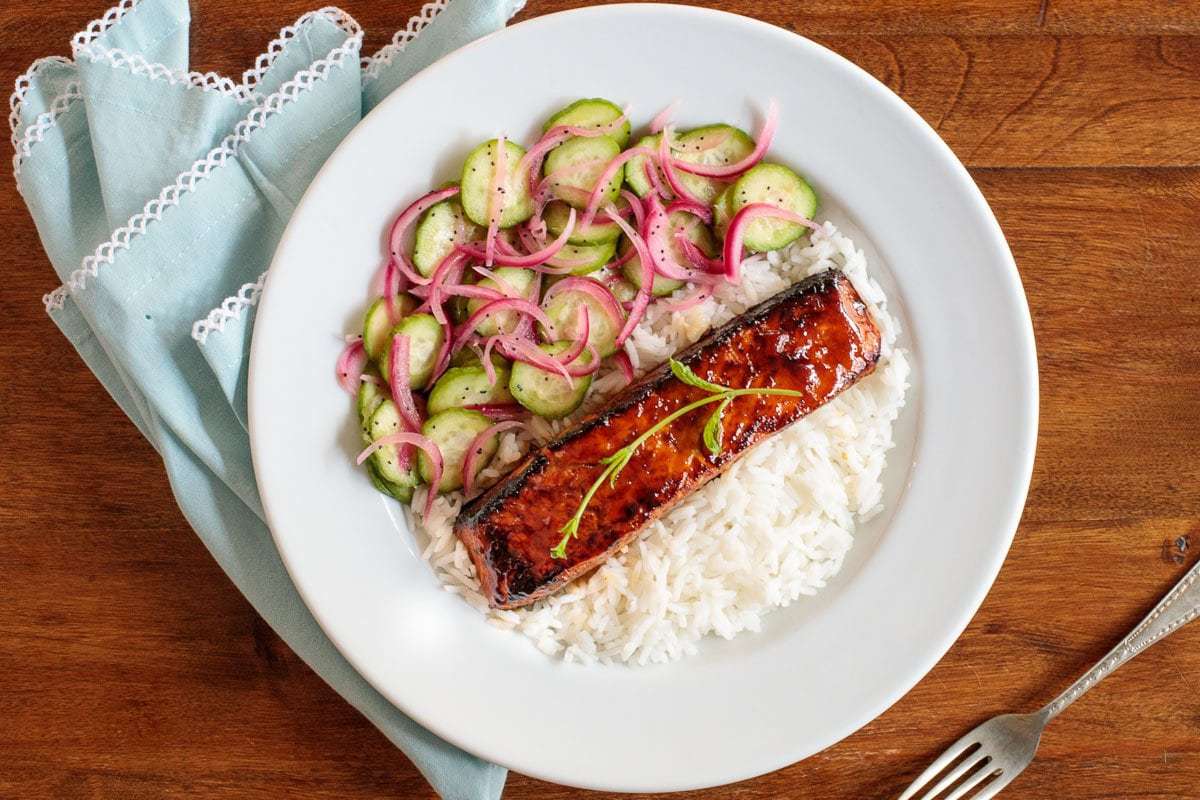
Make-Ahead Honey Coriander Glazed Salmon
4.9
(8)
Your folders
Your folders
Prep Time: 25 minutes
Cook Time: 30 minutes
Total: 55 minutes
Servings: 4

Ingredients
Export 7 ingredients for grocery delivery
Instructions
Step 1
Combine all sauce ingredients in a medium-size bowl and whisk well.
Step 2
Place the salmon filets and ¼ cup of the marinade in a large ziplock bag and turn bag to coat salmon with the marinade. Refrigerate for at least 30 minutes (and up to 12 hours).
Step 3
Remove salmon to a plate and discard marinade. Season salmon lightly with kosher salt and freshly ground black pepper.
Step 4
Heat a medium-size sauté pan over medium heat. Add 1 teaspoon olive oil. Add the salmon (skin side up if using skin-on salmon) and sear for about 1-2 minutes or until you have a deep, golden crust. Using tongs, flip salmon onto sides and sear the sides for about 30 seconds each. Transfer salmon to a clean plate, cover with plastic wrap and refrigerate until ready to bake (up to 8 hours).
Step 5
Strain reserved sauce through a fine strainer into the sauté pan and bring to a boil. Reduce to a simmer and cook for 3-4 minutes until sauce is slightly reduced and beginning to get a bit syrupy. Transfer sauce to a small bowl or glass jar, cover and refrigerate until ready to bake salmon.
Step 6
30 minutes before dinner, preheat oven to 350˚F. Line a sheet pan (or smaller shallow pan) with foil and place salmon on the pan with skin side down (if using salmon with skin, if not place unseared side down).
Step 7
Brush salmon lightly with glaze and bake for 10 minutes then remove from oven and brush with a bit more of the glaze. Continue baking for another 8-12 minutes until golden brown and internal temperature reaches 140-145˚F. (Thicker filets will take a bit longer, thinner pieces will be done sooner.)
Step 8
Slide a metal spatula just above the skin and remove salmon leaving the skin on the foil. Drizzle with a bit more of the glaze when serving.
Step 9
NOTE: Salmon can be baked directly after searing if desired. Just preheat the oven to 350˚F before searing the salmon and skip the refrigeration. Proceed with the baking instructions in step 6.