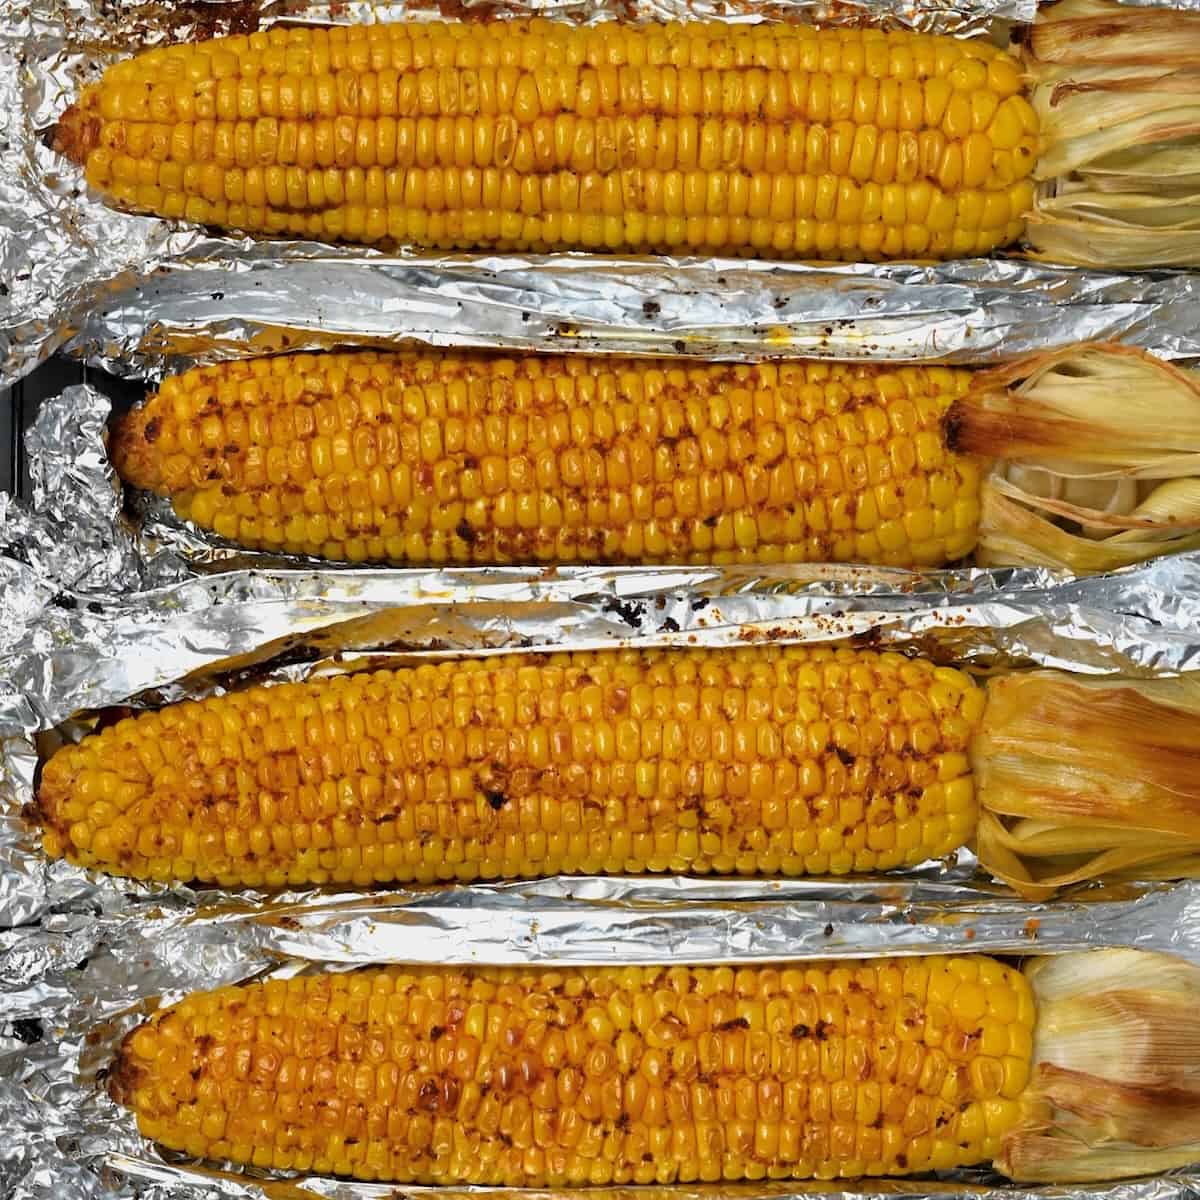
Oven-Roasted Corn in Foil with Garlic Butter
5.0
(13)
Your folders
Your folders
Prep Time: 5 minutes
Cook Time: 35 minutes
Total: 40 minutes
Servings: 5

Ingredients
Export 4 ingredients for grocery delivery
Instructions
Step 1
Preheat the oven to 425℉/220℃.Prepare the aluminum foil. You need an individual piece of each corn on the cob you plan on roasting. Make sure the piece is large enough to wrap the whole cob. If you don't have foil to hand, parchment paper will also work.
Step 2
Remove the corn's husk and silk. You can remove them completely or just peel them and flip the leaves over.
Step 3
Melt the butter in a small bowl in the microwave (in 30-second increments till melted) or in a small pot over medium heat on the stovetop.Then combine with the spices. Mix well.
Step 4
Place a corn cob on an individual piece of foil, then top it generously with the garlic butter. Wrap the corn tightly in the foil. Repeat until all your corn on the cobs are covered.
Step 5
Place the wrapped corn on a baking tray. Bake for about 35-45 minutes at 425℉/220℃, turning the tray halfway through roasting. For an extra charred/broiled effect, open up the foil for the last five minutes of cooking.
Step 6
I also recommend letting the corn rest for a few minutes after it comes out of the oven – you can even brush it with a bit more garlic butter here while it's warm.
Step 7
Store: You can store the corn on the cob or in kernels. Wrap the cooled corn tightly and store for 3-5 days. Make sure you store within two hours of roasting the corn. Freeze: If you use roast corn on the cob for meal prep, this is a handy trick. Make a large batch of roasted corn, remove the kernels, and store them in freezer-safe bags or containers. They will keep for 10-12 months!Reheat: You can wrap each cob in aluminum foil or place it in a baking dish. Reheat with a little water for 5-10 minutes at 350°F for plump and juicy corn straight from frozen.